
Welcome to this quick tutorial on laser triggering with Pluto trigger.
Today I was playing around with freeze motion photography, and thought it would be cool to share with you what I tried to get this type of shot.
It’s my first time doing this shot this way, and I certainly would improve the process next time.
I shot this using a Pluto trigger (link in description), but you could do it with an assistant, but it would be a bit more unpredictable.
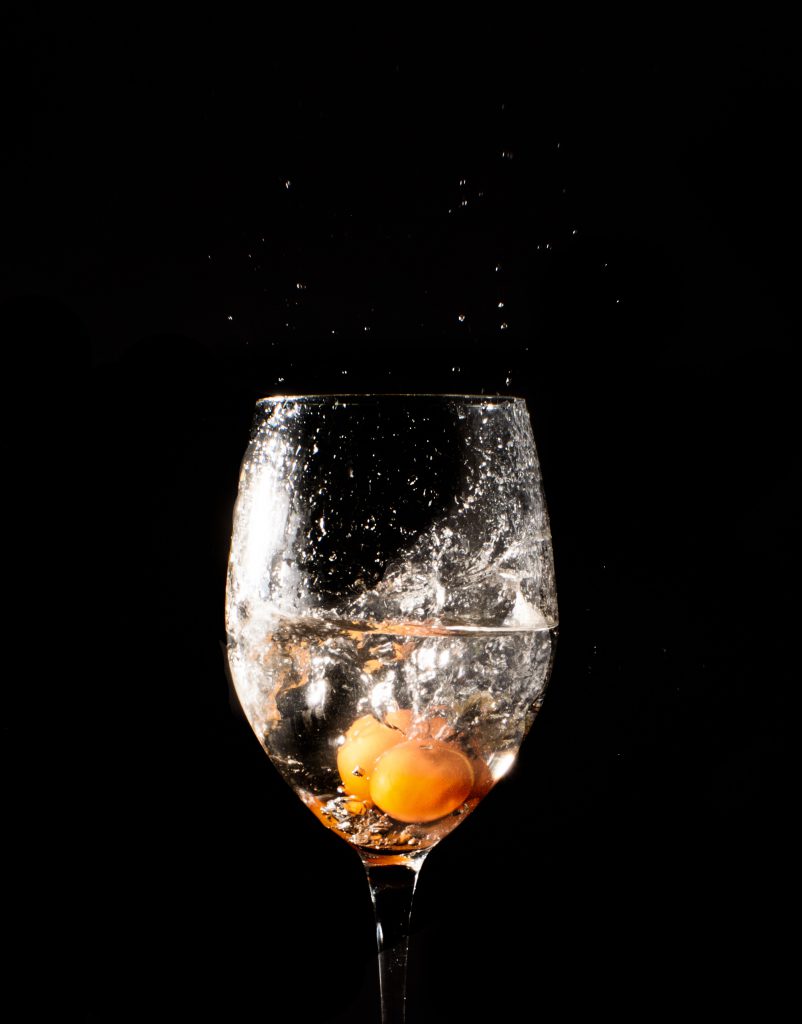
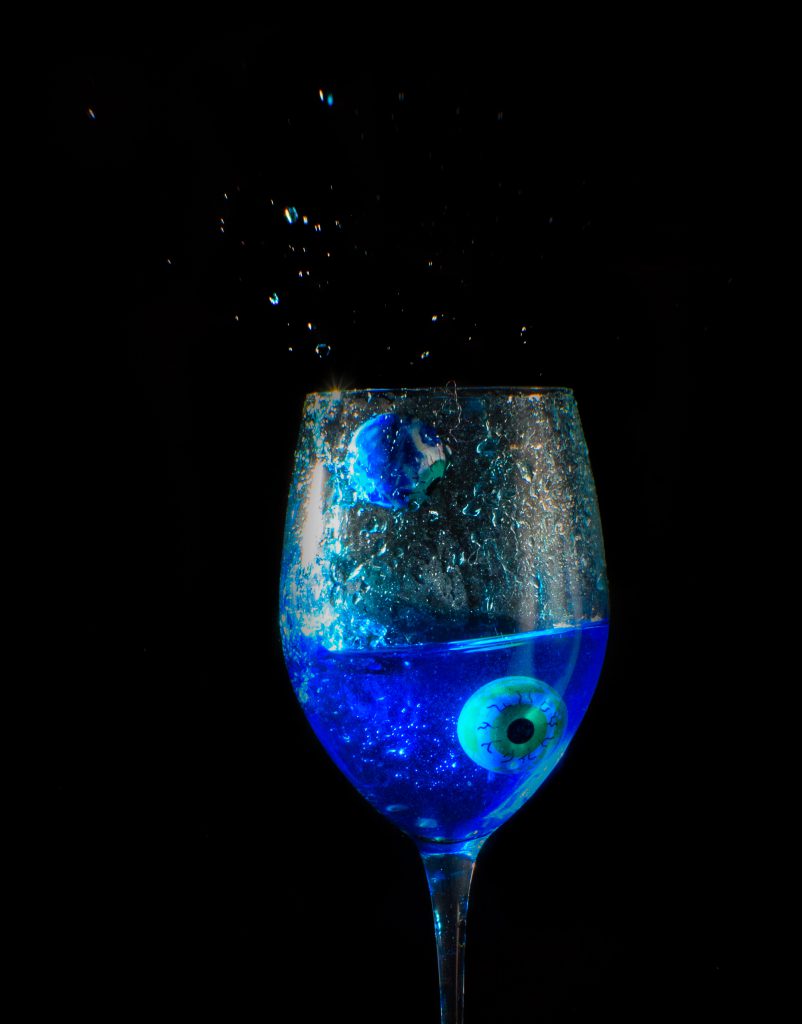
I was shooting things like cherry tomatoes and rubber balls dropped into a wine glass, with regular water or with food colouring in water.
Let’s walk through the setup.
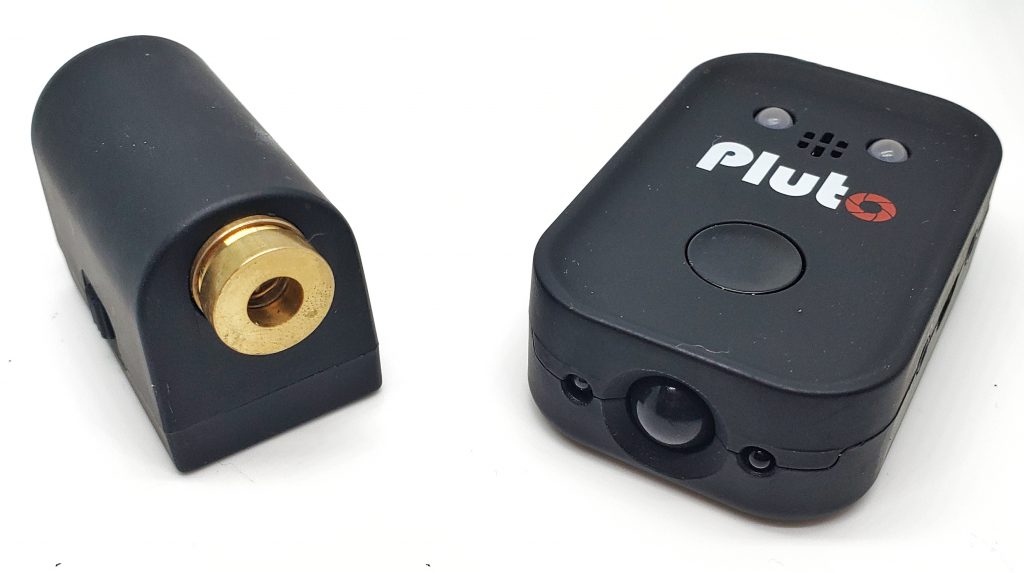
With the Pluto trigger there is a laser. I had this set up on a light stand pointing at the pluto trigger, which acts as a receiver.
The Pluto trigger is connected to my camera to trigger the shutter when the laser beam is disturbed.
My camera has a Godox X1T Nikon trigger. It is triggering an AD 200 flash. You don’t need this set up – I did it because I have one and it is able to do high speed images. Many external flashes and strobes are limited to slow speeds (e.g. 1/125 sec) due to the nature of the SLR’s shutter. I won’t go into this, but if you want to understand this, check out this article on high speed sync…

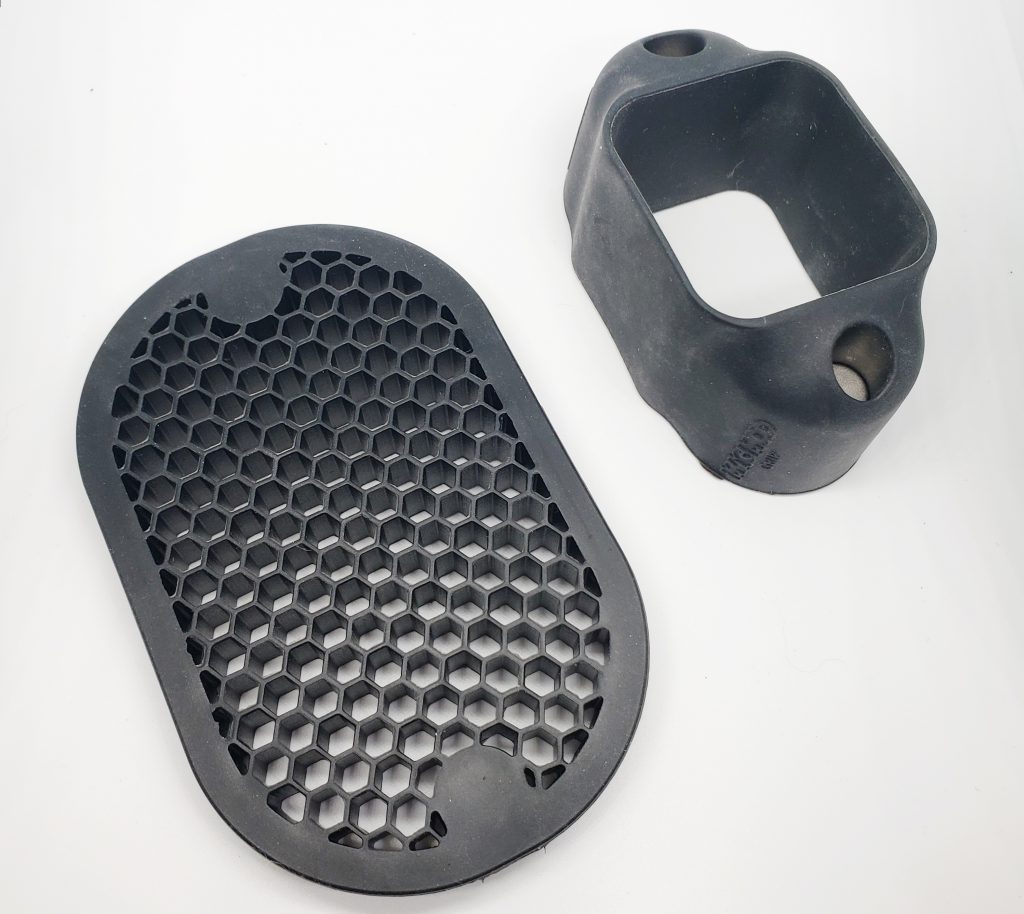
On the flash is a Magmod grid, to make the light shine only on the glass, and limit light spill on the background and camera.
Between the two lasers is a string using dental floss, so i can properly aim through the laser. It’s a lot harder to aim than it looks, so this helps.
So I would drop the tomato cherry, it would break the laser, triggering my camera and the light all at once.
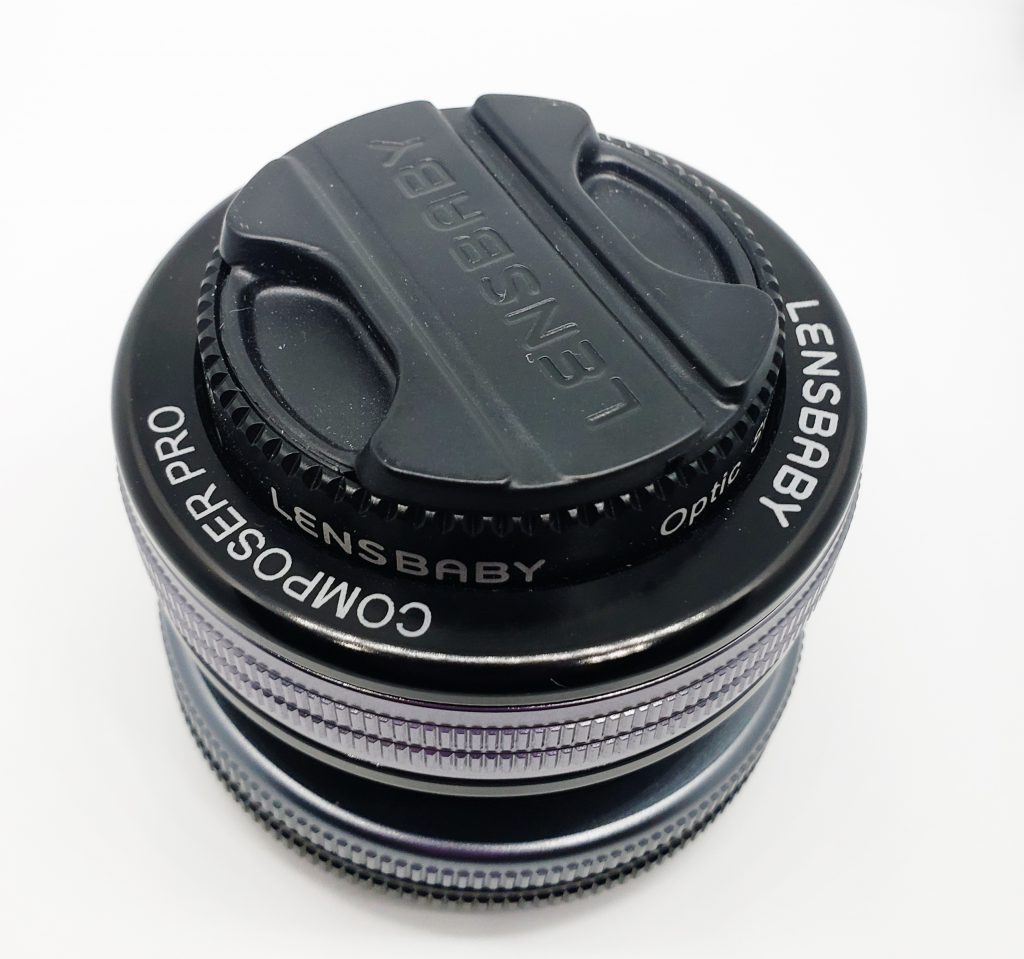
I used the LensBaby Composer Pro II with Sweet 35 lens, because it was a good focal length for the distance I was shooting, and added a bit of creativity, even if I was shooting mostly at the smallest aperture (which gives the least amount of blur effect).
Not shown is my phone, which is required to control the Pluto trigger.
In the end, I processed the photos in Lightroom (initial RAW develop) + Photoshop (layers and masking) + Luminar 2018 (detail enhancement).
Results:
Here are some samples of the results:


Some things worth noting:
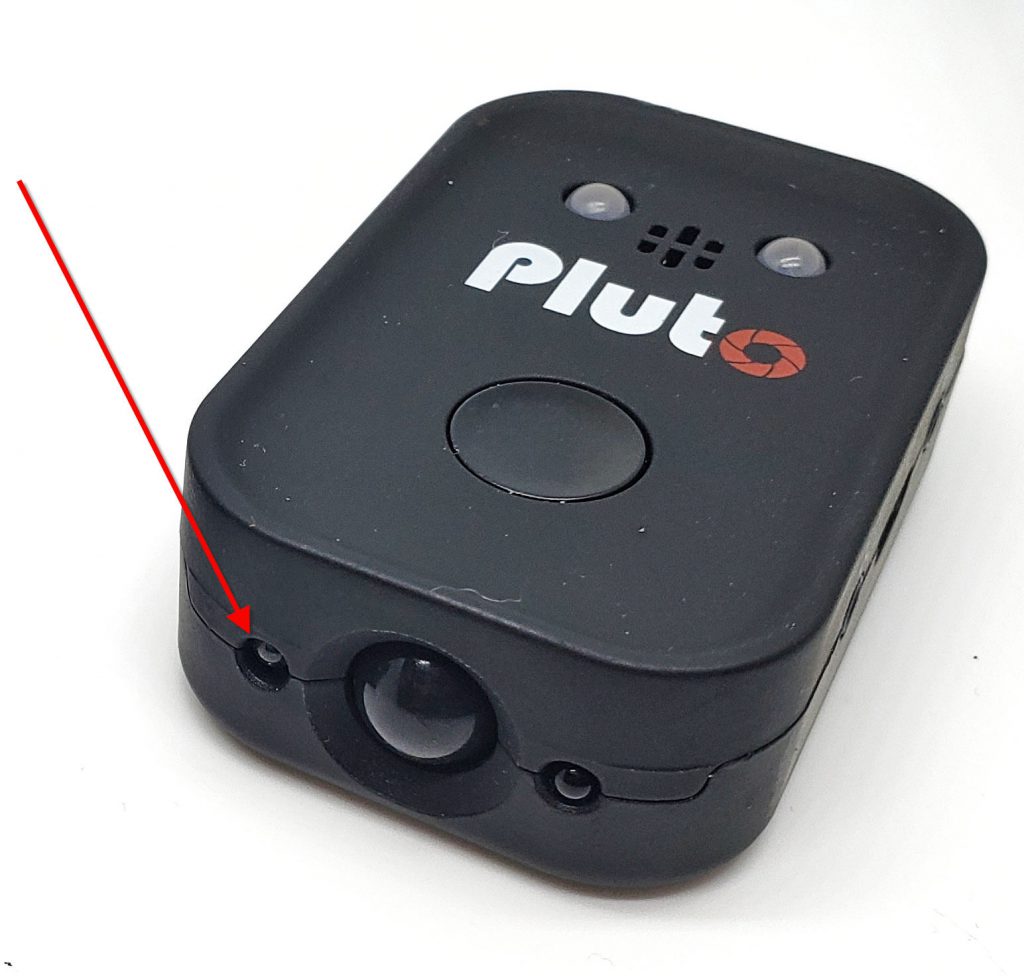
It took me a while to realize the laser of the Pluto had to be pointed to the small sensor to the left of the big sensor. See the following image:
You need to tune the laser sensitivity so it’s just on the sweet spot between being triggered. You don’t want the setting too high or too low, or it will not trigger or trigger too often.
You may want to go into Pluto settings and give it a trigger reset value (see image below), so you aren’t inadvertently triggering the flash when you are recovering the dropped objects. E.g. I set the retry to 2 seconds, but you may want even as high as 10 seconds if you aren’t dropping things more rapidly than that.

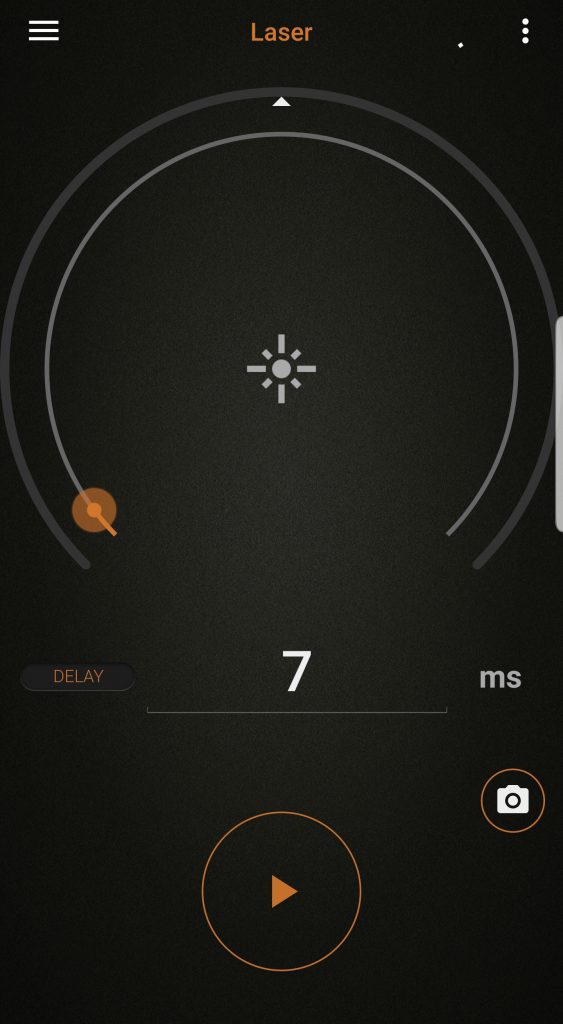
I added a delay of 7ms since the objects were hitting the dental floss on the way down, and slowing down a bit. I could have tuned this number a bit more to get the optimum “splash”, but I am impatient.
Areas of improvement
I think next time I would create a tube that objects would roll through (probably held by light stand and “magic arm”), and hit the laser and glass 100% of the time. Before I set up the dental floss (halfway through the shoot), I was missing the laser and glass often. I lost a few grape tomatoes this way.
Even with the dental floss, I wasn’t always triggering the laser, and the dental floss was impacting the quality of the “splash”.
Next time I will try to drop from a higher altitude, to get a bigger splash. I will probably try a bigger object too.
Even with the grid on the light, there was quite a bit of light spill. I’ll be more careful, and use a snoot or cinefoil to control the light more.
Some of the photos I took you’ll see hairs in the glass. This is from the tomato or cherry rolling on the floor previously when I missed the glass, and collecting cat hair :/
Conclusion
This experiment was fun, albeit a bit messy. I’ll certainly take some of my lessons learned and do it again, and try to improve on it.
The setup was just how I did it – you don’t need any of the tools I used, except a camera and a flash. The tools make it easier (e.g. the Pluto Trigger, high speed flash) and more consistent, but not necessary.
However if you are looking to spend money on new gadgets, the Pluto trigger does have many creative features that in my opinion are worth the investment. I’ll certainly post some more of the features of the Pluto trigger in future blog posts (e.g. star trails, water droplet, lightning, fireworks, time lapse).
Thanks for checking out my instructional blog post!
Update
Today I tried it with water balloons and a bust. Here are the results…