Macro photography can be fun. It can also be expensive if you are starting out.
This article will try to let you answer the question:
Are macro lenses worth it, or can I get decent macro photos using extension tubes and an inexpensive lens?
If you don’t know what macro photography is (confusingly sometimes also known as micro photography) , what macro lenses are, or extension tubes are, here’s some background first…
My definition of macro photography is to “take close-up pictures of small things and making them look bigger”.
Or according to Wikipedia:
“By the original definition, a macro photograph is one in which the size of the subject on the negative or image sensor is life size or greater “
Reference https://en.wikipedia.org/wiki/Macro_photography
Lens manufacturers tend to play with this definition, as you may sometimes see macro lenses that are 1:2, which means they are only half as big as real life when projected onto the negative or sensor. We will be using a macro lens that is true 1:1, which means the image size on sensor is same as in real life.
There are several ways to take macro photos. Check the above Wikipedia article for a more thorough list of tools and tricks, but in summary you can achieve macro photography using:
- Using macro lenses. This is a common method with great optical quality (using great lenses), but can get expensive. I shoot with Nikon, and the go-to macro lens is the 105mm 2.8 macro lens, which is priced at US$900 – not cheap. There are cheaper Nikon alternatives (with smaller focal length), but I have not tried them. Other manufacturers, such as Canon, have similar macro lenses and prices (equivalent Canon lens is 100mm at US$750). Macro lenses have special construction optically to be able to focus on very close objects. Normal lenses require the object to be some distance from the lens to be able to focus, and thus will appear smaller.
- Extension tubes are basically optically neutral tubes that get a normal lens closer to the subject, therefore making it look bigger. The extension tubes get installed between the camera and the lens, thereby moving the lens further away from the camera. There is typically nothing in the tubes (no glass or other optical elements) – just air. To get an idea of how this works, hold a pair of glasses further away from your eyes to see things appear bigger. That’s essentially what you are doing with the lens. The advantage to extension tubes is price. The model I will be testing can be found on eBay for around US$50. In conjunction with a 50mm prime lens, which goes for about US$200, the total for this outfit is around $250, which is considerably cheaper than the $900 macro lens.
Here is a link to the extension tubes I will be testing purchased from Amazon.
(If the link doesn’t work, just search for “Neewer Extension Tubes” and your camera manufacturer).
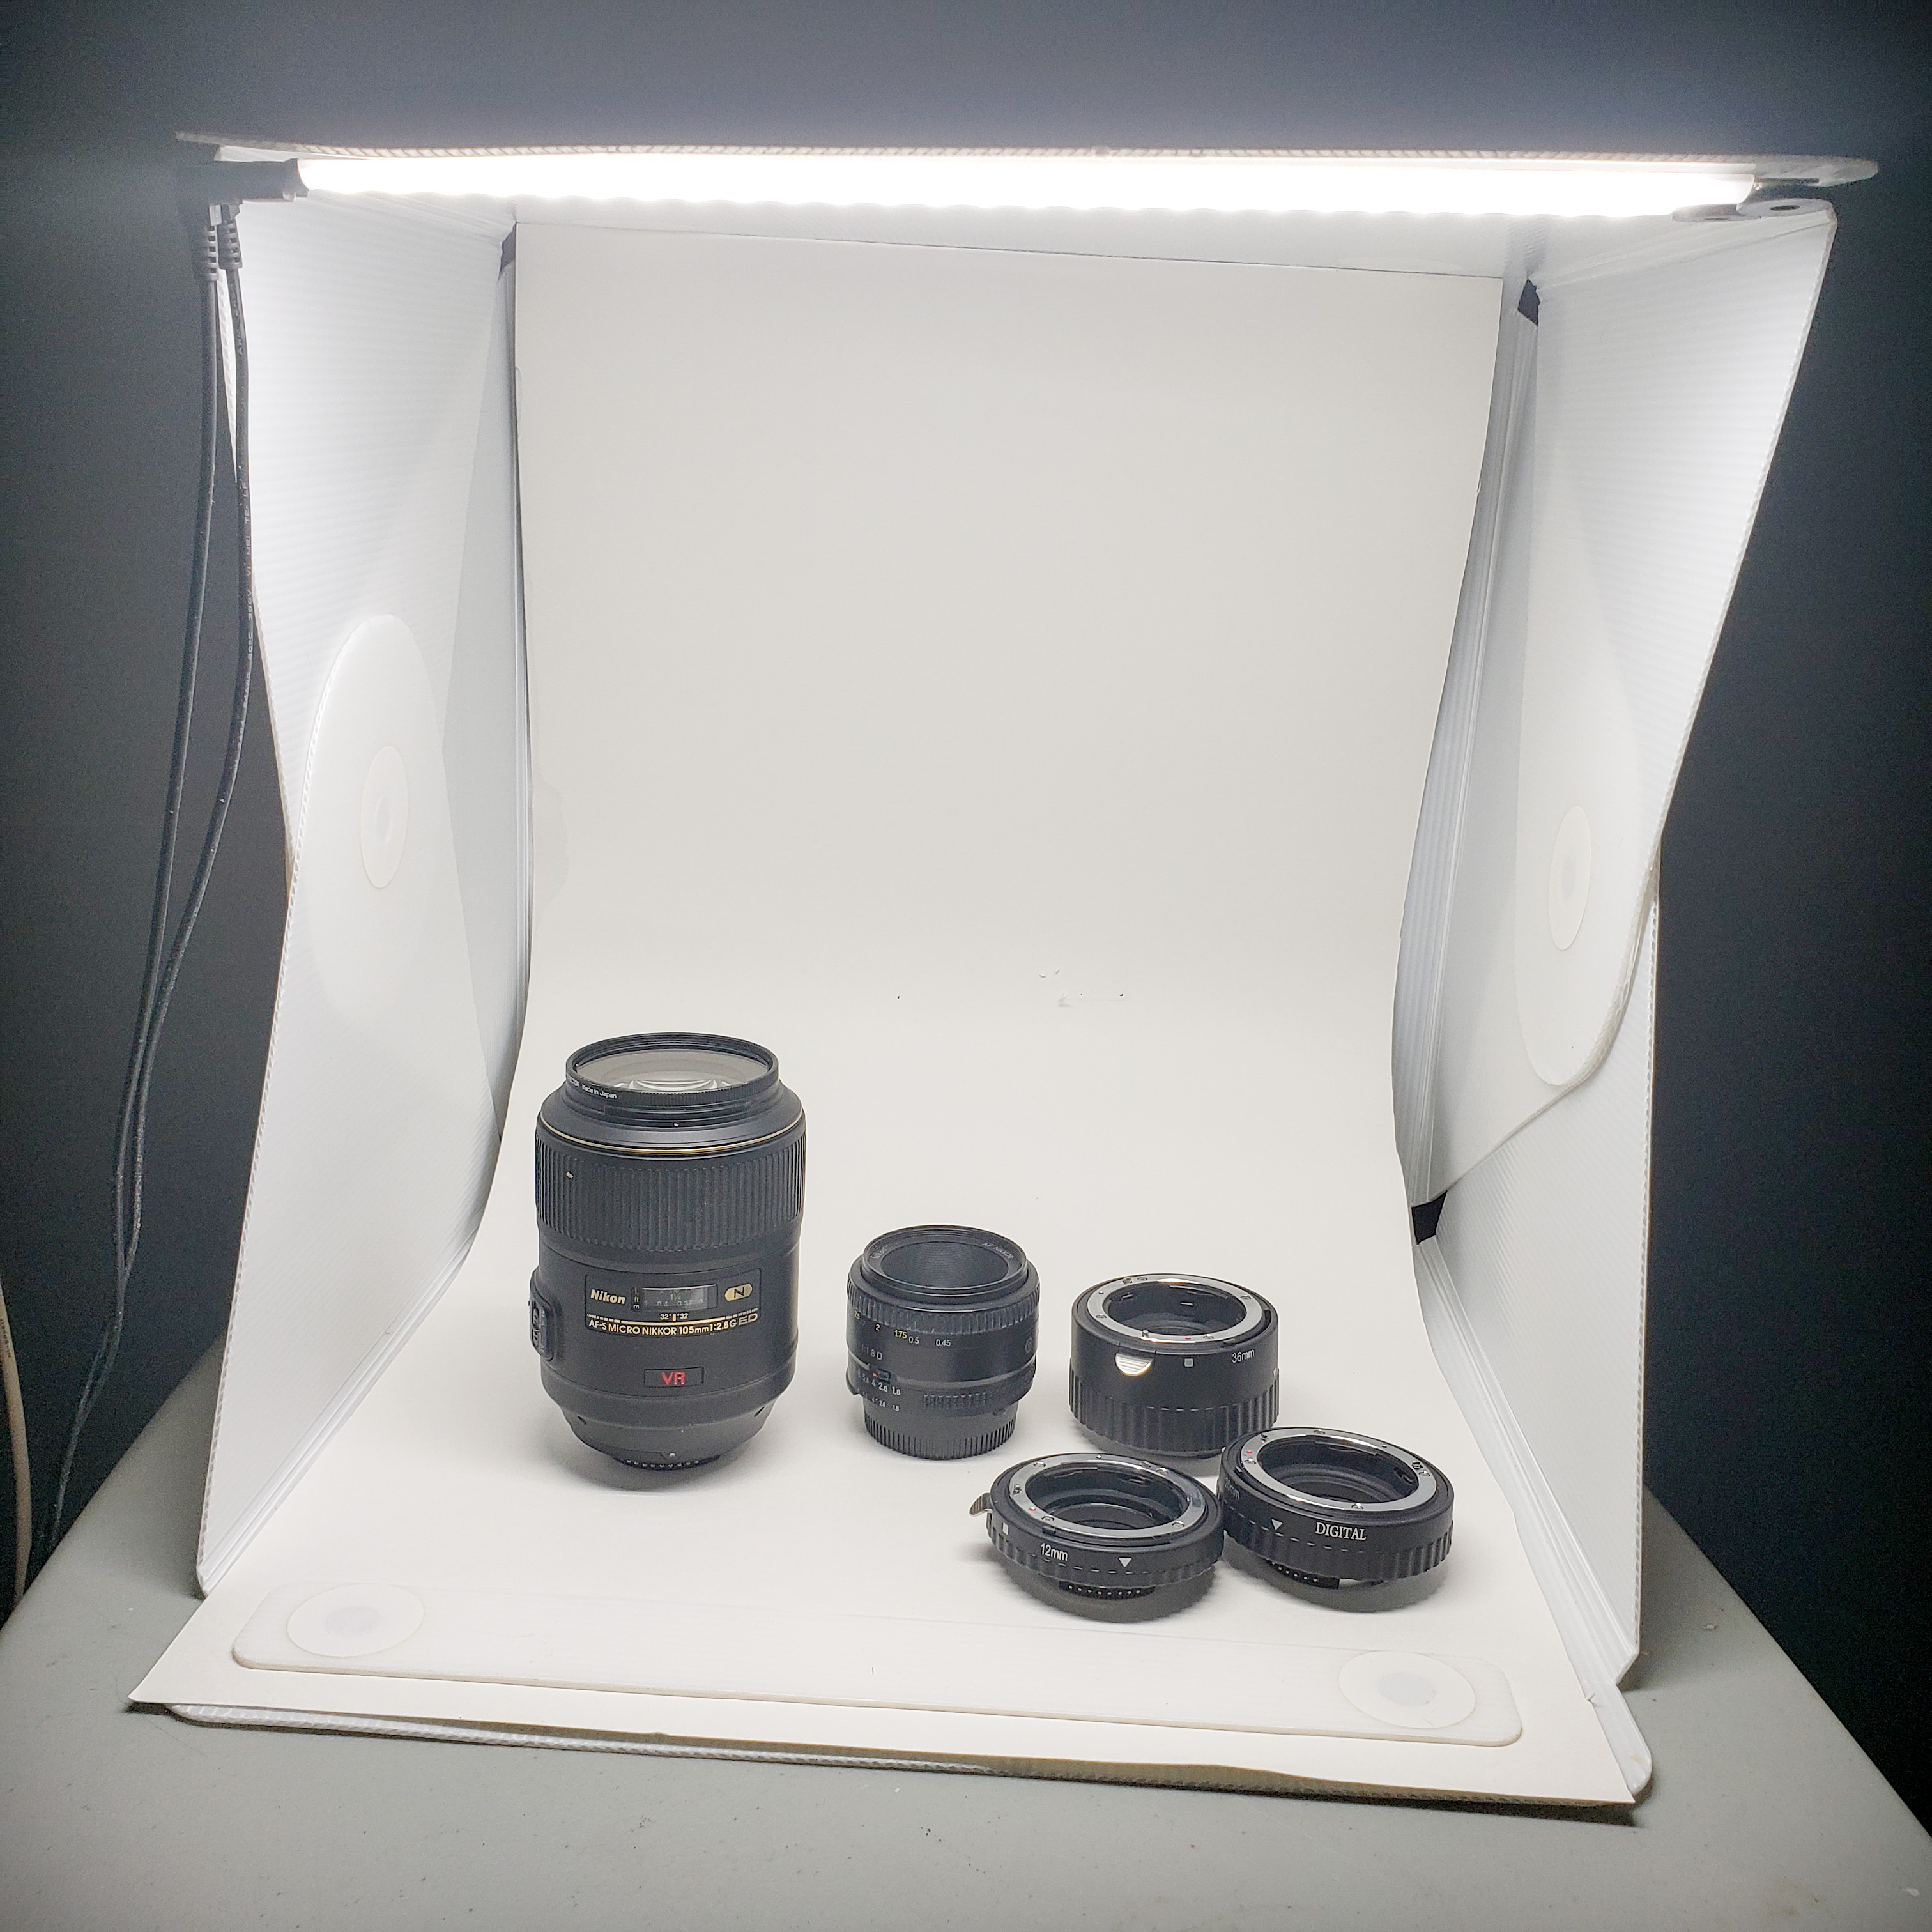
Extension tubes are often sold with multiple lengths, thereby giving you different options and combinations for your focal length. You can put all three tubes together for the closest zoom. We will be testing multiple combinations of extension lengths.
You can get more expensive extension tubes, such as those manufactured by the camera manufacturer. You can also get cheaper ones than what I tested, but they may not have the electrical contacts to allow auto-focus to work. I chose the slightly more expensive ones so I can use auto-focus, if needed. I will be focusing manually during these tests, however.
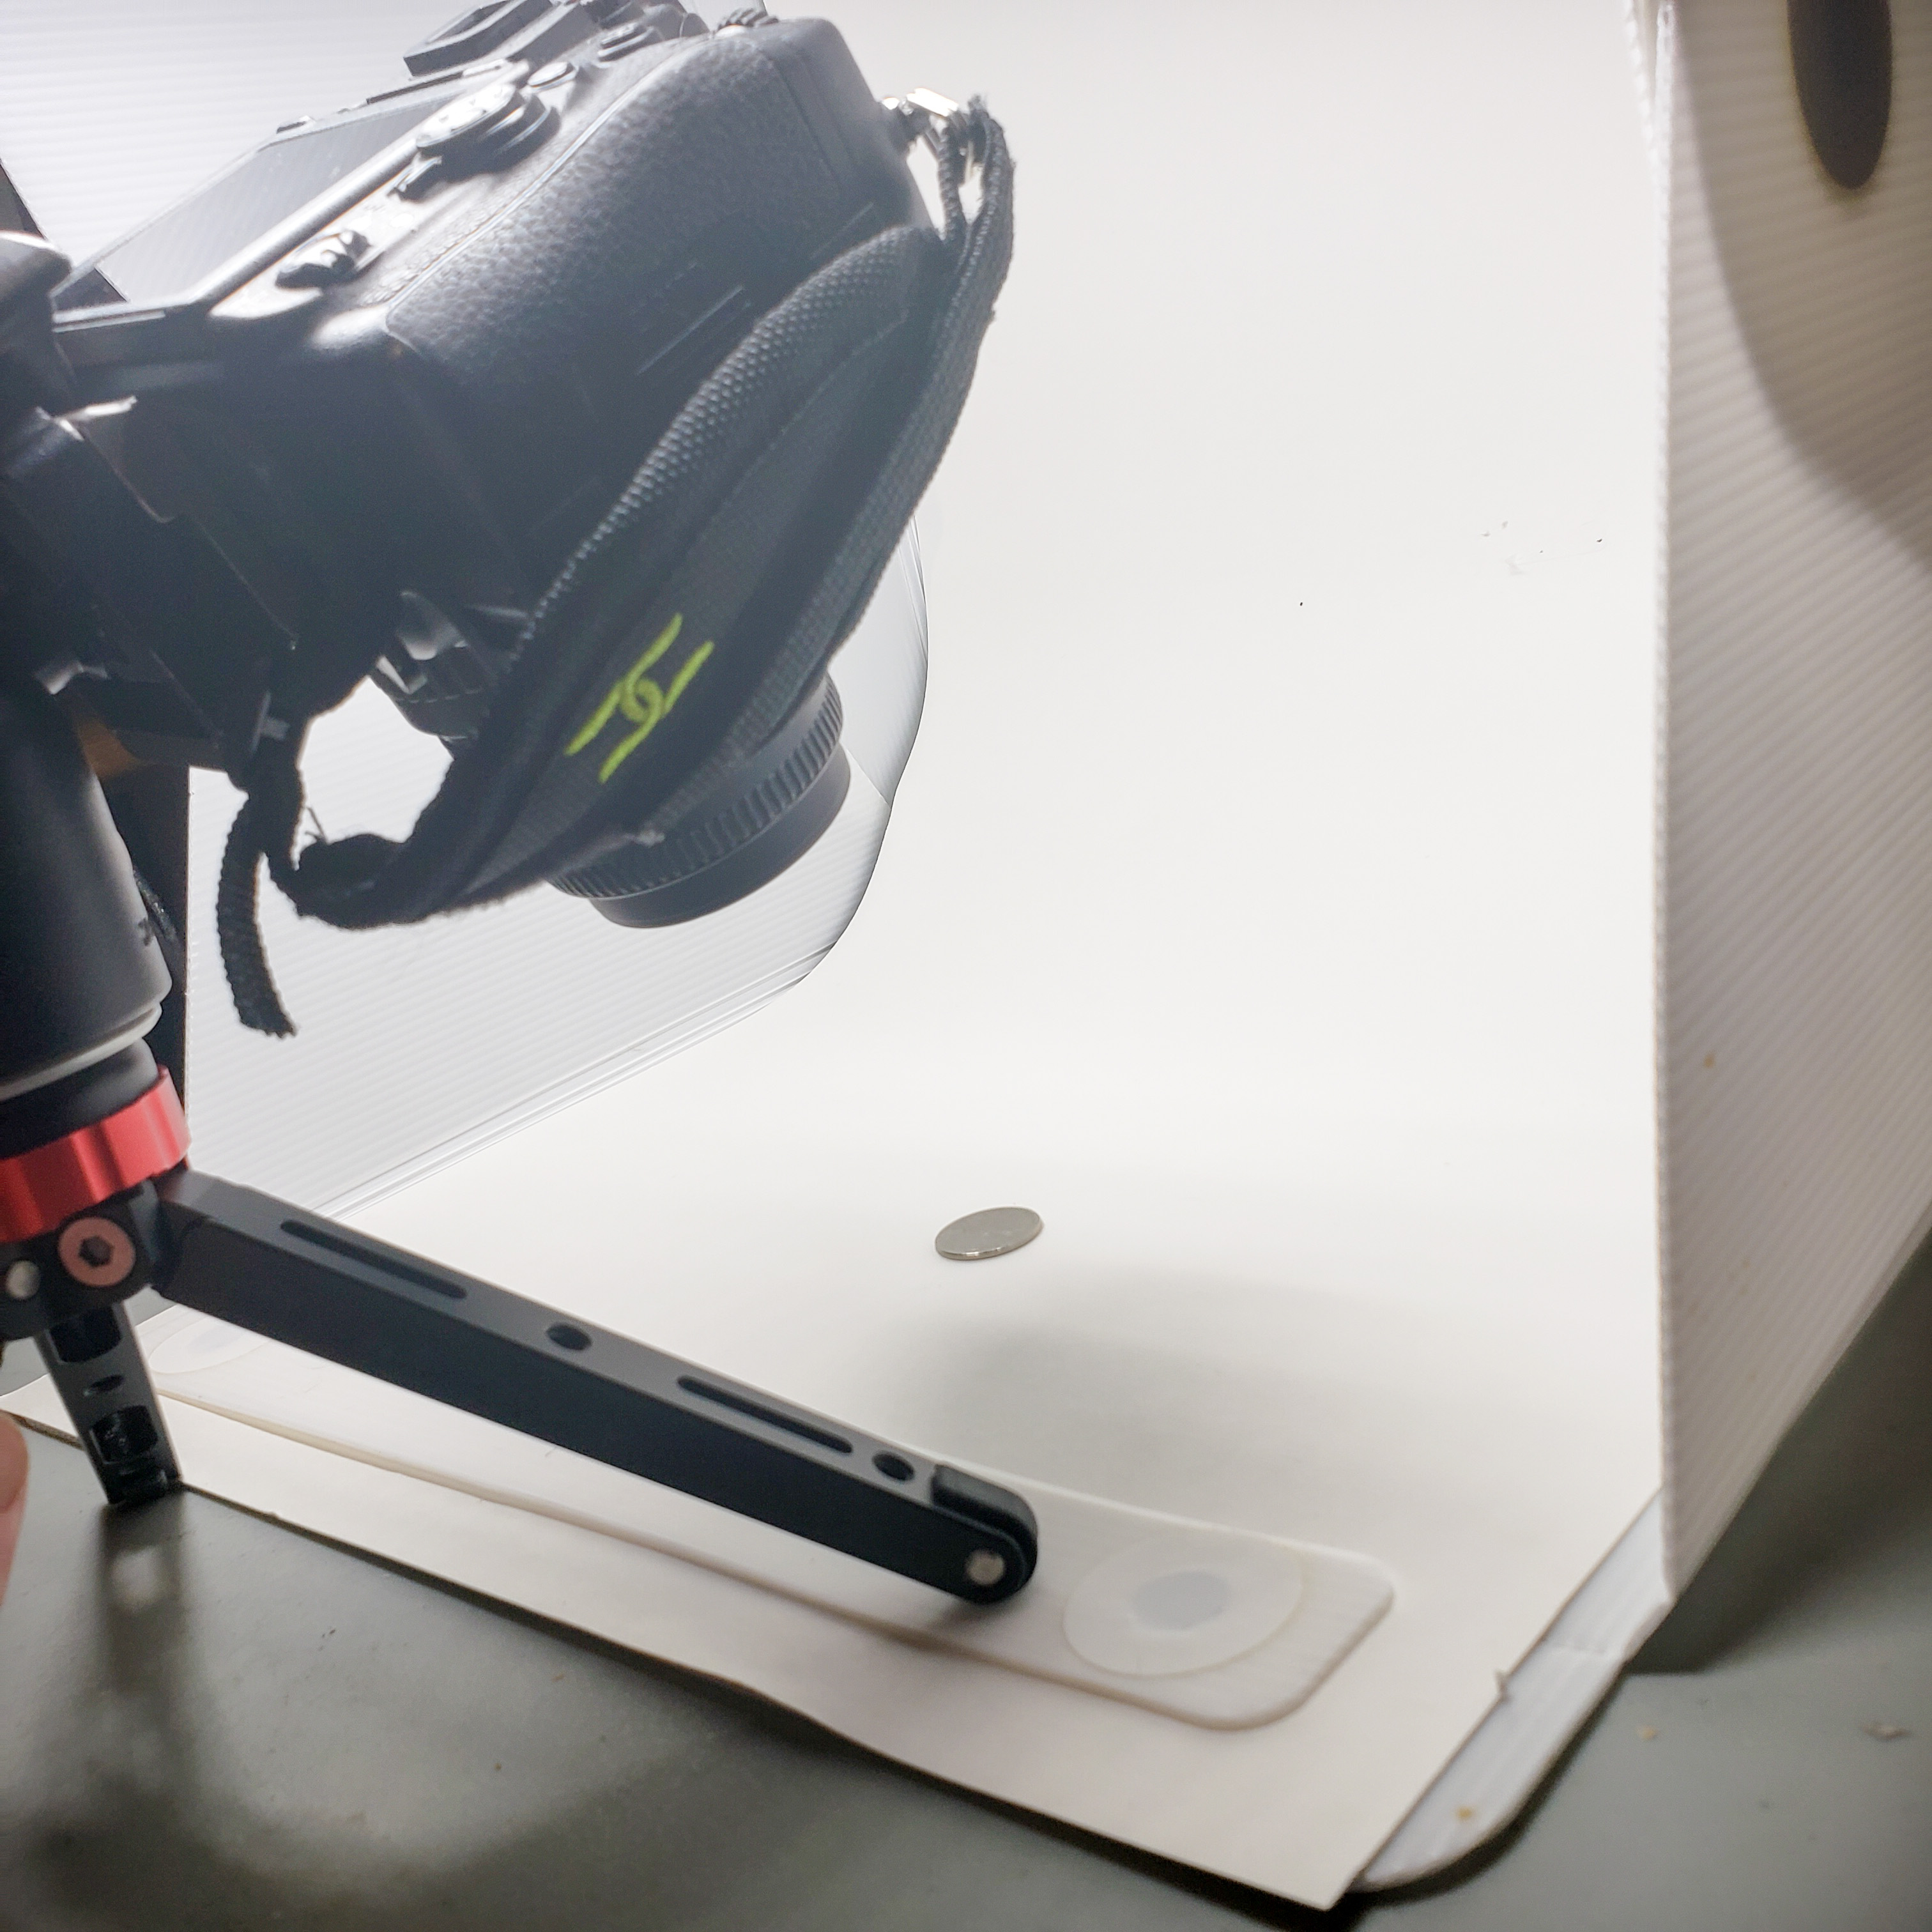
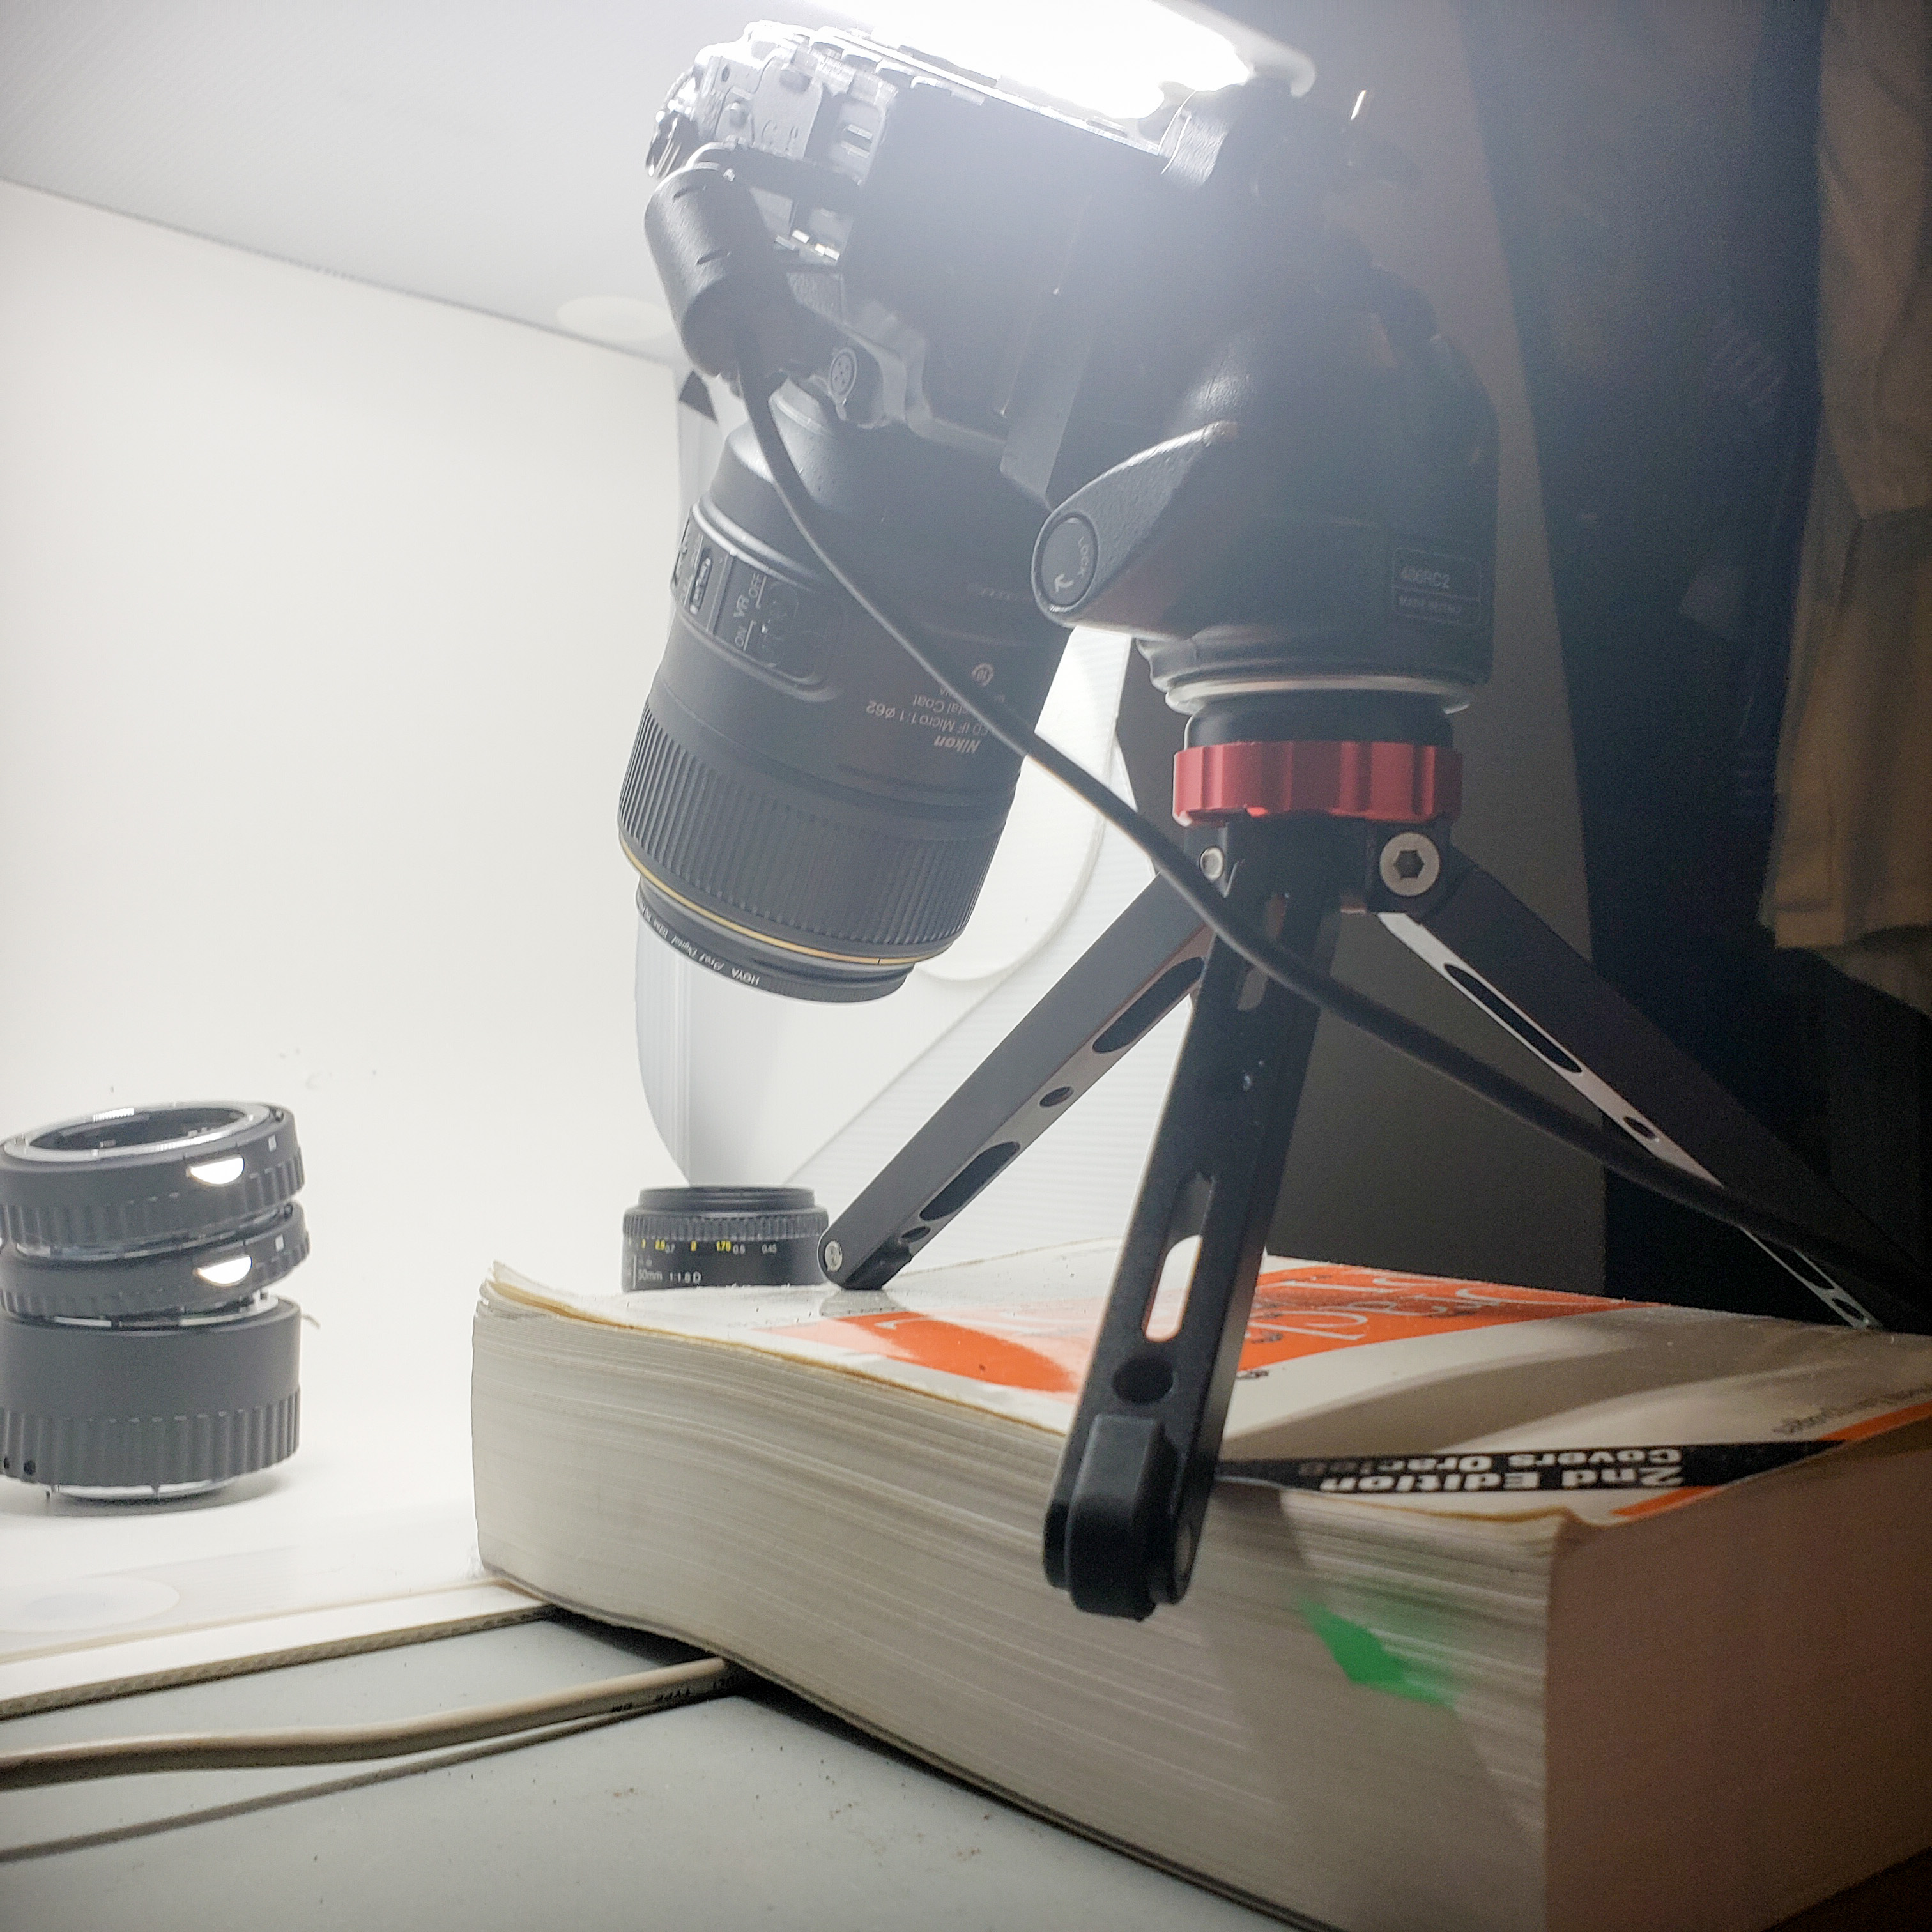
Test setup
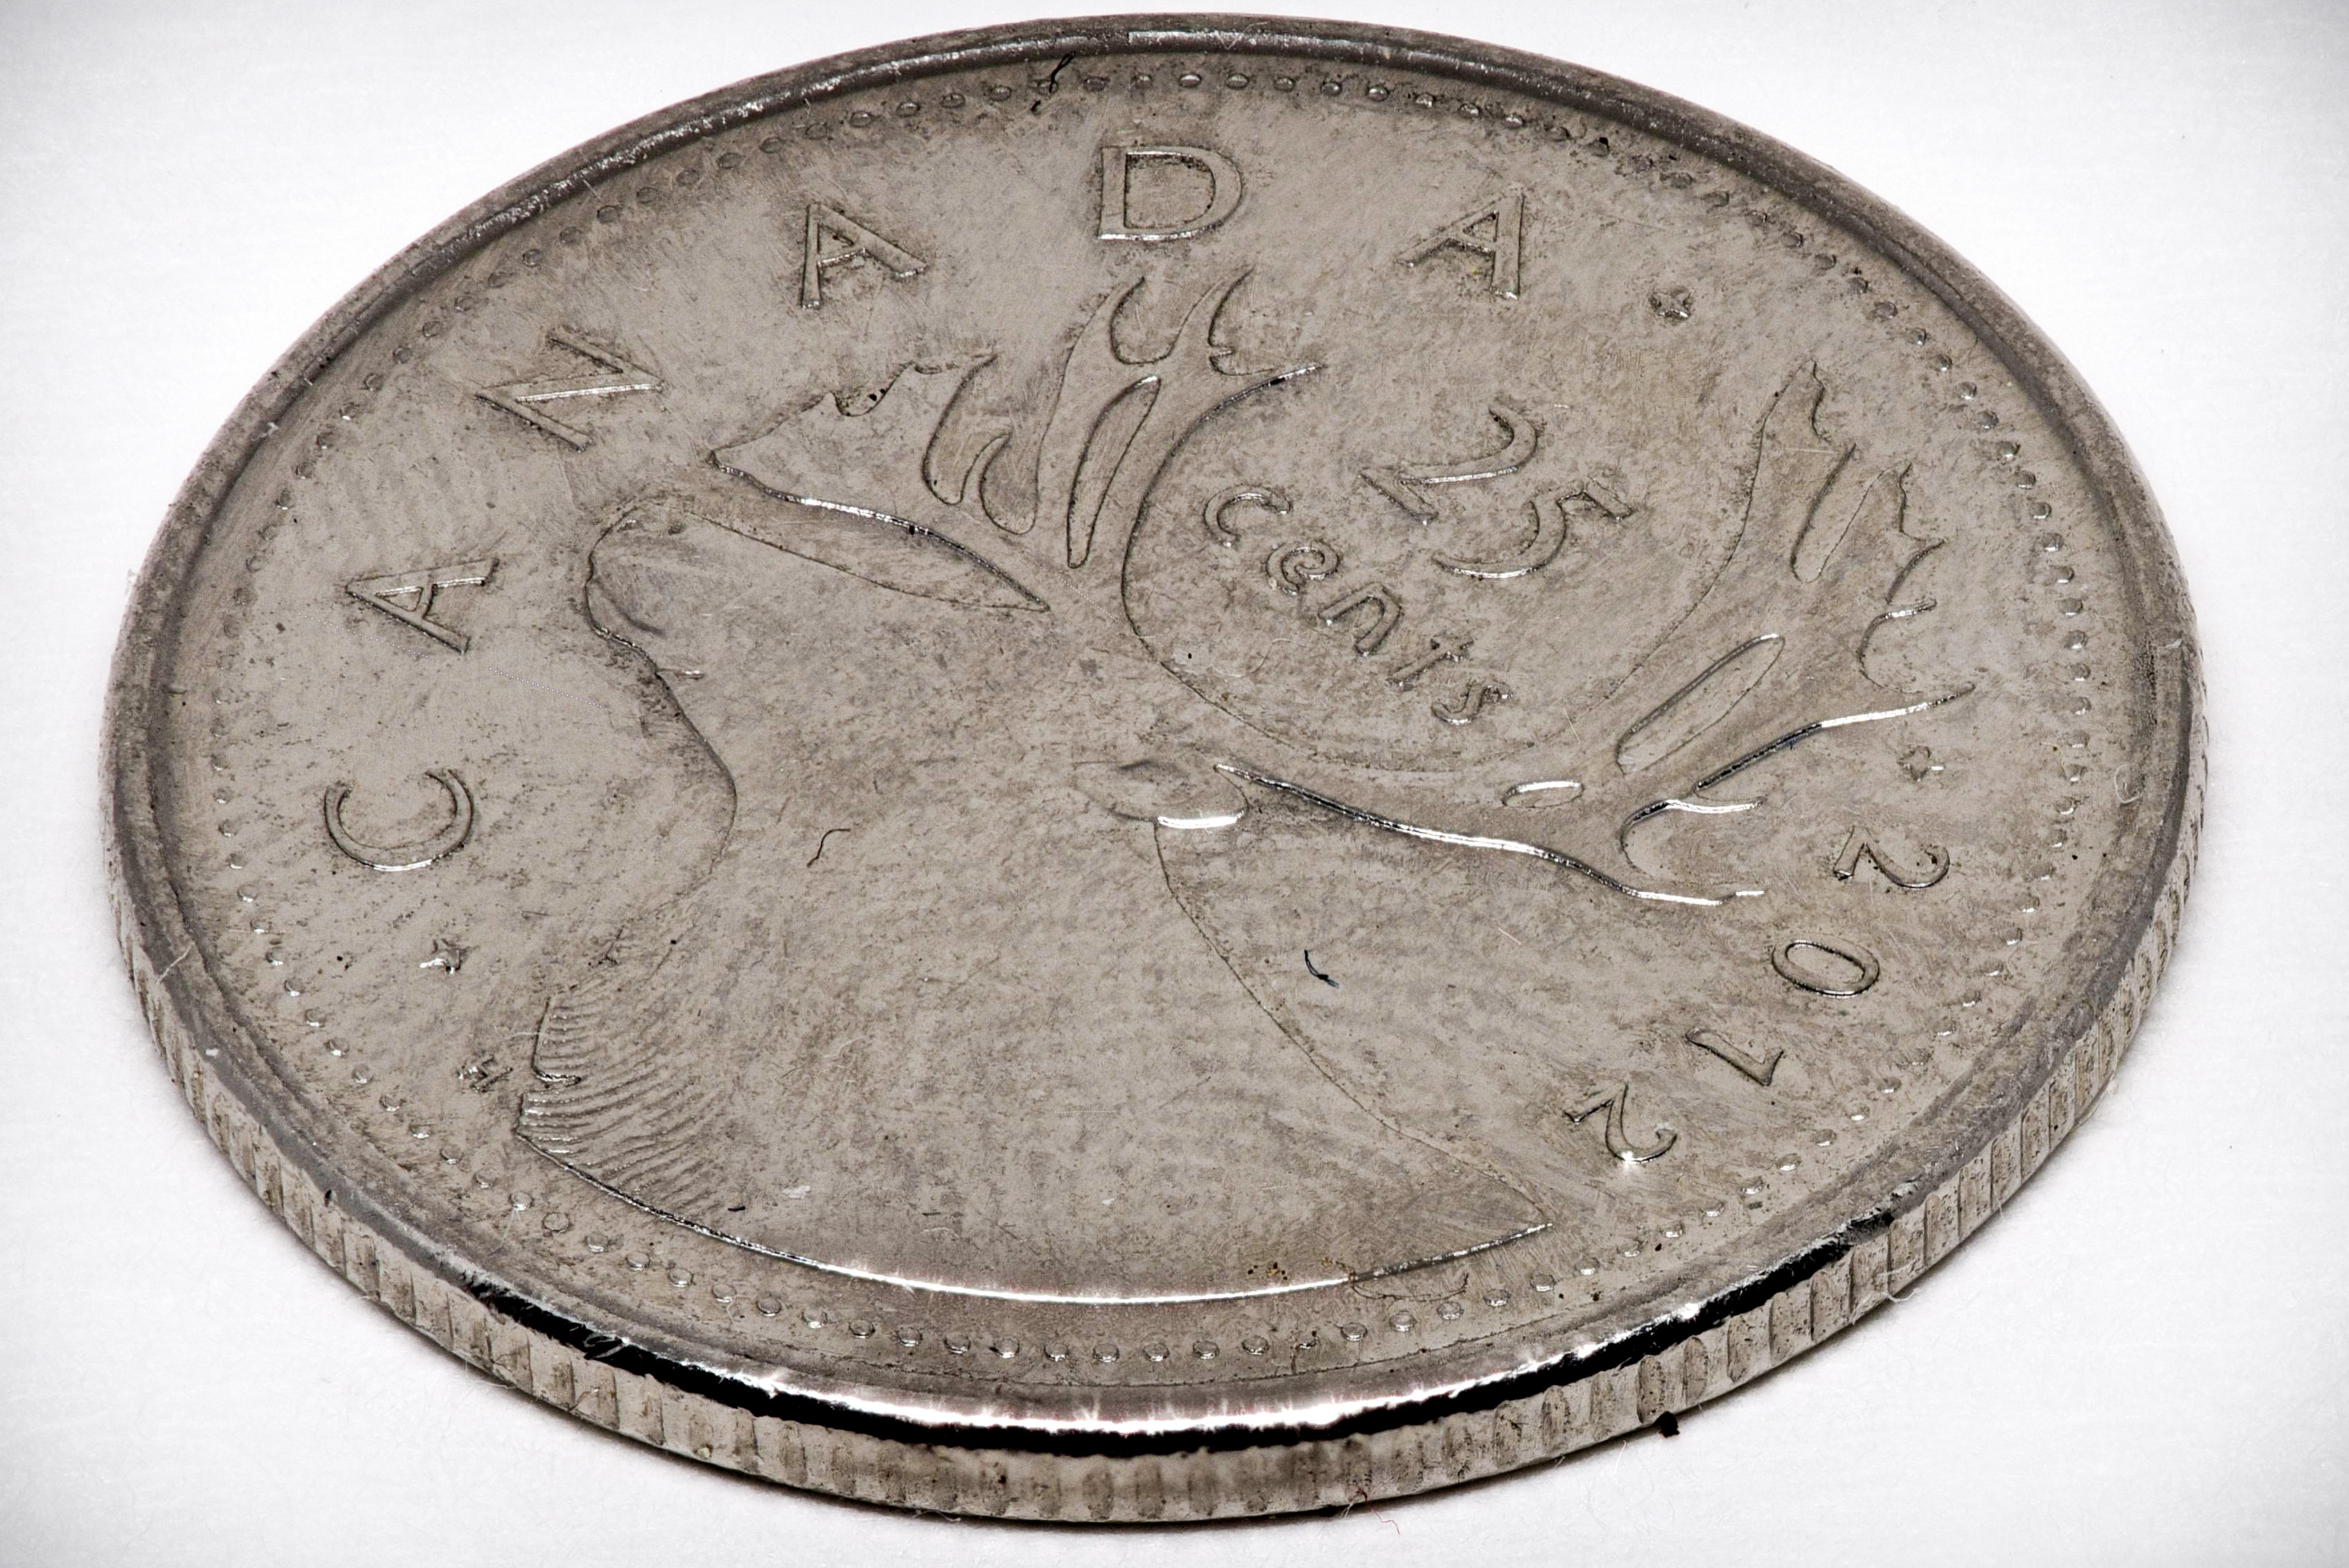
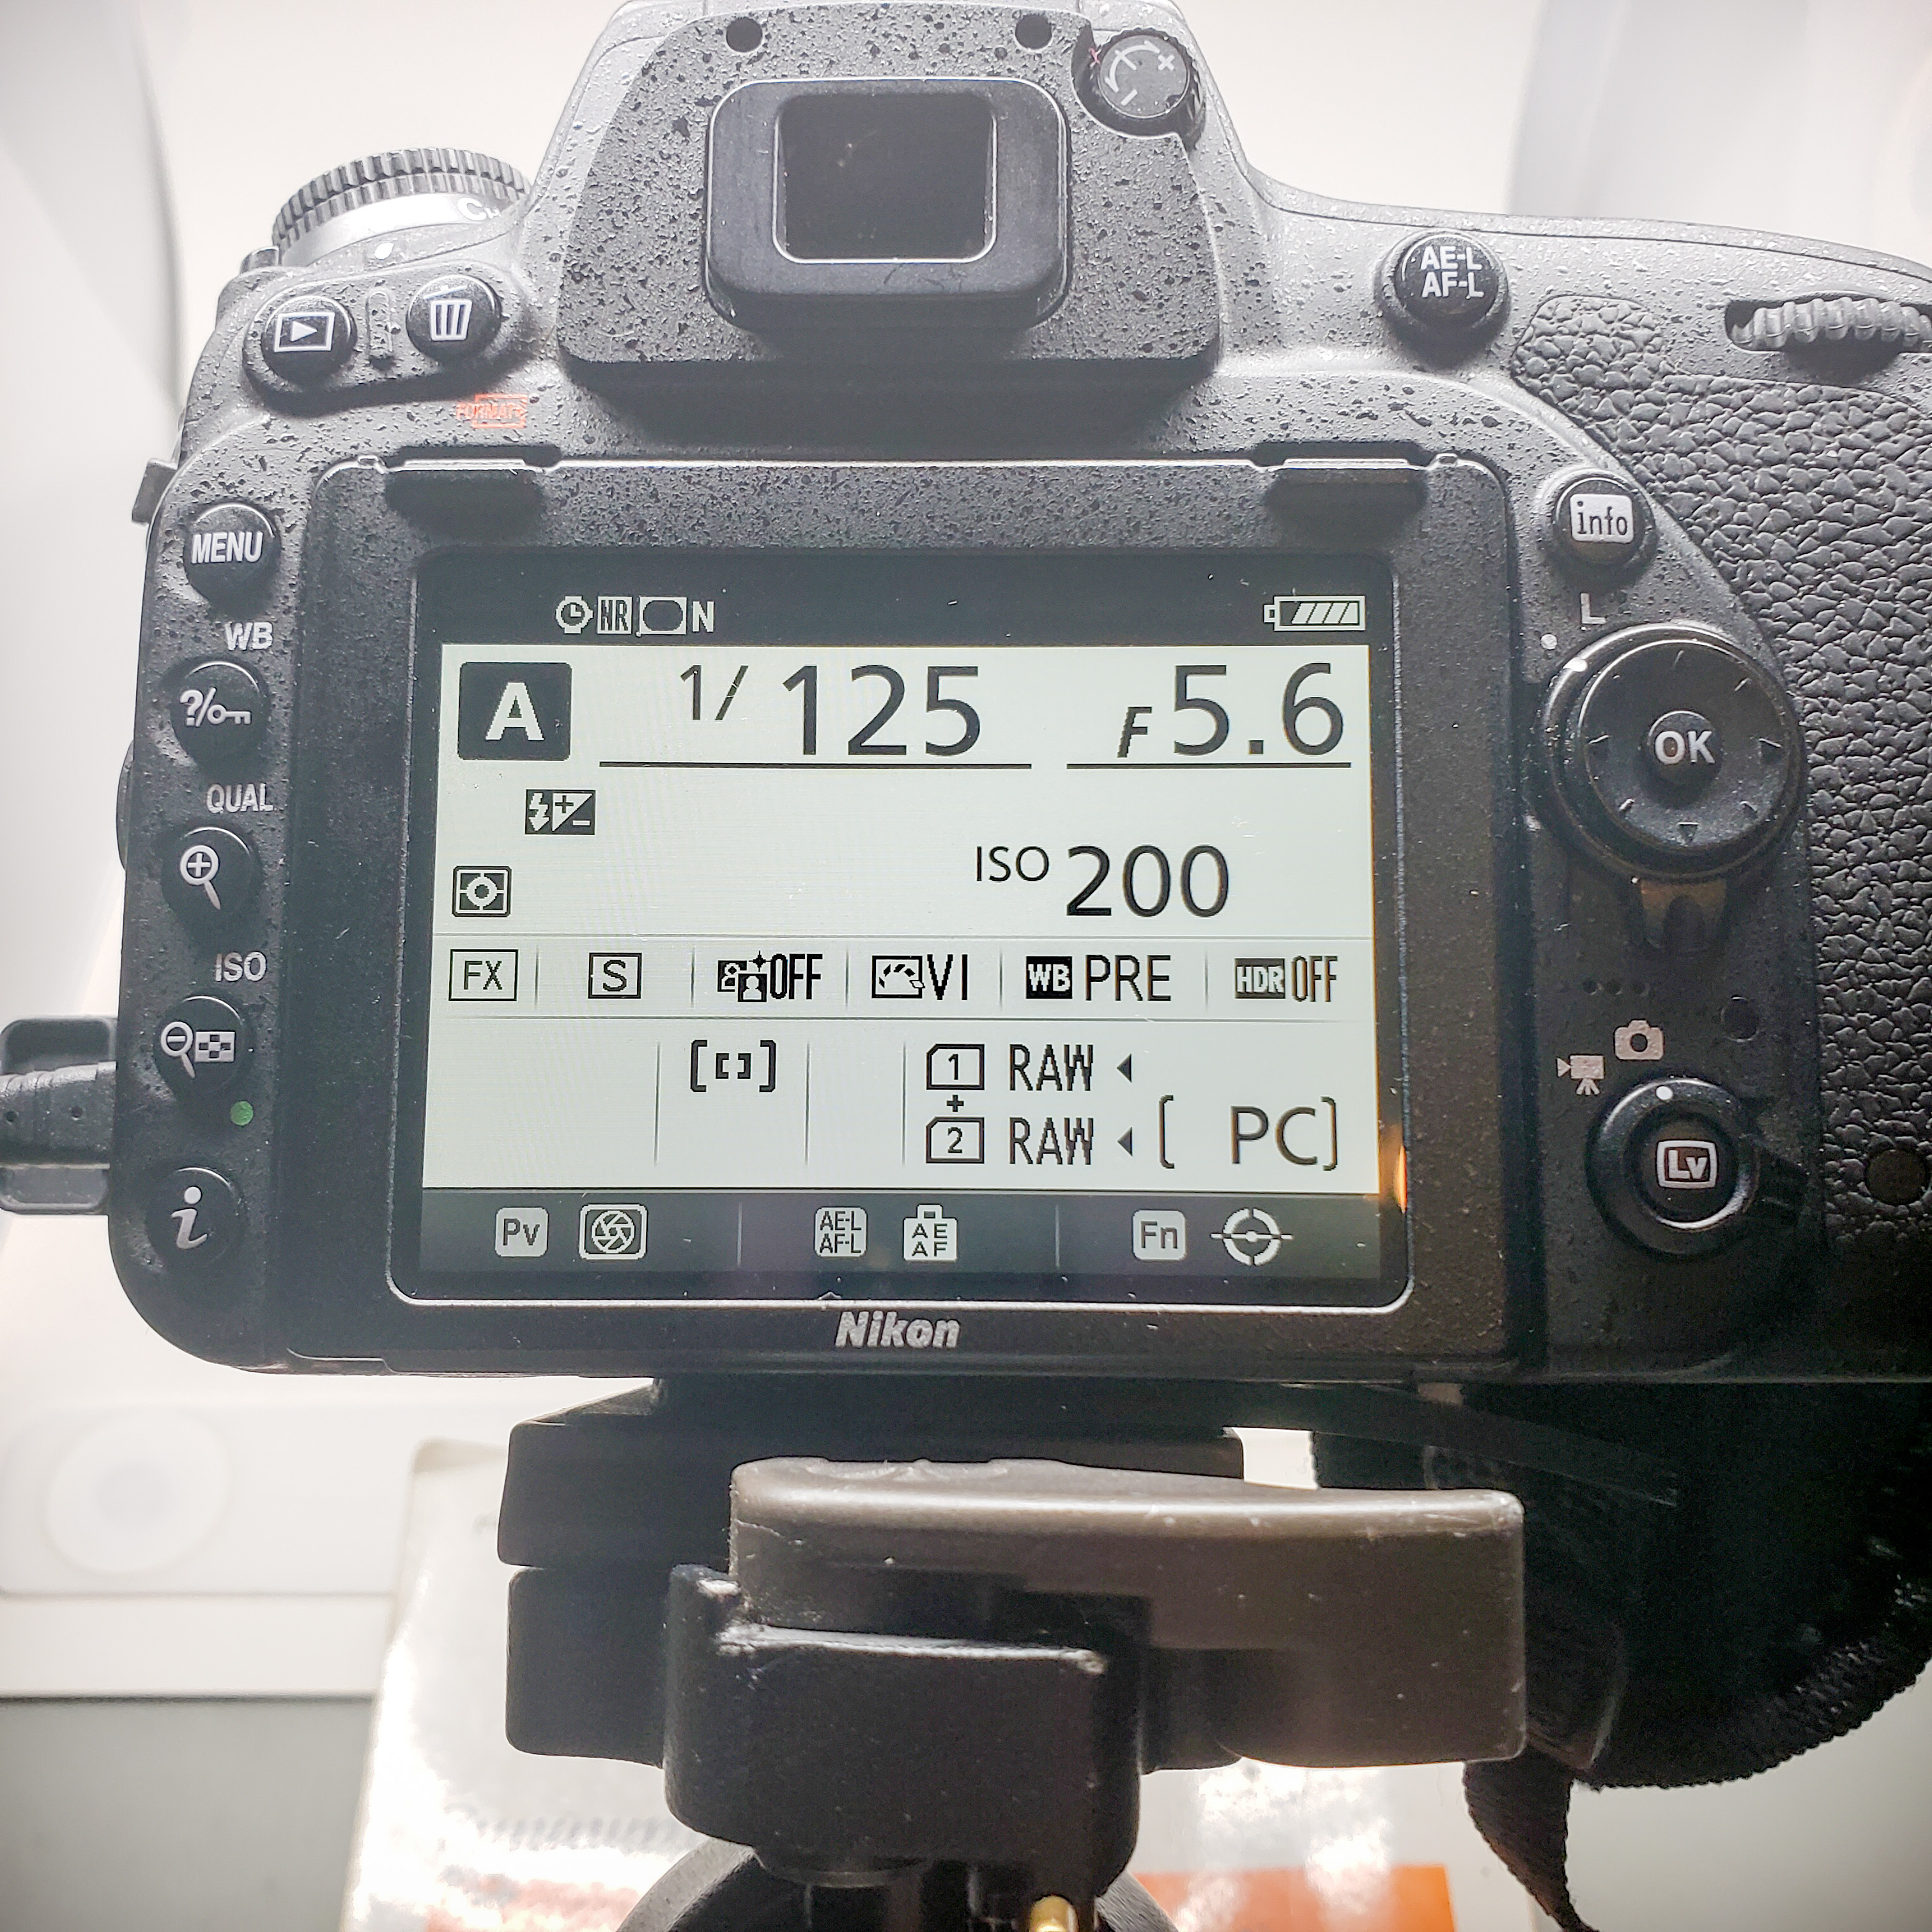
I will be using a Nikon D750 camera, mounted on a mini tripod from Amazon (with Manfrotto ball head), shooting into a Foldio2 light table, and using the closest focus distance for each shot. I will be using a consistent focal length of 5.6 to keep the depth of field reasonably consistent. The camera is set to A (aperture priority), with ISO 200. There may be minor differences in sharpness between the lenses at f5.6, but those should be negligible. I will be using a quarter as the test subject. The distance from subject and angle may change slightly in order to keep the closest focus distance.
Some more notes before we get to the images:
- To show how big and small the images appear on the sensor, there is no cropping, so some images may seem like a lot of “negative space” intentionally.
- The photos were mostly taken tethered to my PC (I’ll do another blog post on Tethering). The only processing done was “auto tone” so the lighting and white balance appears somewhat consistent between shots.
- I wanted to be able to let you zoom into the photos by clicking on them, but I haven’t figured out how to do that in WordPress. When I do, I’ll update the article so you can look closer, but hopefully images are big enough so you get an idea of sharpness and depth of field.
- The lighting may appear different since different angles and camera height was needed for the different lens combinations.
- This experiment is not a review or recommendation, just the raw data from an experiment. I will let you zoom into the pics and decide what you think is sharper and more aesthetically pleasing.
Macro Lens Only (105mm at f5.6)
Our first photo is that using the Nikon 105mm macro at f5.6. Note how large the coin looks in terms of the whole image (no cropping). Even at 5.6, the depth of field is pretty narrow due to the distance from the subject.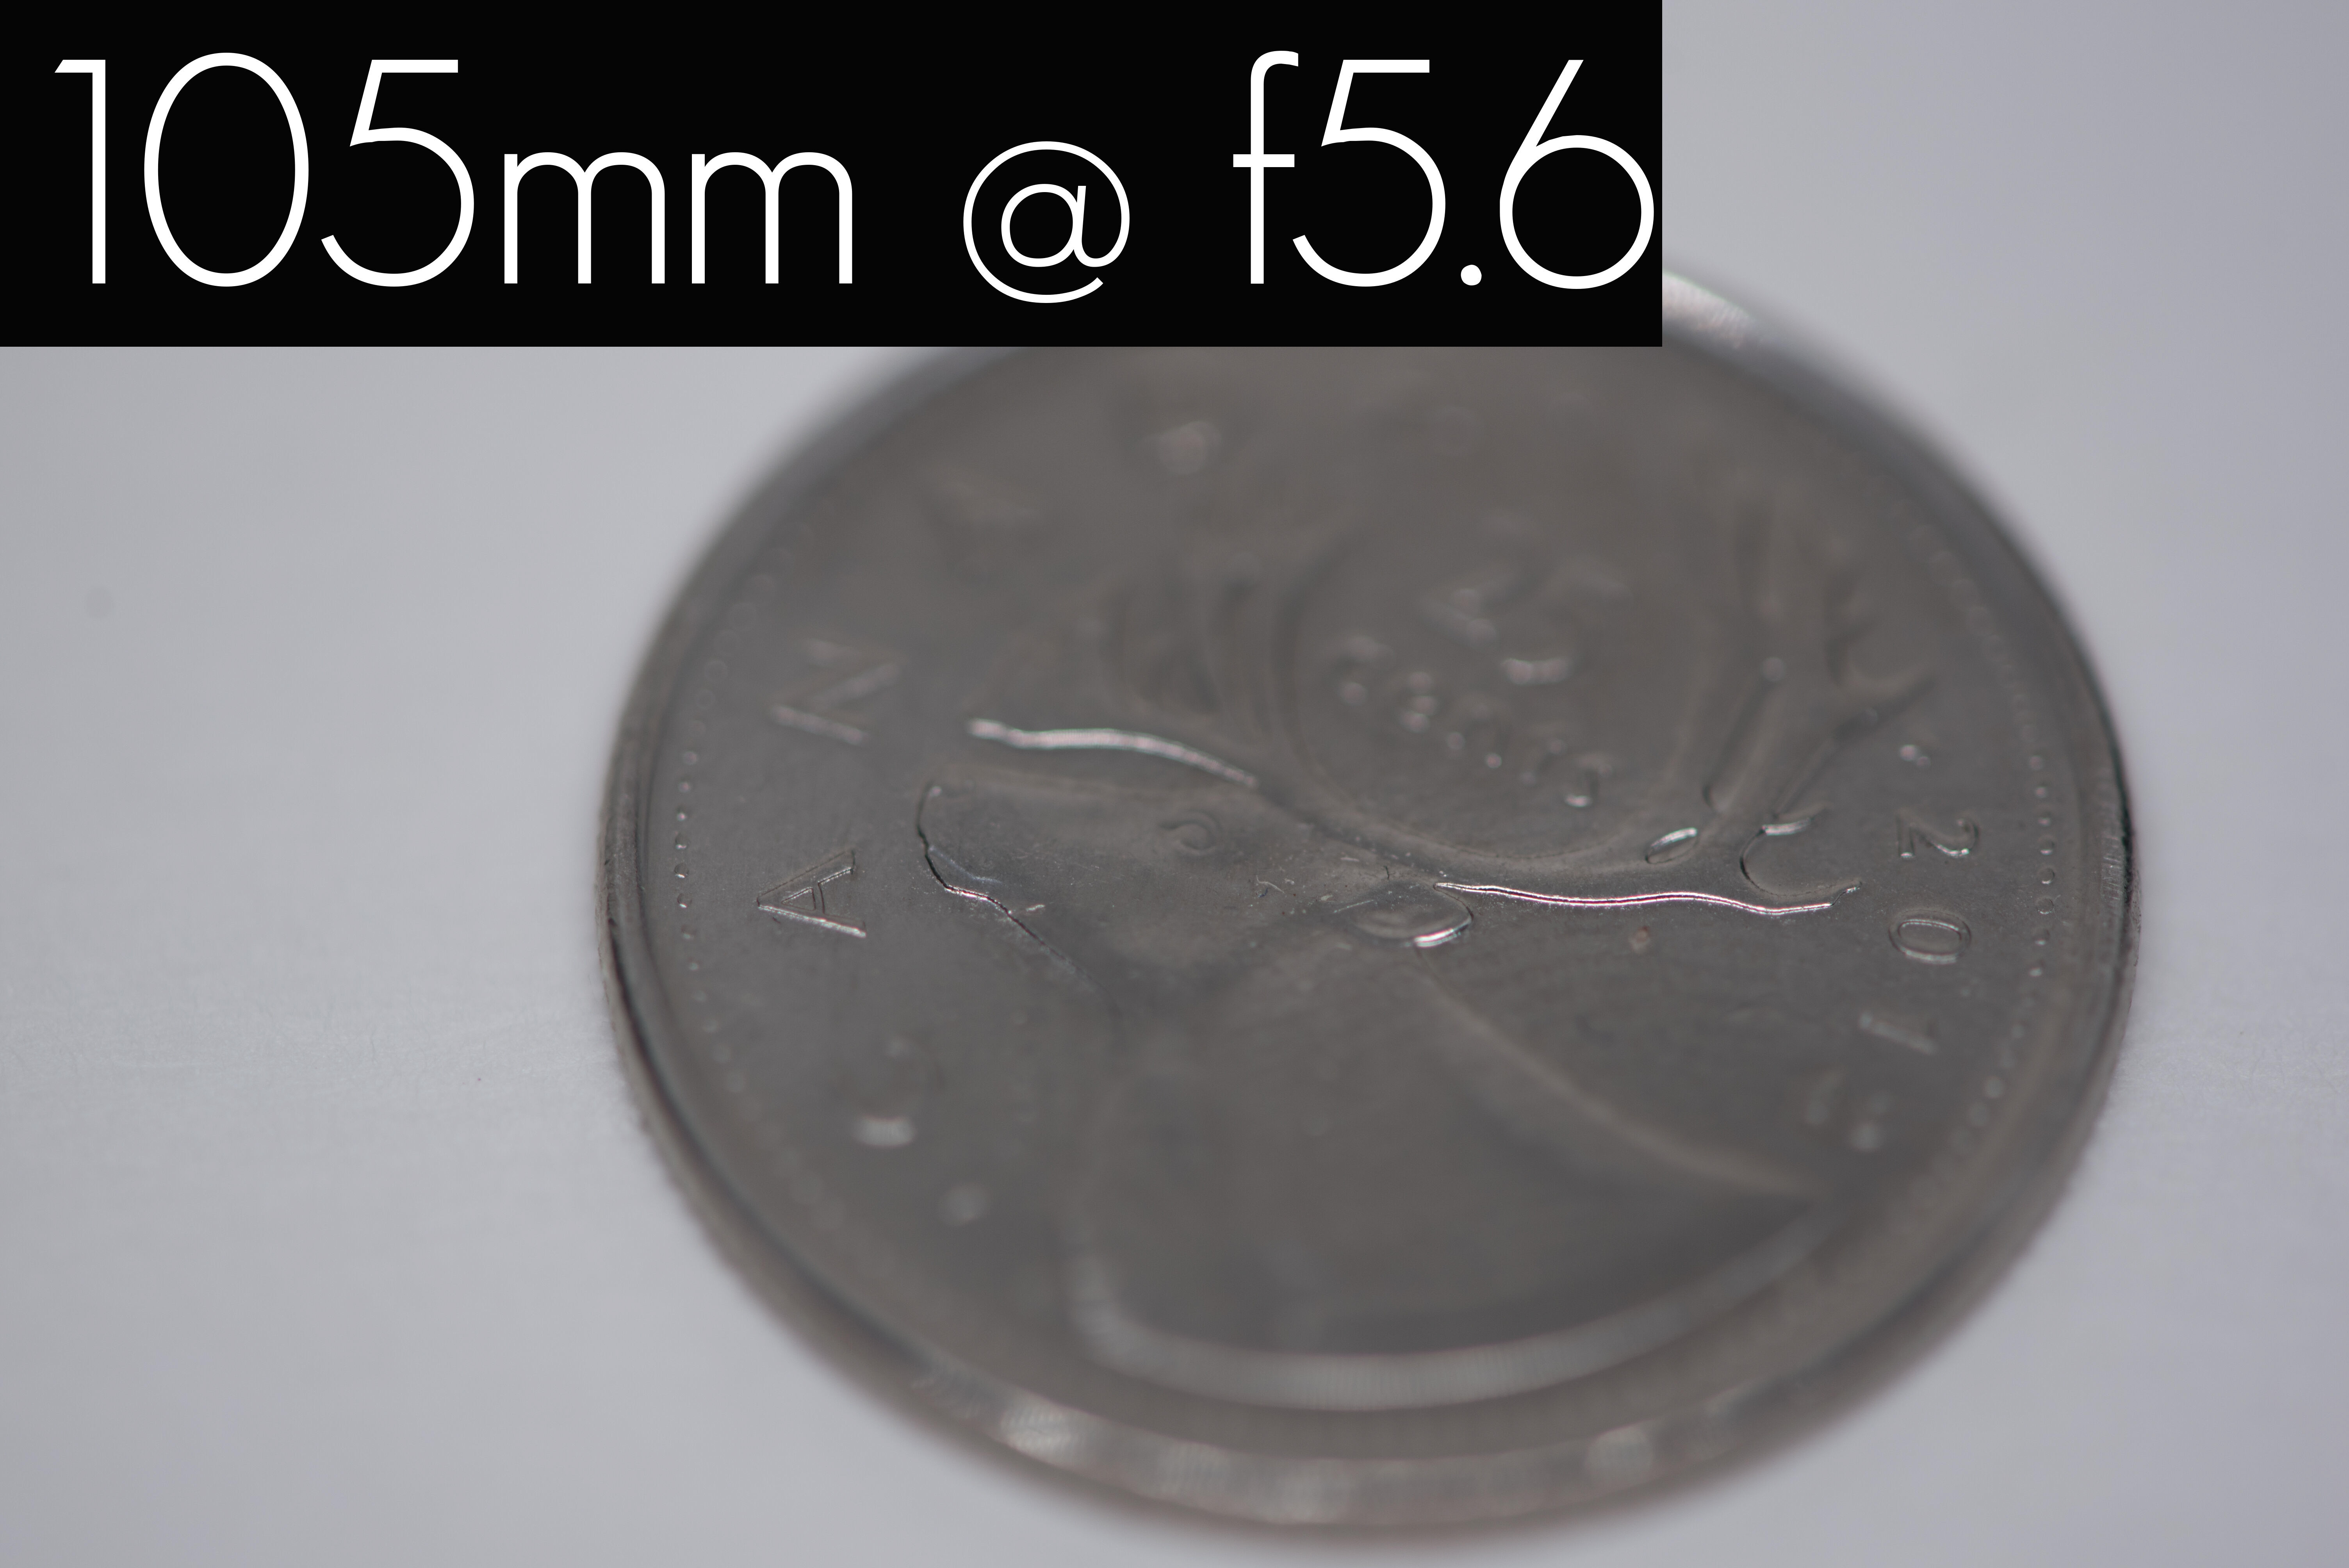
Due to the distance needed to the subject, I needed to prop the mini tripod onto a book.
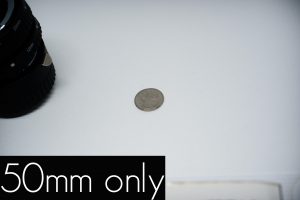
50mm only
Ok this is not a macro shot, but just for baseline and reference, here’s a shot of the quarter with only the 50mm lens shot at f5.6. The image may not be sharp as I had to hand-hold the camera it was so far away (the closest I could with this lens get and have the quarter in focus).
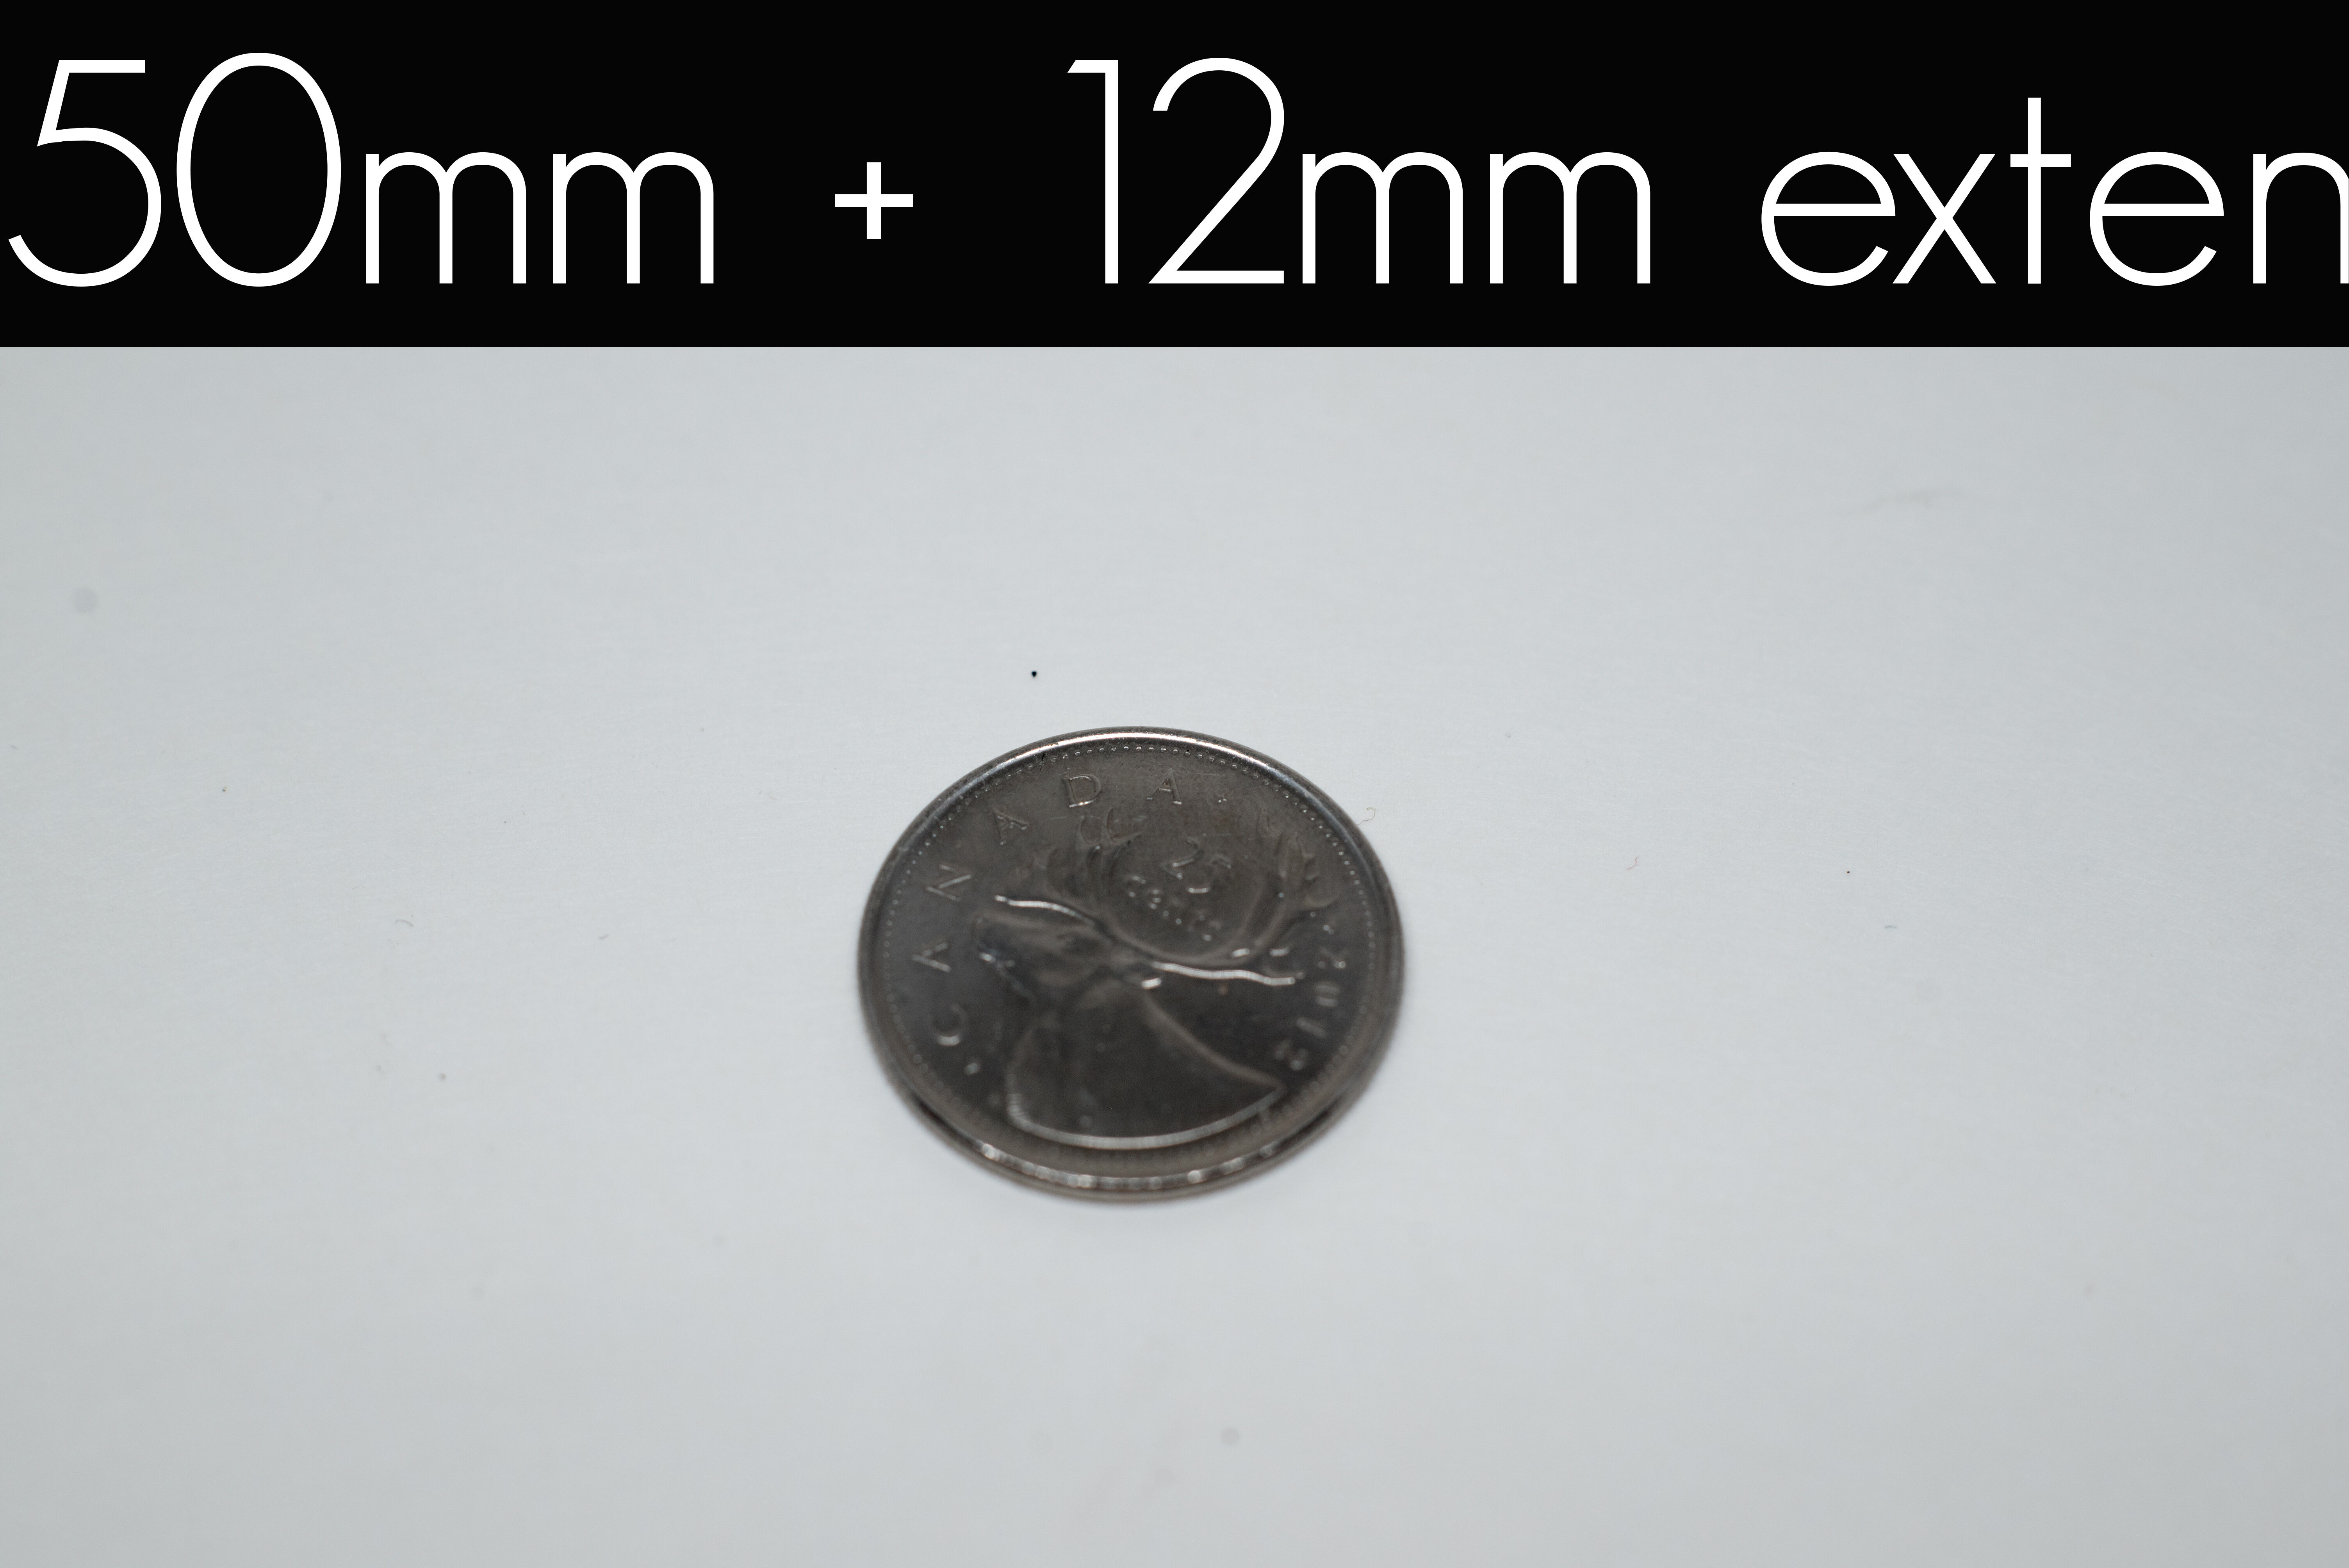
50mm lens with 12mm extension tube
This shot was also taken at f5.6, with the 12mm extension tube between the 50mm lens and the camera. Notice how much close I can get to the quarter than with no extension tube. The lens is about 14cm from the quarter (the closest I can get). The quarter is mostly in focus from top to bottom.
50mm lens with 20mm extension tube
This shot was also taken at f5.6, with the 20mm extension tube between the 50mm lens and the camera. The lens is about 11cm from the quarter (the closest I can get). The quarter is even closer than with the 12mm tube, as expected. The quarter is still pretty sharp and in focus.

”
‘
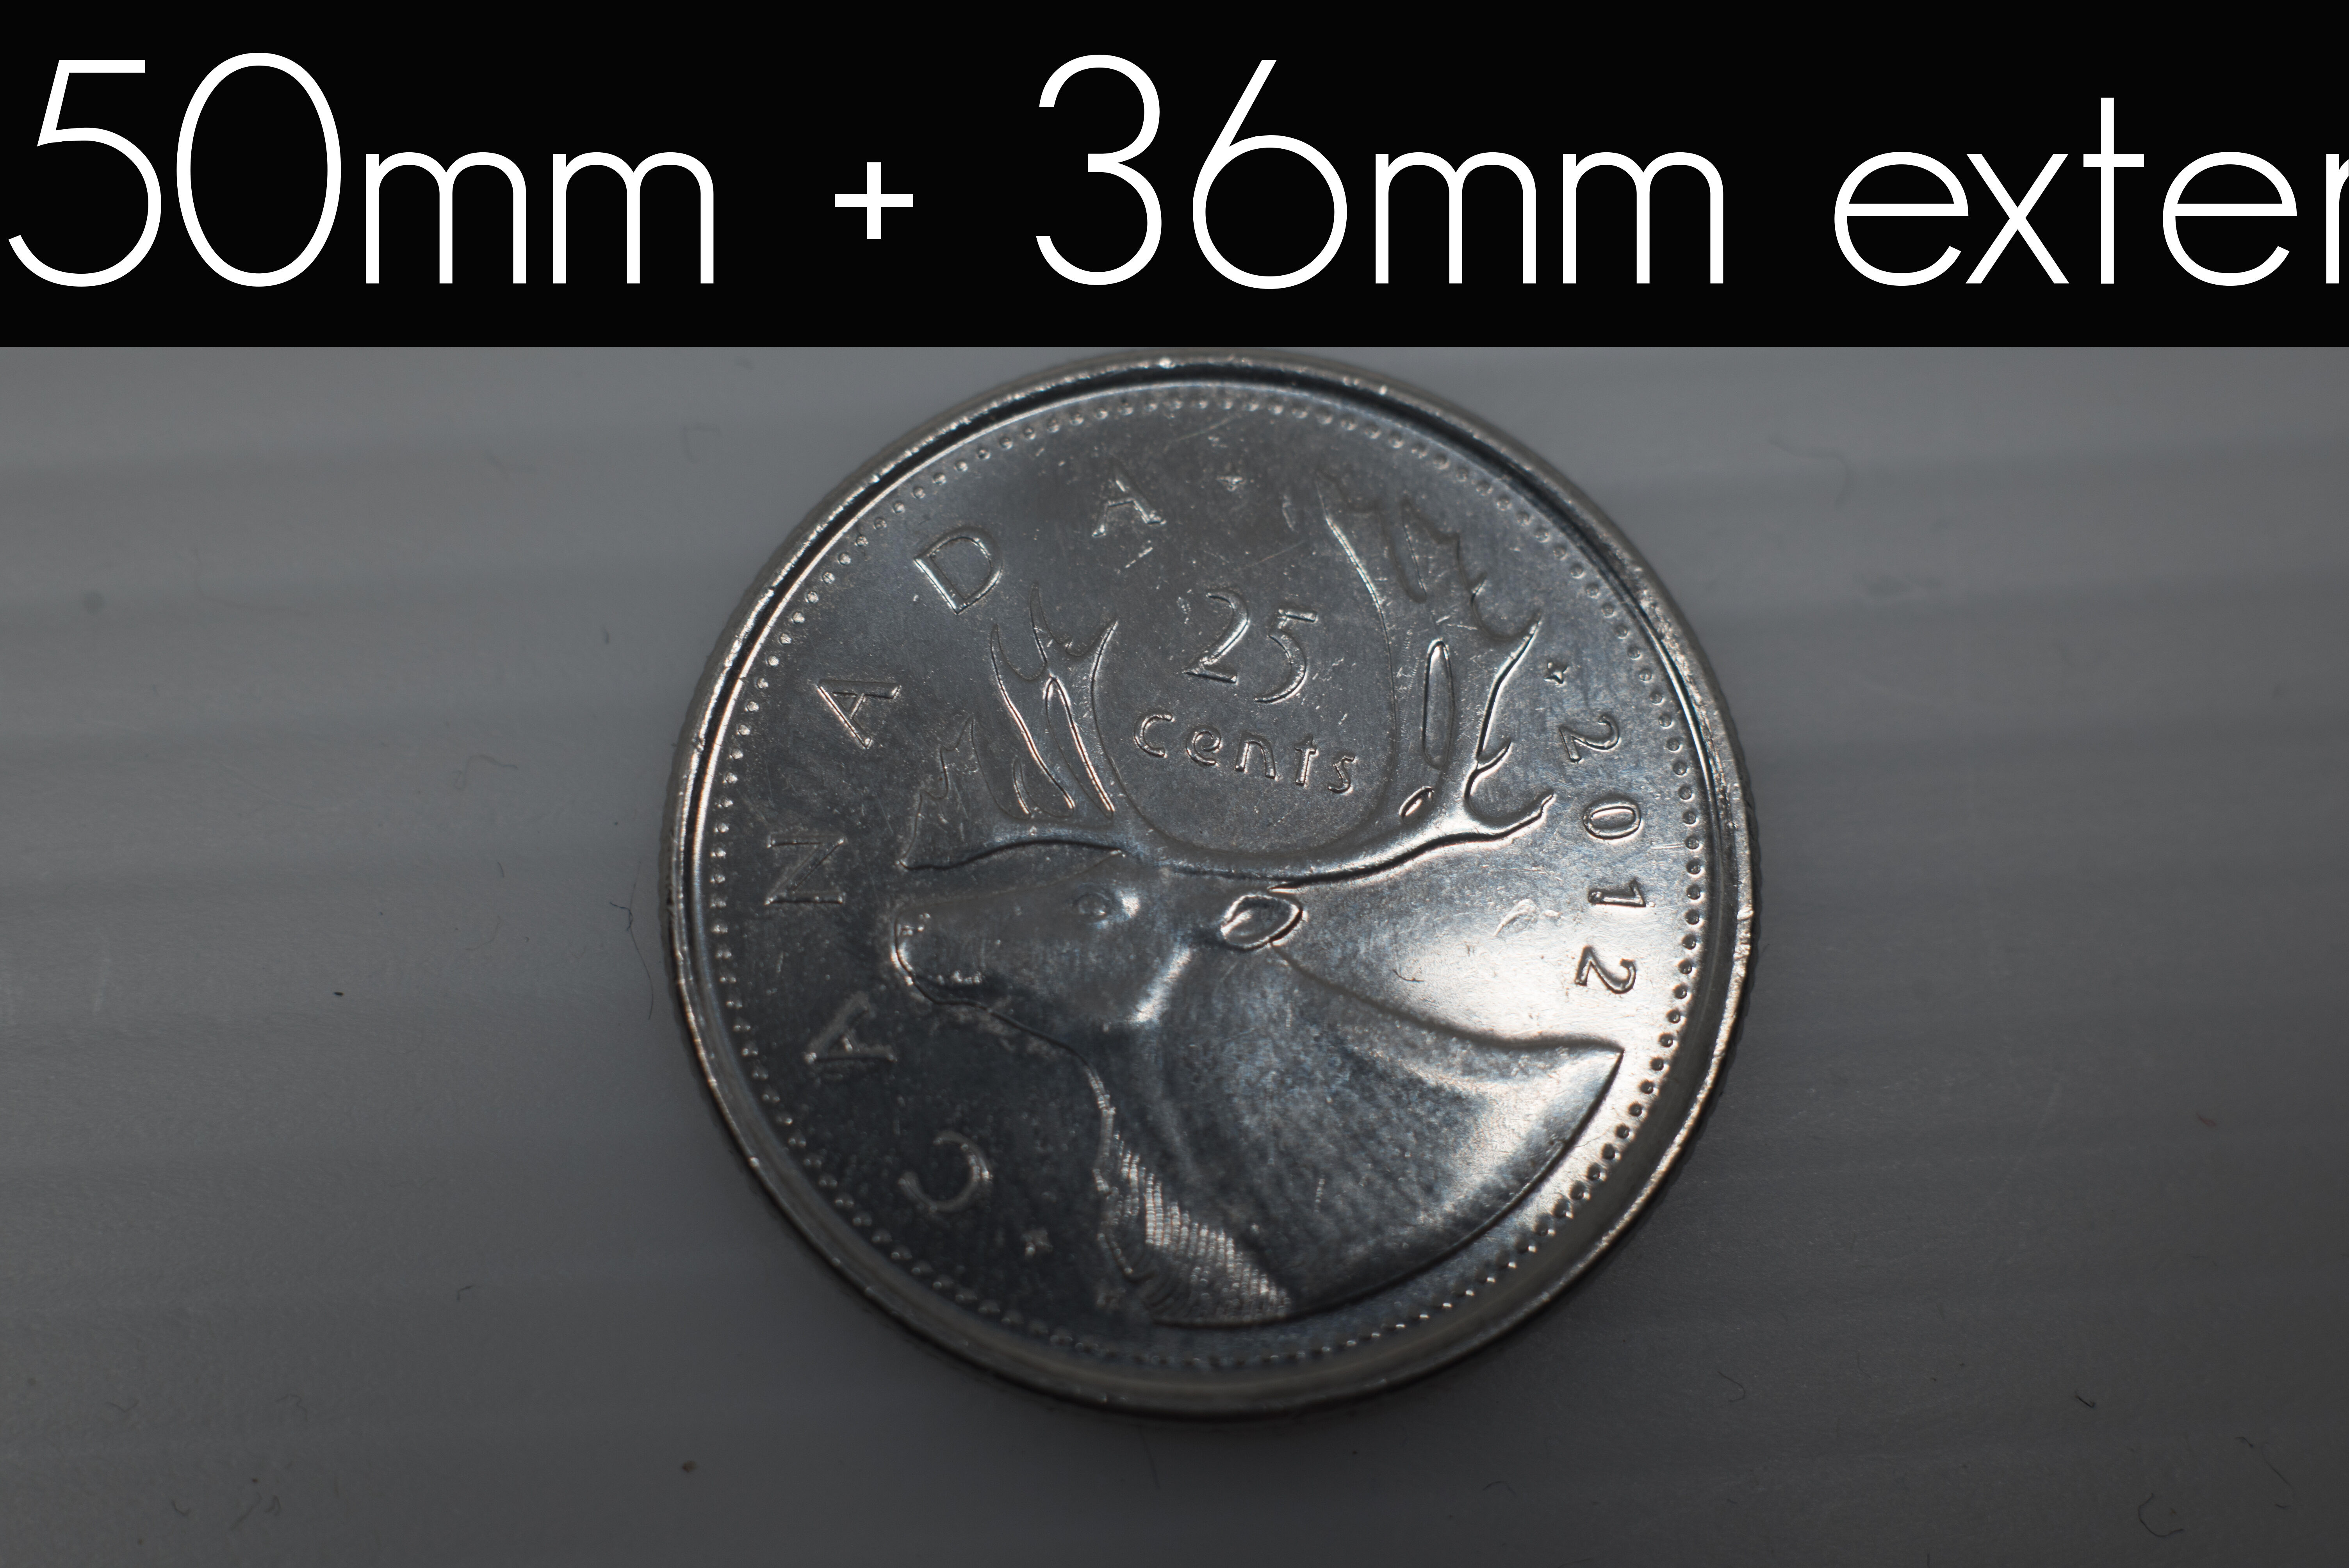
50mm lens with 36mm extension tube
This shot was also taken at f5.6, with the 36mm extension tube between the 50mm lens and the camera. The quarter is even closer than with the previous tubes, as expected. I have to get the lens pretty close to the quarter (approx 9cm). The quarter is still pretty sharp and in focus. The quarter looks much different with the lighting because the camera is almost completely overhead from the quarter, as opposed to at an angle from it.
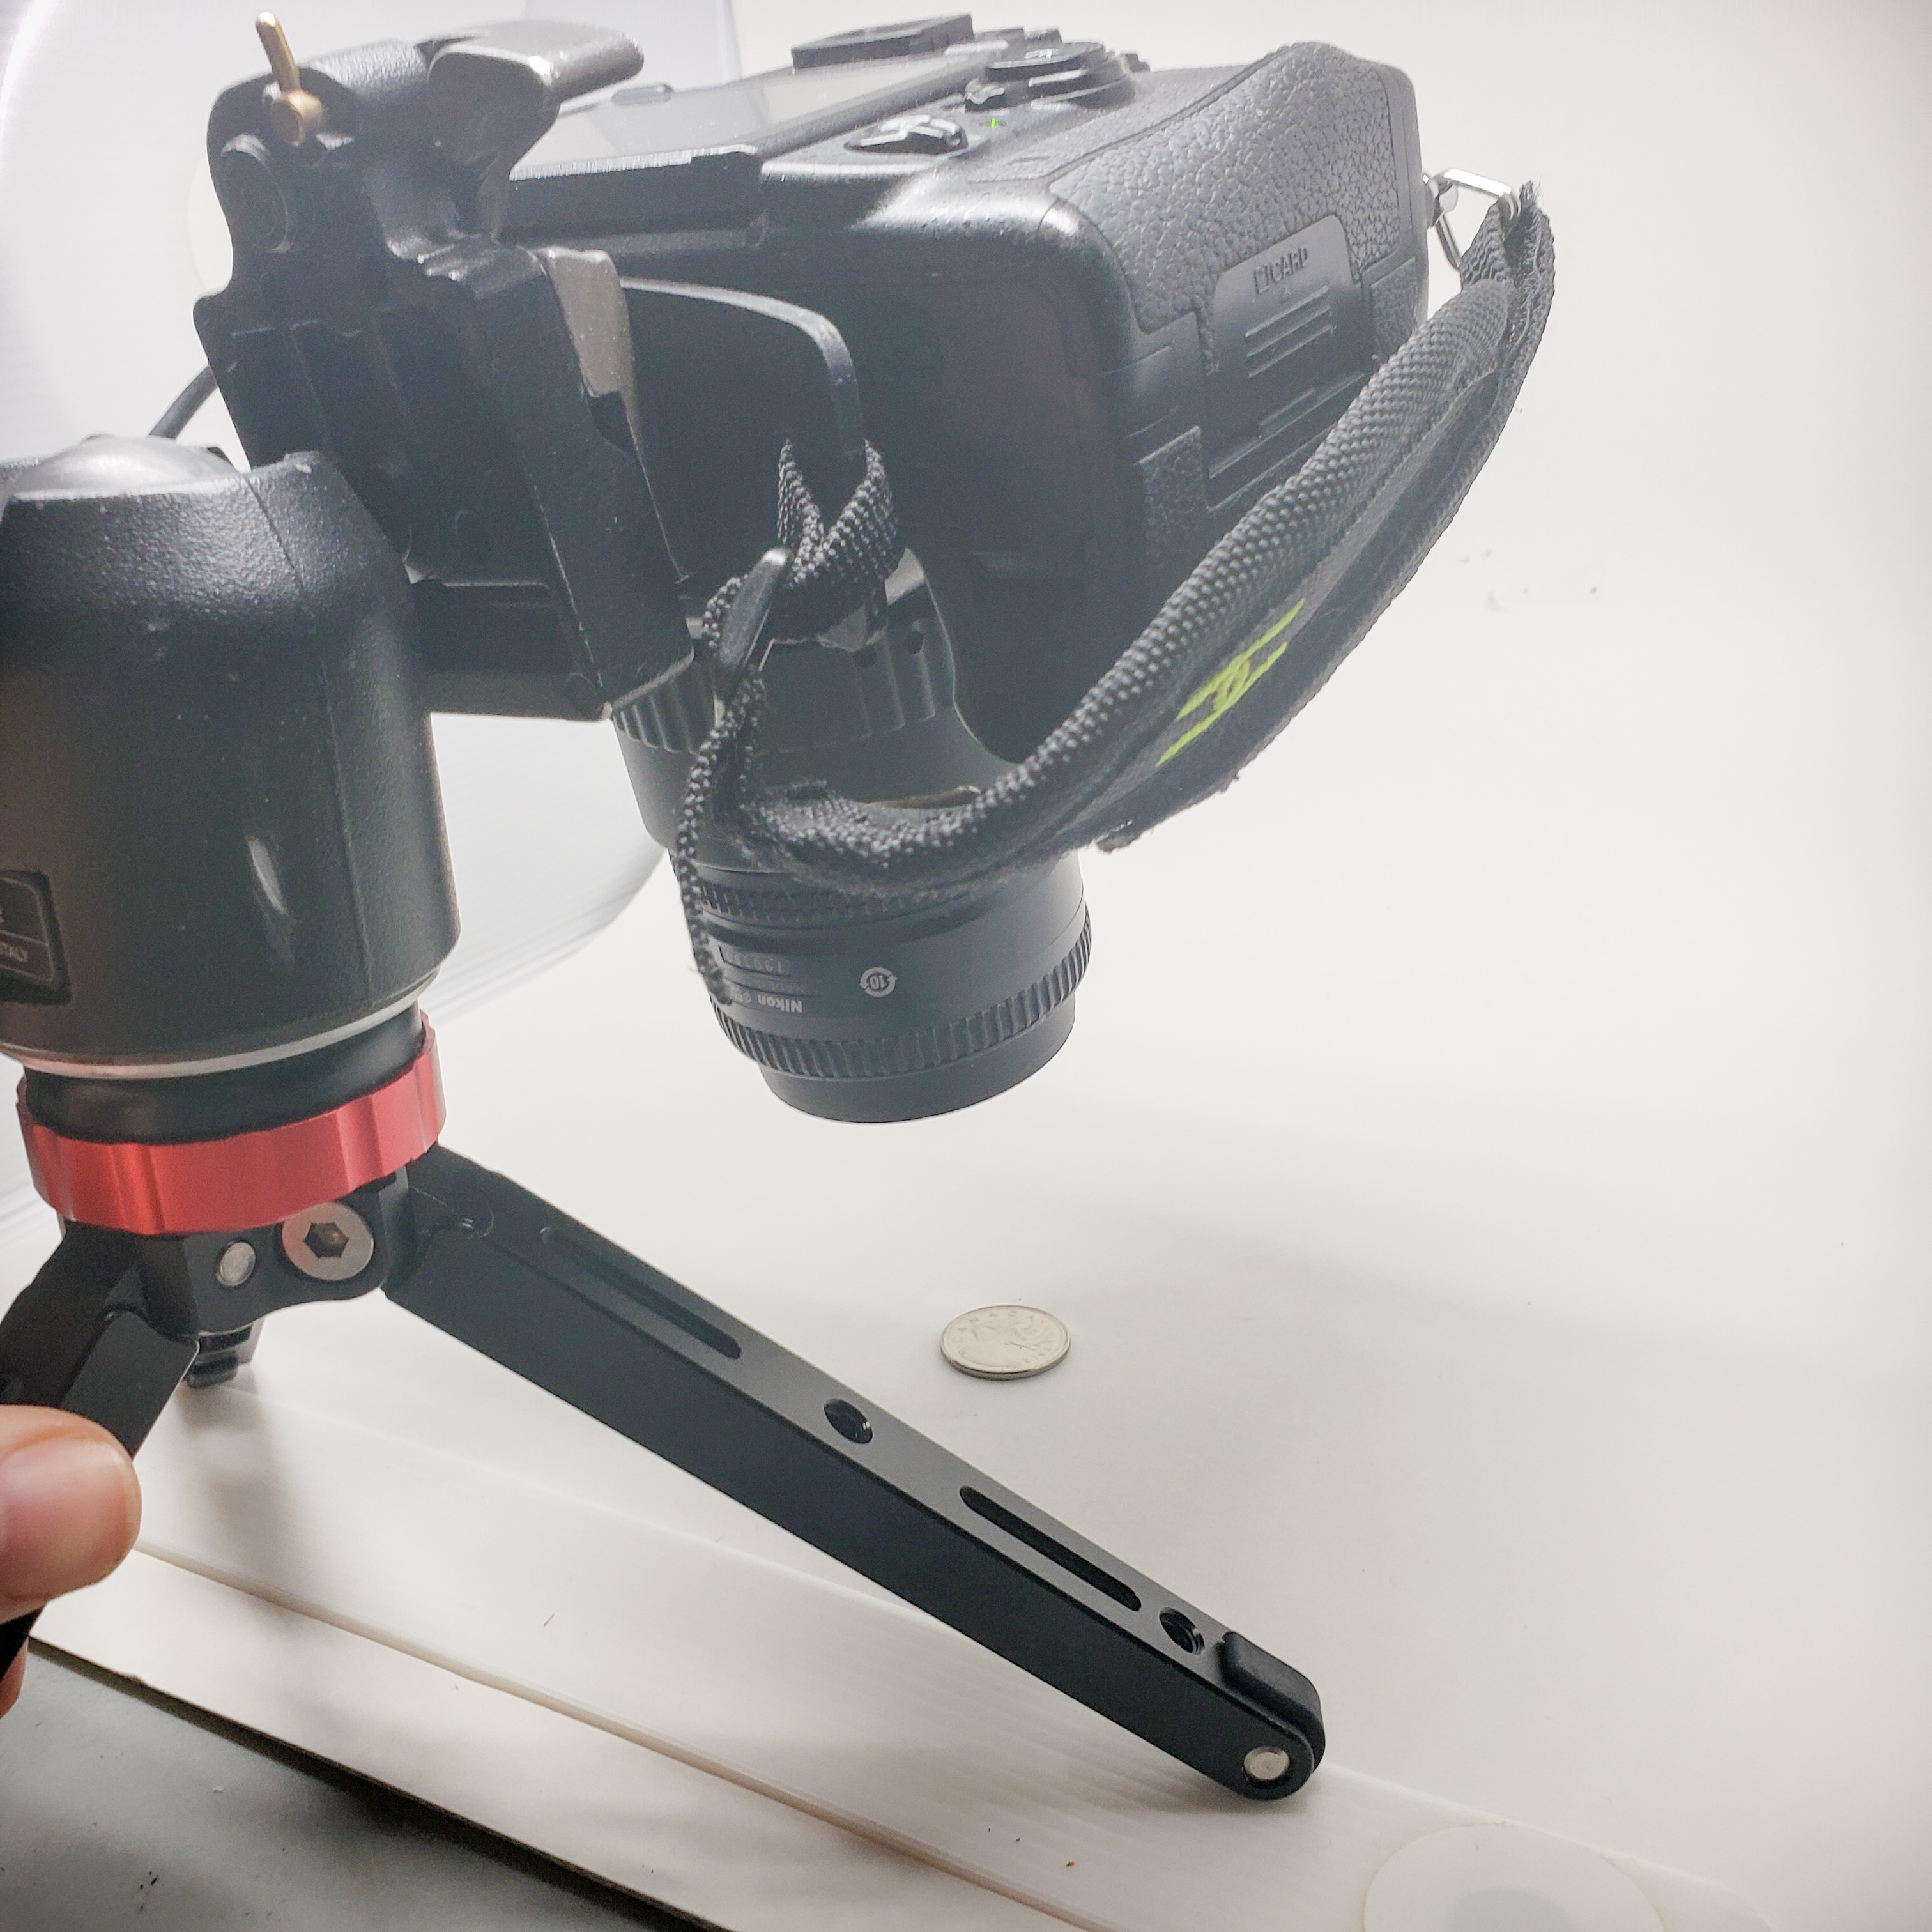
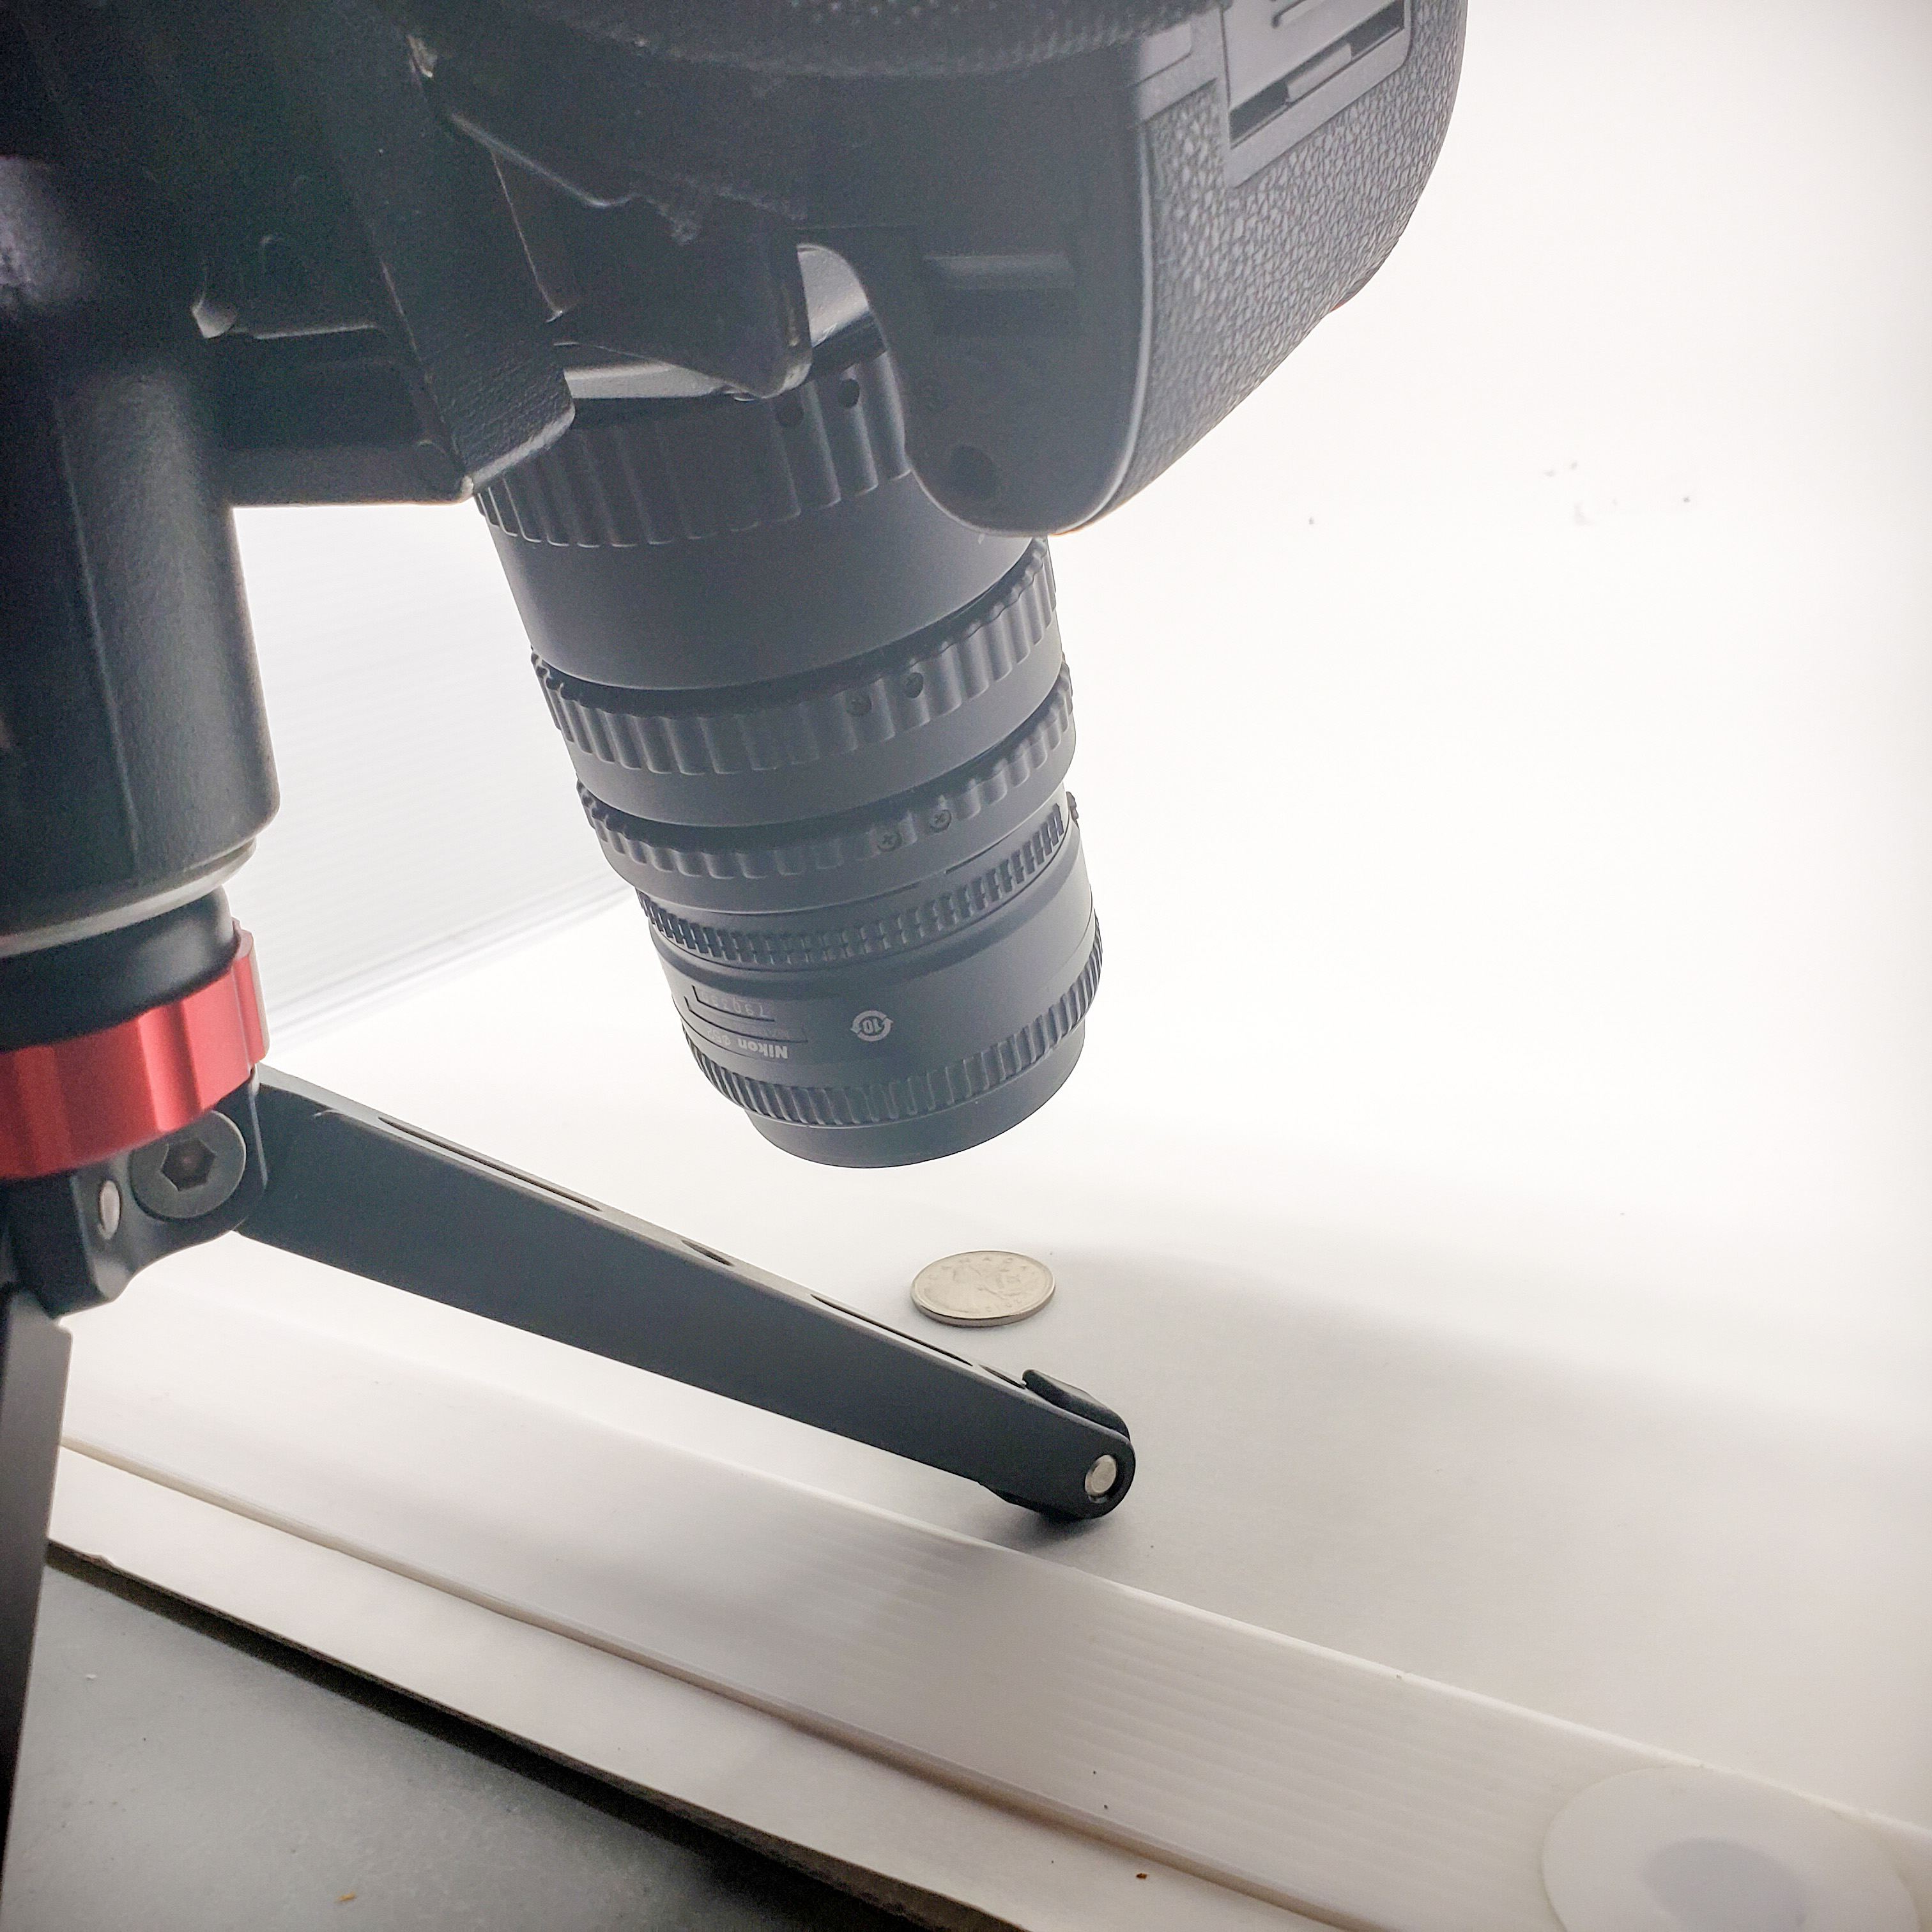
Here’s what the 50mm looks like with the 36mm extension tube attached (and how close we can get):
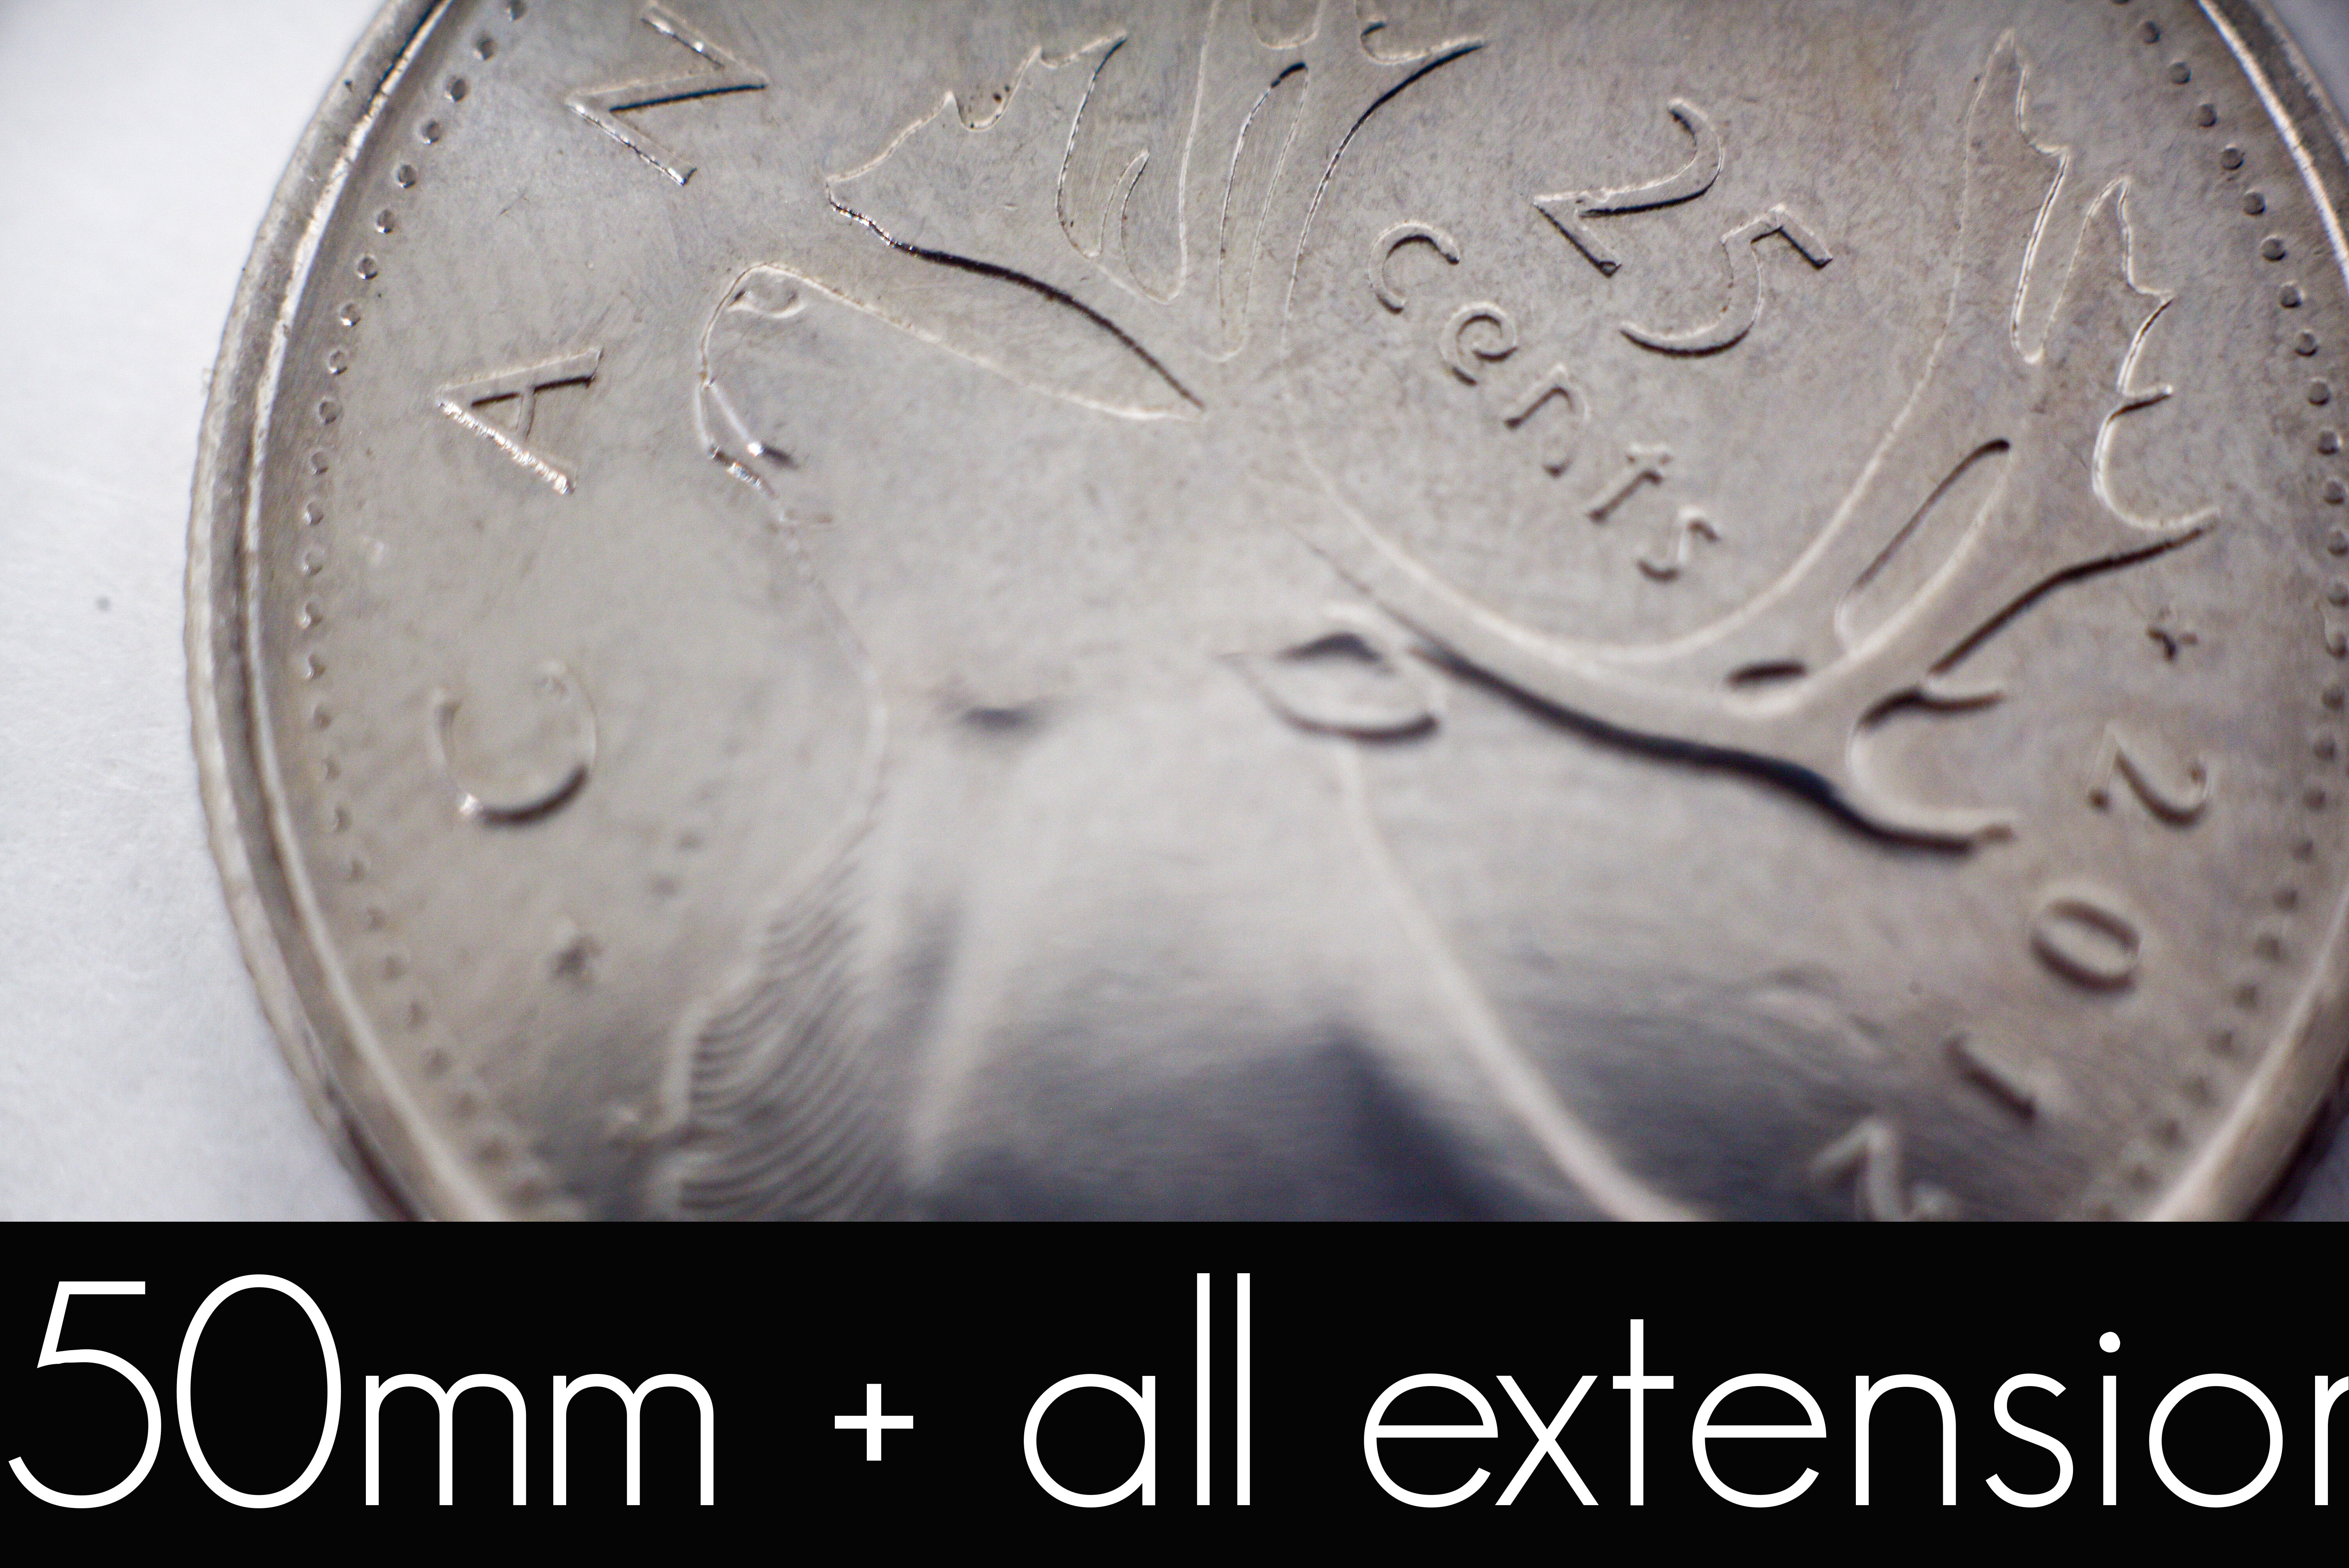
50mm lens with all extension tubes
Here we have the 50mm with 12mm+20mm+36mm. If my math is correct, that’s 68mm equivalent extension tube. The quarter appears closer than 1:1, and is fairly quite in focus with a decent depth of field.
Here’s what the 50mm looks like with all tubes connected (and how close we can get):
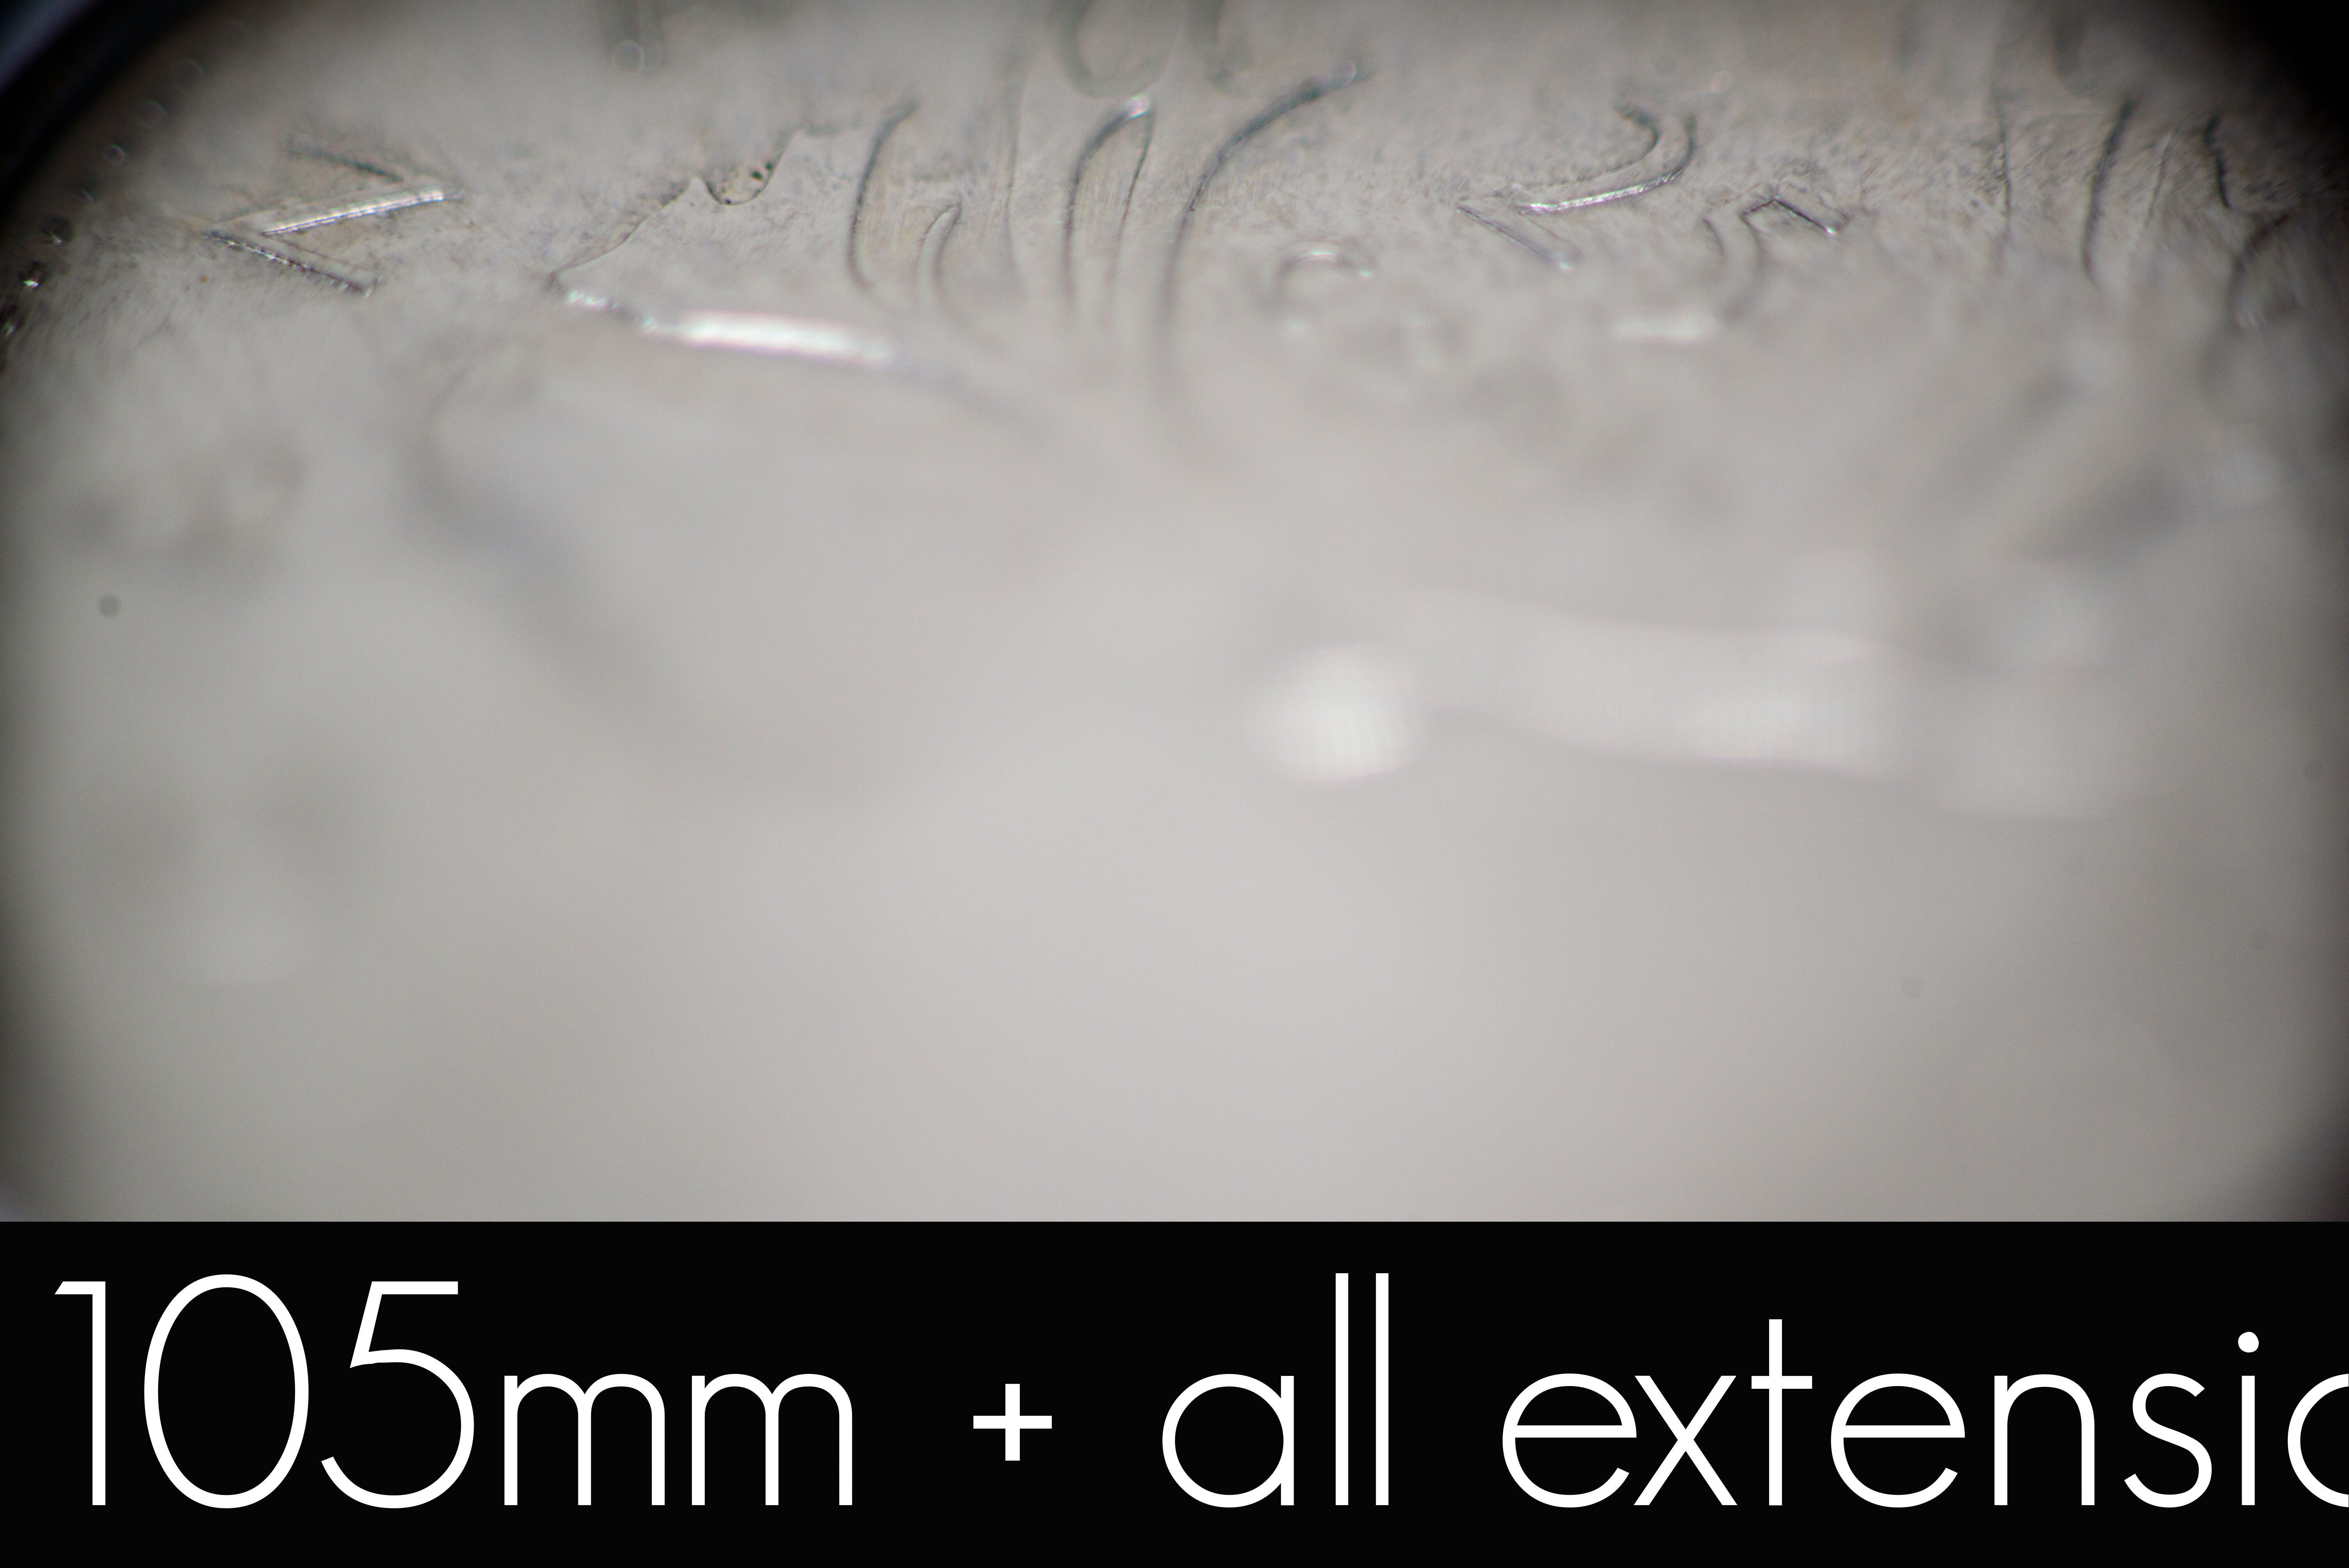
105mm macro with all extension tubes
Now the real reason I bought the extension tubes was to use with the macro lens. (I bought the macro lens much earlier than the tubes). So here’s what that looks like at f5.6. It’s definitely closer than 1:1, but with a very narrow depth of field. Depending on what you are trying to achieve with your photo, this narrow DoF could be good or bad.
Bonus shots
Now that we covered what we set out to do, let’s look at some photos outside the parameters we have set out for this experiment.
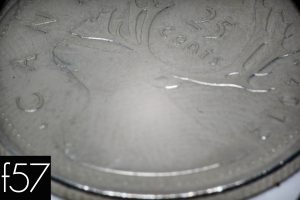
Since the 105mm with all extensions is super narrow depth of field, I wanted to try with different aperture settings. The 105mm macro is able to stop down to a whopping f57 (many lenses only stop down to about f22, for example).
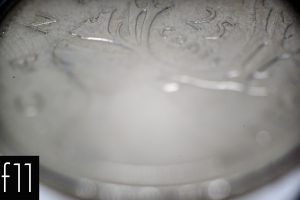
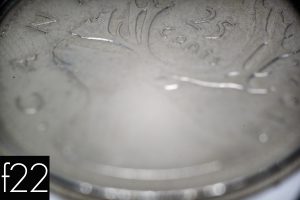
Here are some of the various other aperture settings. The aperture setting is captioned in the photo.
At f11 the depth of field is quite a bit larger than at f5.6, as more of the quarter is now in focus.
At f22, even more of the quarter is in focus (wider depth of field), and the image is still pretty sharp. But even at f22, only about half the quarter is in focus.![]()
At f57, the smallest aperture the macro lens will go to, the quarter is mostly in focus, and still reasonably sharp. Even at this setting, you’ll see the bottom of the quarter is out of focus. And at this aperture setting, you will definitely see any dirt on your sensor or lens!
Conclusion
I know I said this wasn’t a review, but here are some thoughts. Using macro lenses or using normal lenses with extension tubes are both means to get decent macro photographs. The Nikon macro 105mm lens is relatively expensive, but a phenomenal lens not only for macro photography, but also great for things like portrait photography, with it’s sharp and fast f2.8, with VR (vibration reduction). I have no experience with other macro lenses, but the Canon macro lens also seems to be a great lens. (See comparison at DXOMARK)
Non-macro prime lenses, in particular the Nikon 50mm f1.8 (or Canon’s f1.8), are quite inexpensive, are very sharp, and good alternative for macro shooting when using extension tubes (and even with combined cost, will cost you less than a top end macro lens). You can also use other lenses, such as your camera’s kit lens, but the results probably won’t be as sharp. The f1.4 (or Canon f1.2) are even sharper, but they are at least double the price of the f1.8, so I would not recommend those if price is a concern.
If you just want to play with macro photography without a huge commitment – I would recommend you start with extension tubes. It’s fun, and the results can be quite good.
If you are looking to do macro photography more professionally, looking to get wider control of depth of field, or you are looking to also get a good portrait lens, I would recommend investing in the 105mm macro lens (or 100 if you are shooting Canon). Or even invest in both macro and extension tubes – the additional cost is negligible at that point!
Note, I have not tested the other macro lenses available for Nikon, since I don’t own them. My decision to buy the 105mm was as stated above – it is well reviewed and a great portrait lens. The reviews for the other macro lenses, such as the 40mm and 60mm, note that they aren’t true 1:1, so they don’t get the same level of close-up as the 105mm. For a good overview of the various macro lenses, visit Ken Rockwell’s article here.
And somewhat related thoughts…
Related discussion topics that we haven’t discussed yet are tethering (hooking up your camera to a computer or tablet) and focus stacking. I started doing these tests tethering my camera to my computer using Adobe Lightroom 6, but it was having difficulty finding my camera between lens configurations, so I tried out another app called “ControlMyNikon”. It’s my first time using it (trying the trial), but so far I love it. Unlike Lightroom, you can do live preview, which helps you focus better, and allows you to do other advanced things like focus stacking (I’ll do a future blog post on this), HDR photos, etc.
All that to say, look for future blog posts on tethering and on focus stacking.