
Here’s a self portrait. I don’t think it’s very flattering, do you?
What dSLR Brand to buy?
It’s been a while since we’ve posted a blog, so let’s talk about something important that many people ask me.
“Steve, what camera should I buy?”
Unfortunately there is no right answer for everyone, but there might be a right answer for you.
Lenses
Decide what lenses you’d like to have in the next 5-10 years. Price them out and read the reviews. It’s a lot of work, I know, but a camera purchase can be a big decision.
What kind of lenses do you eventually want? If you want to do landscapes, you want a nice wide lens, like a 10-15 mm. If you want to do Wedding Photography, you want a fast zoom lens, like a 70-200mm 2.8. If you want to shoot insects and flowers, you’ll want a macro lens. If you’re indecisive on what you want to shoot, a zoom lens that spans the gamut might be a wise idea, such as a 20-200mm.
Check out kenrockwell.com for some reviews and general pricing.
Lens Compatibility
Choosing a DSLR should be a long-term investment. If you become serious about photography, over your photography life, you will invest in many (and some expensive) lenses. Once you’ve made these commitments, it will be hard to switch to a different manufacturer.
Do you have any old lenses already? Do your friends have dSLRs, and will you be able to borrow their lenses? Do you intend to buy used lenses? These questions should navigate you towards a brand to purchase.
For example, (as far as I know) a Pentax dSLR camera can use any old Pentax lens. There are quite a few old, rock-solid Pentax lenses out in the used market to choose from, at reasonable prices.
Sony Alpha cameras can use Minolta lenses dating back to 1985. There are quite a few used Minolta lenses on the market.
Olympus dSLRs have some backwards compatibility with older lenses, but they need a special adapter.
Canon EOS dSLR cameras can use EF labeled lenses that were first manufactured in the 80s.
Nikon dSLRs can use just about any Nikon 35mm lens, so long as you purchase a mid to high-end dSLR (D80 or better). The entry level dSLRs are only compatible with DX type lenses.
Even if a lens is not compatible, you may be able to mount it on your camera, but use it in Manual focus mode. Just do some Google-ing for compatibility before you try to mount a mystery lens.
Third party vendors
The biggest dSLR manufacturers are hands-down Nikon and Canon. So if you are a third party manufacturer, you will at least make components for these brands, but perhaps not for the smaller brands. That is the reason why there are more third party products available for these two brands. If you are looking for more selection from companies other than the original equipment manufacturer (OEM), you may want to stick with Canon or Nikon.
Examples of third party components are batteries, flashes, grips, wireless triggers for flashes, remote triggers, flash accessories (like softboxes), etc.
Camera quality
As far as the quality of the images from dSLR manufacturers, you can’t go wrong. Any of the big dSLR manufacturers can produce great pictures. The differences are more in the lenses available and the lens quality, rather than the camera body itself.
Features
Every camera manufacturer and model markets different features. You need to decide what features are important to you. For example, video, ISO capabilities (how well does your camera shoot in low light), live view (being able to see what you are shooting on the LCD – on most dSLRs you need to use the viewfinder).
Rent!
There are many companies that will rent cameras and lenses. If you plan to buy an expensive camera, rent it first. e.g. Try out the interface for a Canon and a Nikon, and see which one you find more intuitive. dSLRs are more similar than different, but their interfaces can be significantly different.
There are companies, like LensRentals.com, that specialize in renting. And some camera stores, such as Henry’s (Headshots) and Vistek in Canada, have renting services.
What I use and why
I shoot Nikon. I have both a Nikon D40x and a Nikon D90.
I originally bought the D40x because I had some old lenses, and sticking with Nikon would give me a wider lens selection in my arsenal.
I then purchased the D90 for the following reasons. The D90 has support for older lenses in which the D40x (etc) does not. Being able to use auto-focus with prime lenses like the 50mm was important for me. The D90 has great low light capabilities. Nikon is the only major manufacturer that allows for wireless flash triggering without any additional hardware to be purchased. (You can do wireless flashes on a Canon using their add-on wireless triggers, or with any manufacturer using Pocket Wizards, but that is a significant additional cost). Having HD video was a nice to have, but not a necessity. The higher-end Canon cameras have better video capabilities than the Nikons, and can produce 1080 video versus 720 video (not an issue for me, but it might be for you). And the price for this unit was quite reasonable.
On the negative side of my purchase, Canons are more prominent than Nikon. It seems that the prices for Canon lenses are slightly lower (but close), however the Nikons do boast a wider selection of used lenses compatible with the D90 (etc).
Summary
Basically there will be good reasons and bad reasons to buy any camera. Each manufacturer has its strengths and weaknesses, as well as its marketing focus.
Choose from one of the major manufacturers if you want some long-term commitment that they’ll still be in the dSLR business a few years from now.
Start with an entry level dSLR if you are unsure how committed you will be to photography. The prices are very reasonable these days, and an entry level camera’s quality of pictures is practically as good as a high-end camera’s. A higher end camera will have more bells and whistles, and will be designed to be easier to use for a professional (but probably harder to use if you are just starting out). Once you’ve mastered the low-end camera, you can decide to invest in a better one, and still keep the lenses you’ve acquired!
The good news is you really can’t go wrong.
(Footnote: Since I am a Nikon shooter, my information on other manufacturers is strictly hearsay and based on knowledge from the internet, fellow photographers, and casual observation. If I’m wrong about something pertaining to another manufacturer, please let me know).
Lens Filters
There are many types of filters that you can get for your lenses. Here’s a brief rundown of some of the filters I use.
UV, Clear and Haze:

A UV filter removes some invisible UV light that may lead to haze in photos. Clear, or “digital clear” is only used to protect your lens. Even though the UV filter has some marketable value in the end result of your photography, the most common reason for using the UV filter is the same as the clear filter: to protect your lens. A haze filter is a type of UV filter, but it is more liberal in removing the ultraviolet light (and some visible light).
There are conflicting opinions on whether or not to use a UV or clear filter to protect your lens. One party feels that these filters have negative impact on the final output of the photograph. By adding “cheap” glass in front of your expensive lens, you are doing yourself a dis-service. If you want to protect your lens, use a lens hood.
The other argument is that a UV filter protects your front element, so if you drop your lens or rub against something, you are only damaging the cheap filter, and not your expensive lens.
Personally I fall into the latter category. Here are my personal reasons:
- By using a filter on my lens, I tend to use lens caps less. This allows me to be more ready to take a picture in a hurry. I don’t want to worry about messing with lens caps when there is an opportunity that is fleeting.
- I feel better about cleaning the lens filter when it gets dirty than cleaning the front of the lens element. I’m not too worried about scratching my UV filter or smudging it – I can always replace the lens filter.
- If there is a “money shot”, I will take off the UV filter briefly, knowing full well that my lens is clean and dust-free. The UV filter has kept the dust out during my 3 hour walk in the wilderness.
- Based on my personal tests of photographs between shooting with and without a UV filter, the difference is negligible and usually not discernable.
Polarizer

A polarizing filter acts just like your polarizing sunglasses, it polarizes the incoming light. What this effectively does is reduce reflections in water and other reflective surfaces. It also improves photography in hazy conditions, because a large part of haze is reflection of water particles. To get more information on how polarization works, consult Brewster’s angle in Wikipedia. Polarizing filters also increase the contrast between clouds and sky, so they are definitely a good item to keep in your camera bag.
There are two types of polarizers: linear and circular. Most dSLR lenses have issues with polarized (linear) light and auto-focus. Circular polarizers take the polarized light and convert it back to circular light. Thus circular polarizers are better suited for modern digital SLRs, but they come at a price – they are more expensive than linear polarizers.
Star Filters
Star filters have prisms embedded in the filter, which cause lights (e.g. street lights, headlights) passing through the filter to have a classic star appearance. There are different configurations of these filters, creating typically either 4, 6, or 8 point stars. Unlike the previous filters mentioned, the star filters are not corrective in nature, but more of a “special effect” filter.
Neutral Density Graduated Filter

A neutral density graduated filter goes from totally clear to slightly dark. The “neutral density” part means that there are no changes to the colour. Basically what these are good for are landscape pictures, so that your sky is slightly darker and the ground is slightly brighter. There are different degrees of graduation (how fast it goes from light to dark), and there are different degrees of how dark the darkest part of the filter goes (e.g. 0.3 stops, 0.6 stops, etc).
An alternative to using a neutral density graduated filter is shooting in HDR.
Colour filters
There are different types of colour filters. There are colour corrective filters (that effectively fix the white balance of your photographs), and colour subtractive filters, which remove a colour hue such as red or green, to a certain extent. There are also gradient colour filters.
Colour filters were necesary with film cameras, but with digital cameras, all colour corrections, such as white balance correction or colour subtraction can be done either in the camera, or in post-processing, with ease. I do not use colour based filters, and they are used less in general with digital photography.
Cooliris
Cooliris is a terrific utility that plugs into Firefox (or Internet Explorer, if you’re one of “those” people).
It lets you browse pictures in Flickr, Facebook, Google Images, etc., with an intuitive and graphically stunning interface. Don’t think about installing it, just do it now.
Backups
Everyone knows how important backups are, especially with your pictures. But most people still don’t do it.
Hard drives fail people. Even enterprise rated hard drives have almost a 1% chance of failing per year. How many years have you had your hard drive?
There are several things you should do to back up. Here’s my workflow as an example.
When I upload my pictures from my memory card, the software I use to upload the files (Nikon Capture) automatically backs-up the files. I have it configured to backup to a separate hard drive in my workstation, so if the first hard drive fails, I have a backup on the other drive. I shoot in RAW format, meaning the files are pretty big! Do not backup to the same hard drive, that’s (almost) useless.
When I take pictures of a special event or assignment (particularly if there’s money involved), I back up the original images to a DVD disk. That way if my entire computer blows up, I still have the pictures on a separate media.
After processing the files, I often backup the processed files (Jpeg format) to a CD-rom.
From time to time I backup my files to a network hard drive. Personally, I use a network attached hard drive, a Linksys Nas 200. *If you want my review on this device, contact me.
I also backup files to removable hard drives. I use normal “internal” SATA hard drives, but I place them in a dock. This allows me to swap out the hard drives and get them offsite.
I’ll reiterate this point because this is vital – get your pictures OFFSITE. If God forbid you should have a fire, theft, or some sort of tragedy, losing your pictures would be horrible. That’s because you can always replace “things”, but you can’t replace pictures. Give the hard drive to a friend or family member to store for you. When you have a new hard drive (with more recent backup), swap hard drives with them.
You can also use an internet based backup system, such as Window’s Skydrive or Mesh, or a paid service such as Carbonite.
I also upload quite a few pictures to my website and to Flickr, which a form of backup. It doesn’t account for my RAW files, but at least the Jpegs are backed up and Flickr stores the original size (if you want them to).
I may have said a lot, but the effort I exert to backup is minimal, and I’ve covered my a$$. If you get into the habit of doing it, it’s like brushing your teeth. Don’t get into the mindset of “I’ll do it someday”.
Here’s a summary of what you should do at a minimum:
1) Backup to another drive, whether it’s in the same PC, or an external USB or network drive
2) Backup to optical media, such as CD or DVD, when the pictures are important to you or someone else
3) Backup offsite
Street Photography
Street photography forces you, the photographer, to leave your comfort zone and overcome shyness. It’s a great exercise to force you out of your “shell”. Check out this great video from Wired on Street photography.
You can visit our take on street photography on Flickr. Pictures will be added constantly.
Battery Grip
Battery grips’ primary purpose is obviously to be a battery and a grip. Obviously.
But battery grips are worth more discussion than that.
So let’s explore the first function: battery. Battery grips typically allow you to insert more than one proprietary battery at a time, doubling battery capacity. But here’s the great thing: many battery grips, such as the Nikon’s MD-80 and Canon’s BG-E5, also accept AA batteries. Although the AA batteries don’t last as long as the proprietary batteries, well, they are cheap and can get you out of a jam, such as a week-long camping expedition.
The next best reason to use a battery grip is if you are a portrait photographer, turning your camera in portrait orientation (ie. sideways) is easier, as you now have a side grip and an extra shutter release button on the battery grip.
For some cameras, such as the Nikon D300 and D700, using the AA batteries actually increase the frames per second. (e.g. 5frames/sec to 8frames/sec). You eat up batteries much faster, but this is great for action shots such as in sports photography.
The last reason I can think of – it makes your camera look more professional. With the trend for DSLRs getting smaller and smaller, the grip makes it look more serious and easier to manage.
HDRs

You might look at a scene and say that the buildings look terrific, the people look terrific, the sky is gorgeous, you point your camera and shoot. Then you look at the LCD and ask yourself what went wrong.
All cameras have a limited dynamic range. The human eye on the other hand has a terrific dynamic range. What this means is if you expose for the sky then the ground, buildings, trees and people might be underexposed. And if you expose for the people, the sky might be overexposed (i.e. white).
To overcome this a fairly new technique emerged called HDR, short for High Dynamic Range. How this works is via software, multiple exposures are combined so that the dark foreground and the bright background are combined into a final picture.
The easiest way to achieve an HDR image is to use the auto bracketing functionality of your DSLR camera, if it supports it. Set your camera to take 3 exposures, one at -2 exposure, one at +2 exposure, and one at normal exposure. Since the +2 exposure will typically be a longer exposure, and it would be unwise to try to do this handheld, it is best to use a tripod for HDR shooting.
Now that you have the exposures, you need to merge the 3 (or more) photos into a final photo.
Looking at the following three examples you can see what I was talking about earlier. When the sky and clouds are clearly seen, the statue is black. When the features of the statue are visible, the sky is overexposed and the clouds are much less visible. When the picture is underexposed, the details around the sun are more visible
 |
 |
 |
You can use Photoshop to do this. Personally I use Photomatix, which you can get from HDRsoft. Photomatix has plugins for Lightroom and Photoshop. You can try the demo; the only limitation is it watermarks your outputs.
The software isn’t automatic, you need to play with the settings to get the result you desire. Some HDR images look hyper-real, but you can get a realistic image from an HDR as well.
Here’s how I rendered the above images into an HDR.

Note how the features in the sky and on the statue are clearly defined, which was not the case in any of the previous three images.
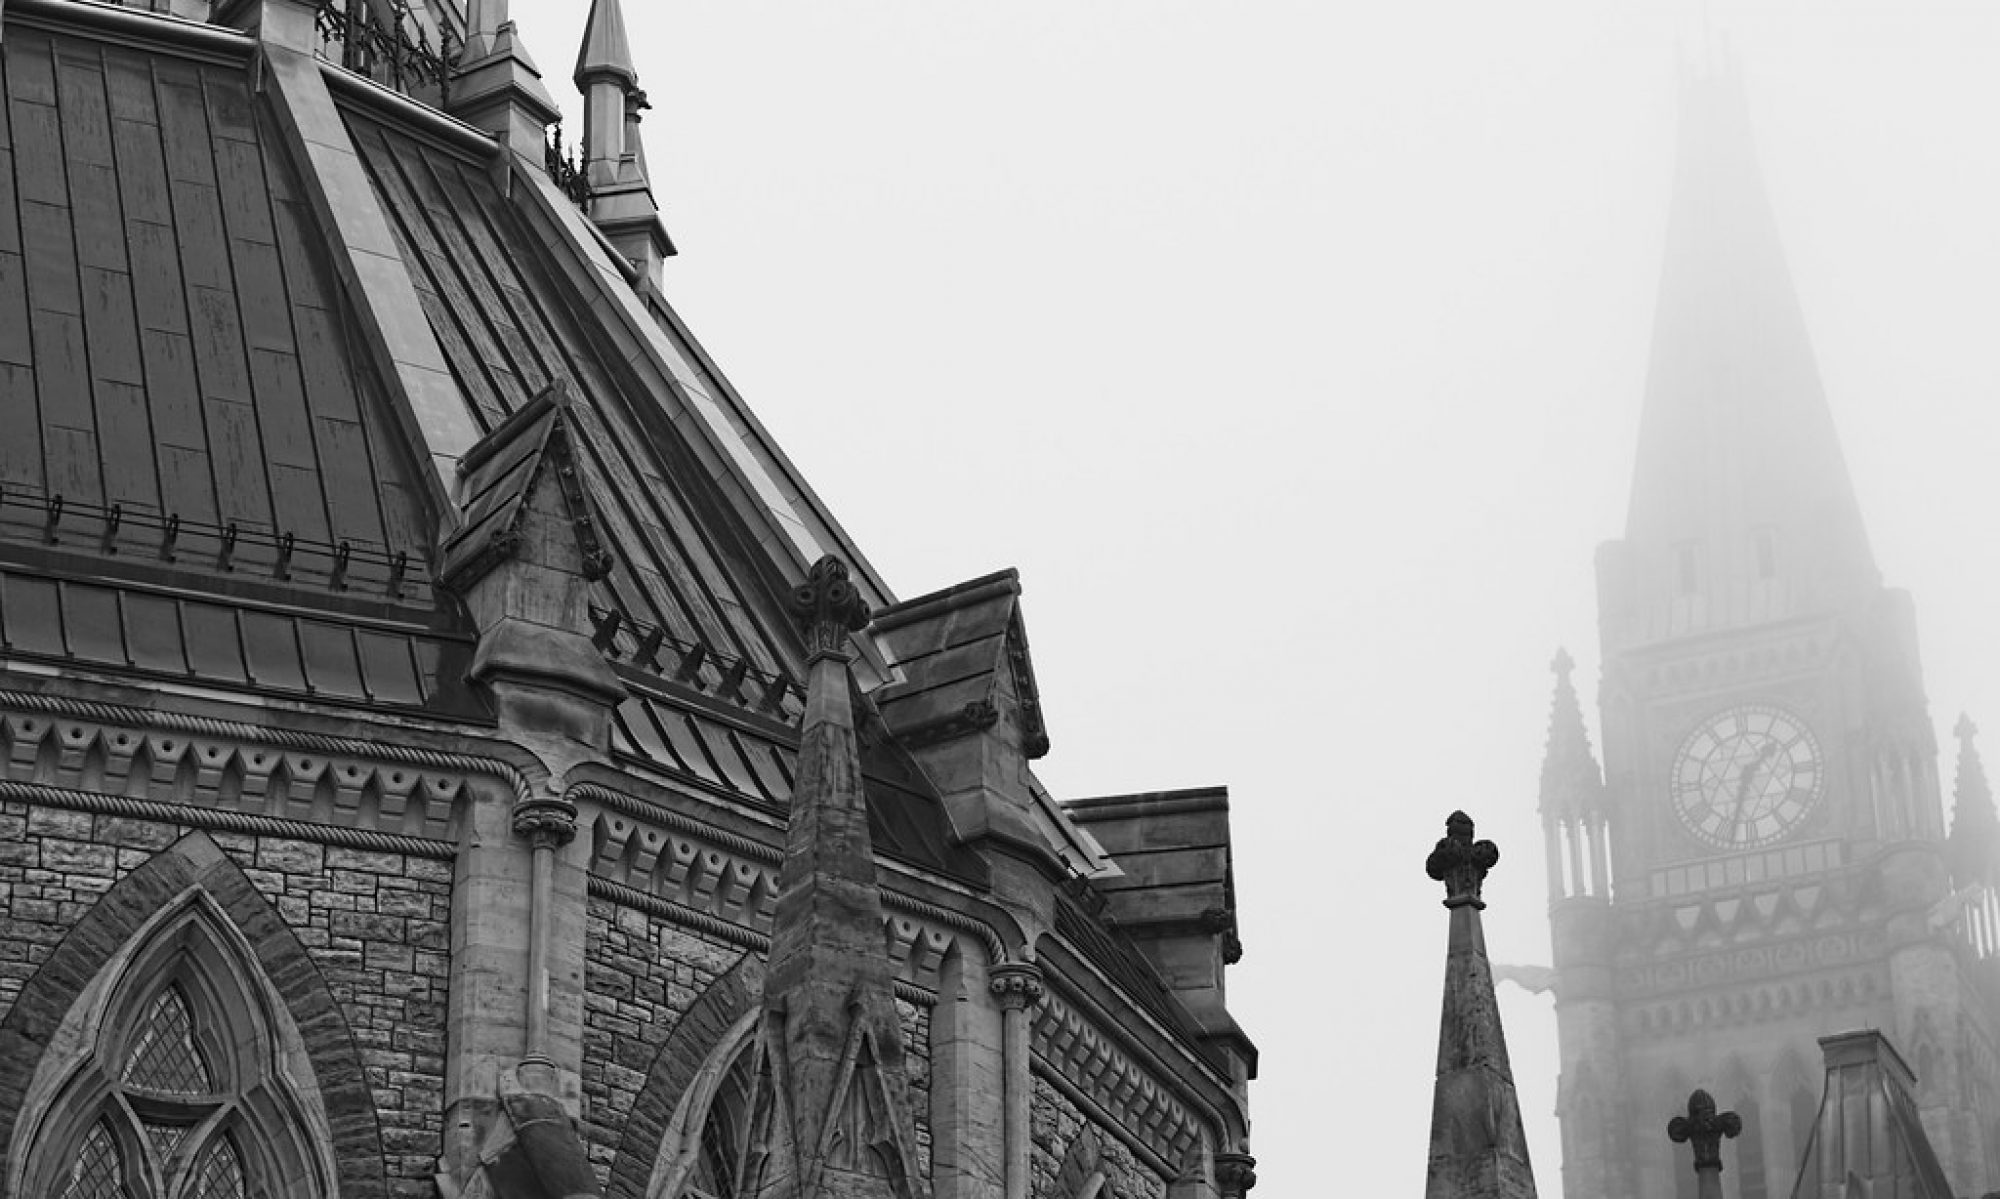
Scott Kelby Photowalk

I was privileged to join this year’s Scott Kelby worldwide photowalk. This is a photo expedition that takes place simultaneously in over 900 cities across the world, with 32,000 participants. I represented Ottawa along with 49 other local photographers.
The official website for the photowalk is here.
Scott Kelby is a professional photographer, president of the National Association of Photoshop Professionals (NAPP), head of Kelby training, author of top selling books, and more.
You can check out some more of my fun pictures here.


Secret Weapon
I will let you in on a little secret. One of my secret weapons when I shoot is this: kneepads. Technically I usually only wear one kneepad, on my dominant knee.
Kneepads let me drop to one knee quickly when doing portraiture and modeling shots. They also let you quickly change your point of view when shooting anything (like nature photography). If you are less likely to get lower because it’s uncomfortable, or you are concerned you will wear out your knee over time, a kneepad is a quick remedy. Taking pictures from your normal standing position is boring – it’s good to change things up to make photos more interesting. Getting lower is a must in portraiture (e.g. full body shots).
If you say you don’t need kneepads, that’s fine – but if you find yourself not bothering to get low, then ask yourself why not.