How To Get This Shot: Silky Water


Satin and Lace (92/365)

Originally uploaded by Tukay Canuck

You’ve often seen pictures of waterfalls, big or small, and how the water seems to be silky and soft.

In order to get this soft effect, you need to take a long exposure. That allows the water to flow during the exposure, causing a blurring effect. The longer the exposure, the softer and smoother the effect. (A few seconds will suffice).

The theory is straightforward, but have you tried to take a picture in daylight for a few seconds? If you don’t take any additional measures, your picture will be blown out (read: solid white image).

To be able to expose for a few seconds without letting too much light in, you need to add a Neutral Density filter. This is essentially sunglasses for your camera.

In this example, I used a Cokin ND8 Neutral Density filter. An ND8 neutral density adds 3 f-stops of “darkness” to the image. This means the filter blocks almost 90% of the light coming into the lens.

An ND4 and ND2 add 2 f-stops and 1 f-stop, respectively.

You want to place the camera on a tripod, and fire it either on a timer or with a remote control. You don’t want to use the shutter button to take the exposure, because pressing the shutter button could cause camera shake, making a less than sharp image.

I use the Cokin system since this allows me to stack the filters. I could put an ND8 and an ND4 at the same time, easily. I could also put a graduated neutral density filter, which is a filter that starts from the dark at one end, and blends into a clear part of the filter.

The Cokin system is also good because it allows you to use the filters on various lenses of different thread sizes. Normal filters screw on to lenses, and need to be the same thread size as the filter. I have various thread sizes for my lenses, so I would have to buy 4 or 5 of each of these filters, as opposed to one Cokin filter. It also means that I carry less filters when I travel or hike.
How to get this shot: close up of your own eye


90/365

Originally uploaded by Tukay Canuck

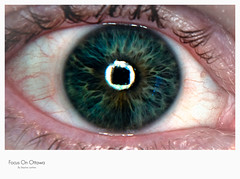
Here’s a picture of my eye.

It probably wouldn’t be anything special, except that I took it myself, which may make it a bit challenging (or lucky, if you shoot blindly).

Here’s how I did it.

  1. I mounted my camera on my tripod.
  2. I used my 24-70 mm lens, with a close-up (Cokin) attachment
  3. I had a flash on the camera (SB-900), with a ring flash attachment
  4. I sat in front of my TV, and hooked up my camera to the TV.
  5. With the camera on LiveView mode (what the camera sees is projected upon the television), I positioned myself and the camera to focus on my eye.
  6. I set the camera on remote control mode, so I could fire it by my remote.
  7. I aimed an LED flashlight at my face to better see my eye on the television, and to aide the camera in focusing correctly.
  8. Since I was using a flash, I could use a narrower aperture setting, creating a wider depth of field (in case I moved too much).

Clearly, from this picture, I need more sleep.

That’s it for today’s tip.

New Model


74/365

Originally uploaded by Tukay Canuck

Focus on Ottawa has a new model. Welcome Seth to the family. Seth was born March 11, 2010, at a whopping 9 lbs 7 oz.

Many pictures to come Seth, so smile!

International Women’s Day


International Women’s Day

Originally uploaded by Tukay Canuck

March 8, 2010
Wear a string on your finger on March 8th to stand in
solidarity with women and girls around the world.

Let the string remind you of the incredible achievements that
women have made to overcome inequality and injustice.

Let it remind you of the millions of women and girls who
continue to strive for equality and empowerment everywhere.

Please visit www.care.ca for more information.

Love and War – a video


Love and War

Originally uploaded by Tukay Canuck

This is more of a fun post than an informative one.

This is a video recorded with my Nikon D90 SLR camera. With the convergence of video and photography on cameras, this will become more and more prevalent.

They’re not the best video cameras, but the ability to use a high quality lenses (and choose different lenses) is certainly a plus. The ability to record High Definition (or nearly high definition) certainly makes it better than the analog video cameras we used years ago.

If you want to properly use an SLR as a video camera, I suggest you use a tripod, and don’t hand hold it like I did in this video. Do as I say, not as I do 🙂

Flickr Utilities

Lights in the Winterscape

As you probably guessed from the links on this website, I use Flickr a lot.

Flickr is a great community website for sharing images, but it could be improved.

1) For example, within Flickr there are communities, or “Groups”, that encourage you to post comments on other people’s pictures, and also put a link or image to tell people which group you saw the picture in.

This can be tedious to cut and paste HTML code into the comment section every time you comment on a picture. Sometimes people post comments on your photos, but they don’t say where they saw the photo (was it a group, or did they browse your photo stream directly?). It’s difficult to know which groups give you more attention.

2) Another issue I have is that when submitting a photo to multiple groups (e.g. the Nikon group, the Canadian photographers group, a Fashion group), it can be tedious because you have to add to them one at a time.

3) Another common complaint about Flickr is the white background. Some photos are best viewed on black or gray backgrounds.

To resolve these issues, I use the following tools.

1) For adding comments quickly, while displaying how I came to see the photo, I use Trailr. To use Trailr, you should use Firefox, and you will need to add Greasemonkey. Trailr will not only indicate which group you saw the photo in (automatically) when you post comments, it will also allow you to display the group’s logo and any links to the group. It also lets you invite photos you’ve seen to a group that the photo would be a good fit for.

2) To add a photo to multiple groups quickly, I’ve recently started using Multi Group Sender, a script that also best runs on Firefox with Greasemonkey installed. This lets you choose multiple groups at once to submit a photo to.

3) If I am posting a photo that I think will be best viewed on a black background, I will add a link to Big Huge Labs’ View on Black. Big Huge Labs also has a tonne of other Flickr utilities that you may find interesting. Check them out!

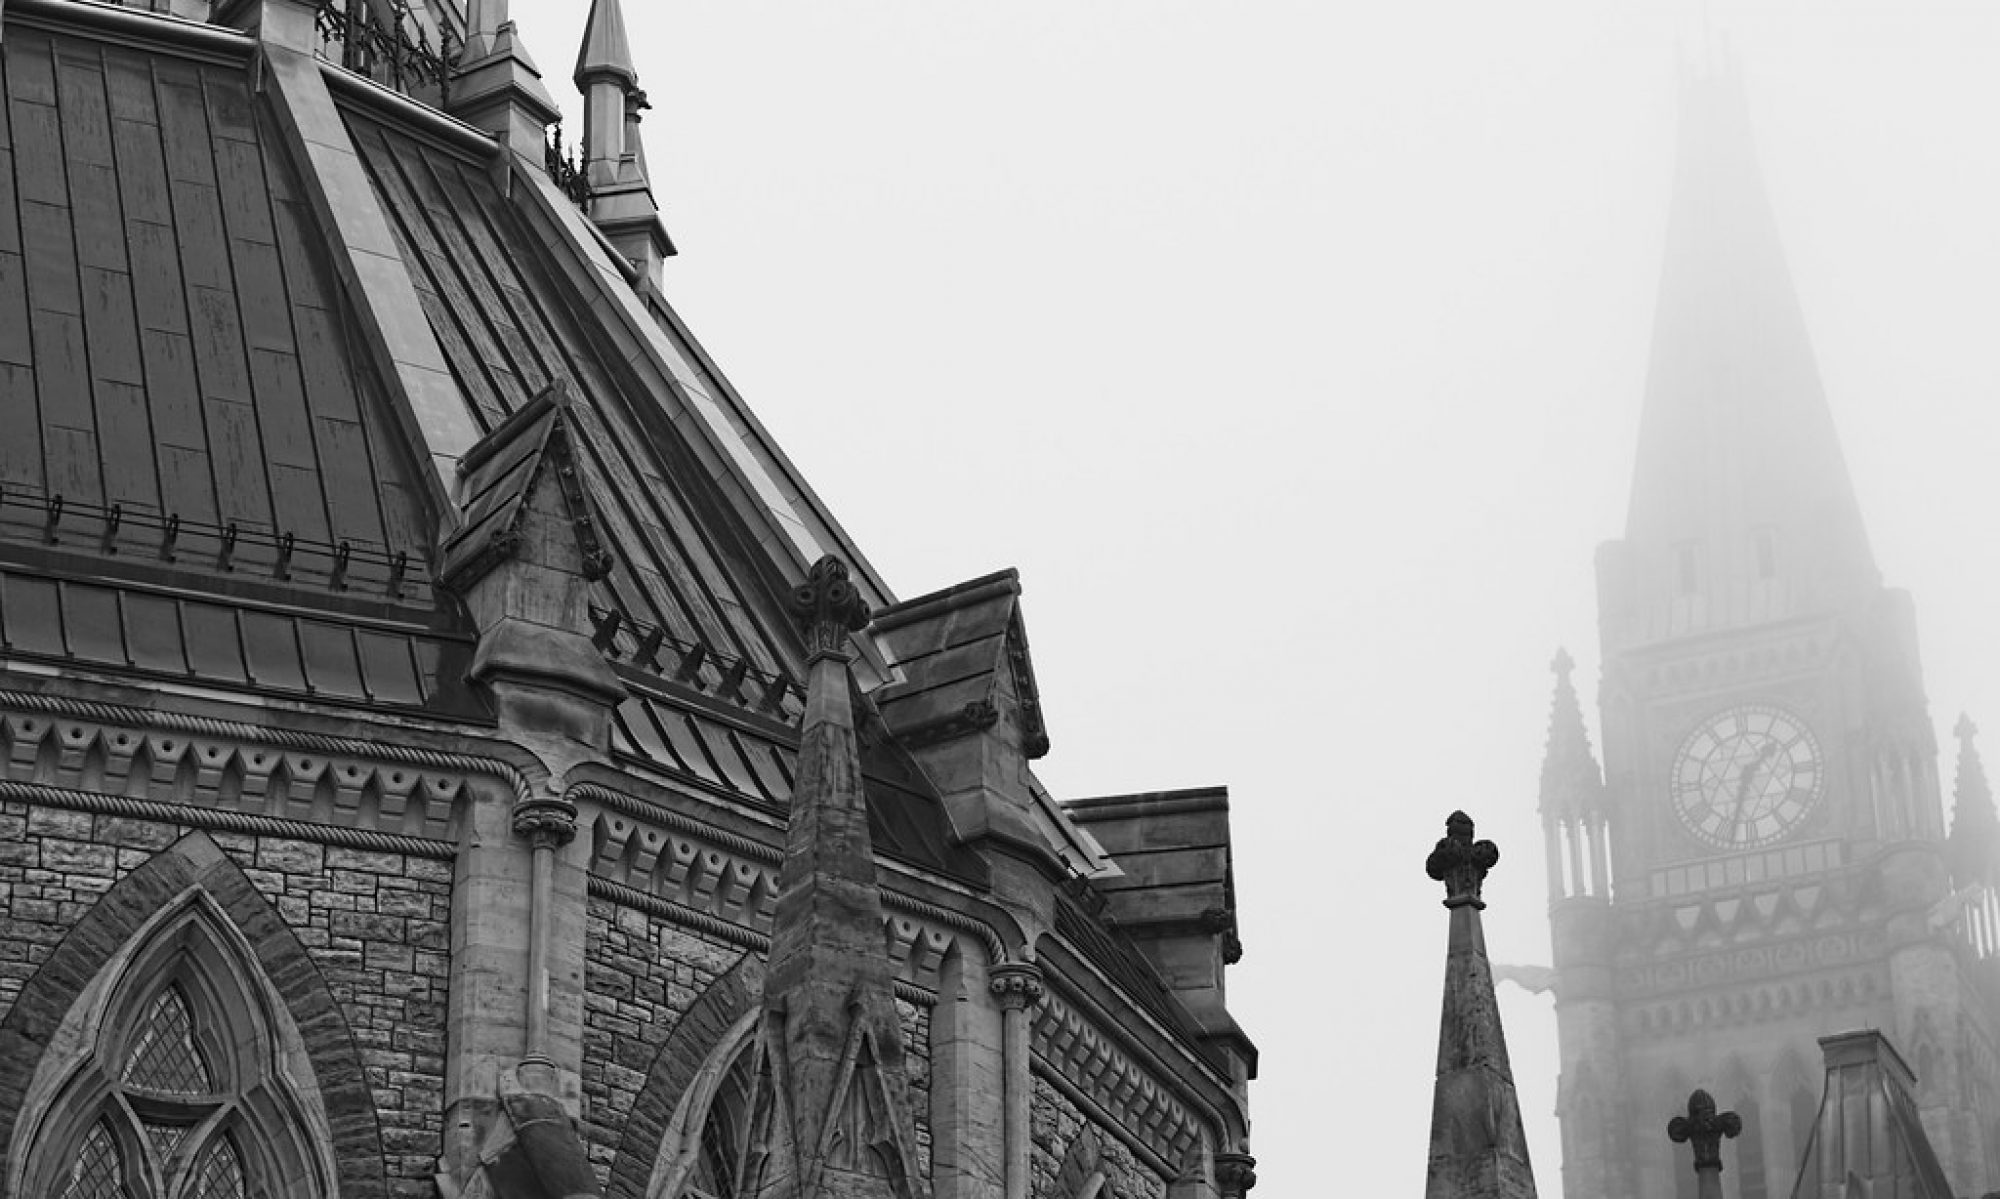
Towering Deities

To view other people’s photos on a black background, I have just installed Background Color, another Greasemonkey script. It quickly allows you to “dim” the background to various shades of gray between white and black.

I am also starting to play with Flickroom, which is an application in Beta.

There’s also Fluidr and Flickriver, which allow you to browse interesting pictures in a never ending webpage.

Other Greasemonkey/Flickr scripts can be found here, although I haven’t tried them all.

Let me know if you have any other cool utilities for Flickr.

Product Photography


34/365

Originally uploaded by Tukay Canuck

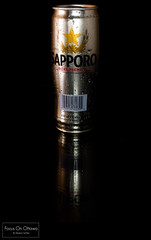
How to get this type of shot.

This was shot on a glass coffee table.

First, clean the coffee table thoroughly with glass cleaner.

Next, tape black construction paper to the bottom of the glass, near the rear of the table.

Thirdly, prop a black background in behind. I used the black side of a circular reflector (the “gobo” side).

For the lighting, I used a ring flash, which is a circular flash that wraps around the lens. This is good for macro and product photography.

I also used a remote flash off to the left side.
I held a white reflector on the right side to fill in the shadows a bit (I actually used some paper towels, as they were handy).

Because I was holding the paper towels, I had the camera on a tripod and I set it to timer mode, so I had time to press the button, then hold up the white reflector.

For the beer can, I sprayed it with a water bottle to give it more beads of water.

Et voila.

After the “money shot” was verified, I enjoyed the beer.

…To not snoot


Self Portrait 2

Originally uploaded by Tukay Canuck

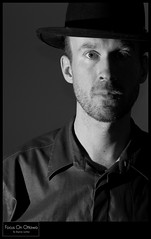
Here is the same setup, but by bouncing the light from the flash off the ceiling, and using the Honl snoot as a bounce card instead. (The bounce card catches some of the light from the flash and sends it into my eyes, where the rest of the light is soft and diffused as it is spread out from the ceiling).

You’ll observe that this picture is a lot softer, less harsh, and arguably less dramatic.

Extra details: The SB900 flash, is off camera, left of the camera. It is angled 45 degrees towards the ceiling, and a bounce card is used to bounce some of the light straight at me instead of towards the ceiling.

To snoot or not to snoot?


Self Portrait 1

Originally uploaded by Tukay Canuck

A snoot is a device that narrows the light from a strobe to make a harsher, narrower field of light. This is a self portrait using an SB900 flash, with a Honl 5″ snoot, camera left. (i.e. the flash is NOT attached to the camera, but triggered remotely).

The next post will show you what it looks like without the snoot.