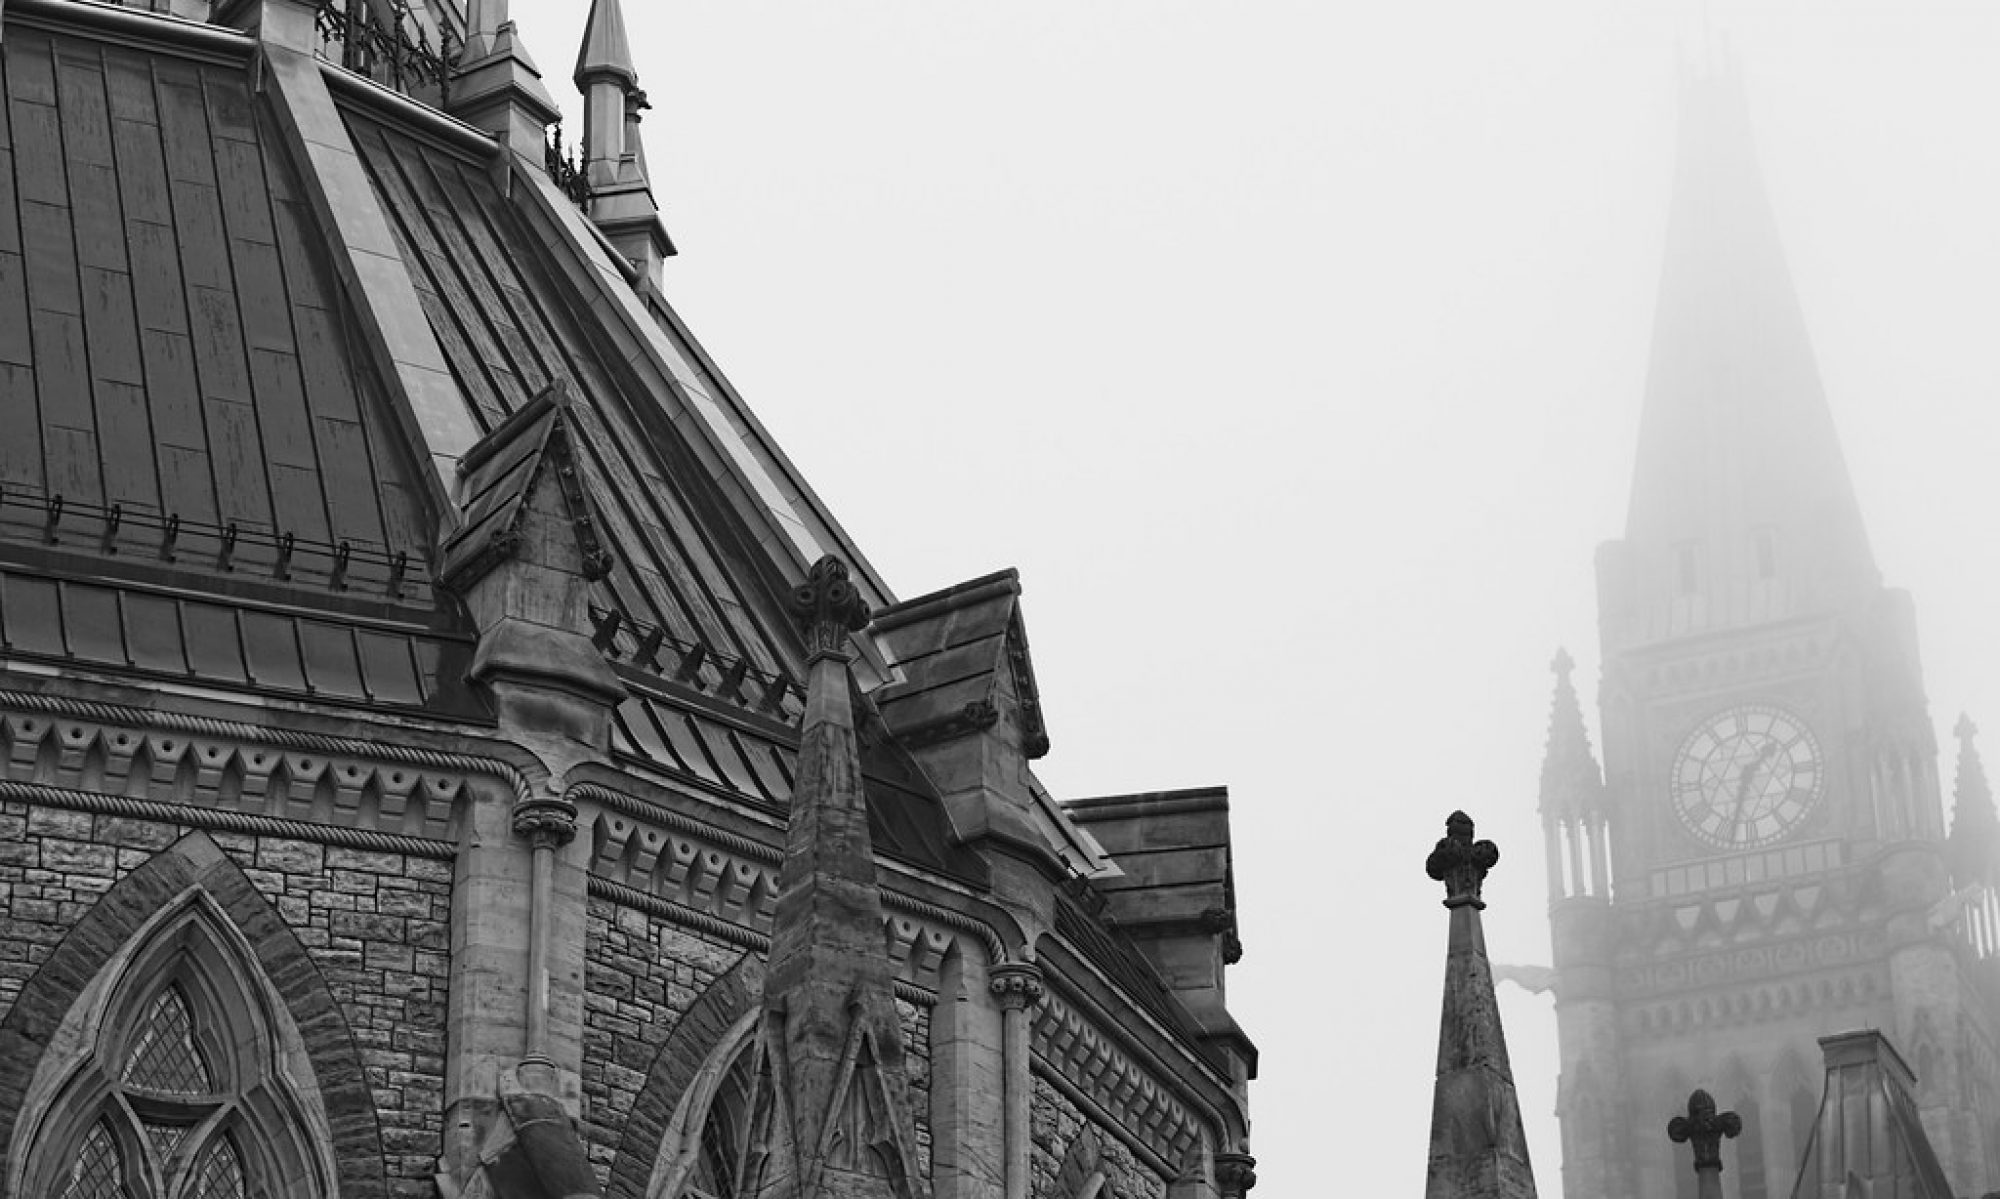
One of the biggest misconceptions I hear from people is that a nice sunny day is a good time to take pictures. Wrong.
The sun is a harsh light source. It creates harsh shadows that are not flattering on even the most beautiful of us.
One of the best times to take photos is when it’s cloudy out. Clouds act as a giant diffuser, casting soft light on your subject and removing the harsh contrast of shadows.

So let’s say you know that the sun is bad, so let’s move the subject under the shadow of trees. Wrong! Unless the trees cast an absolute shadow on your subject, any light shining through the leaves creates nasty distracting contrast.

If there isn’t a cloud in the sky, you have more options.
1) Shoot with the sun at the subject’s back, and add a bit of flash or reflector to light up their face. The sun will act as a hairlight, and the reflector or flash should add a hint of light to fill in the shadows and bring out the subject’s features. You can place the subject between the camera and the sun, so you don’t get flare from the sun, and the sun casts a nice halo behind your subject.
2) Shoot the subject in perfect shade. Even if it seems dark relative to in direct sunlight, it’s probably bright enough for your camera. If not, add a bit of flash.
3) Add a diffusion panel between the sun and your subject. This is a semi-transparent material (even a bed sheet will work). This is a bit harder because you will need 1-2 assistants to hold the panel, and if it’s windy, good luck. But the results are like shooting in a cloudy day or having a giant softbox.

I also prefer to shoot in the morning or evening, when the sun isn’t directly overhead. Overhead sun is the harshest, and can leave shadows in the subject’s eye sockets. A reflector or flash fill will help, but getting good results at noon is a tricky proposition. Evening sun at sunset casts a warmer light, and looks better.


