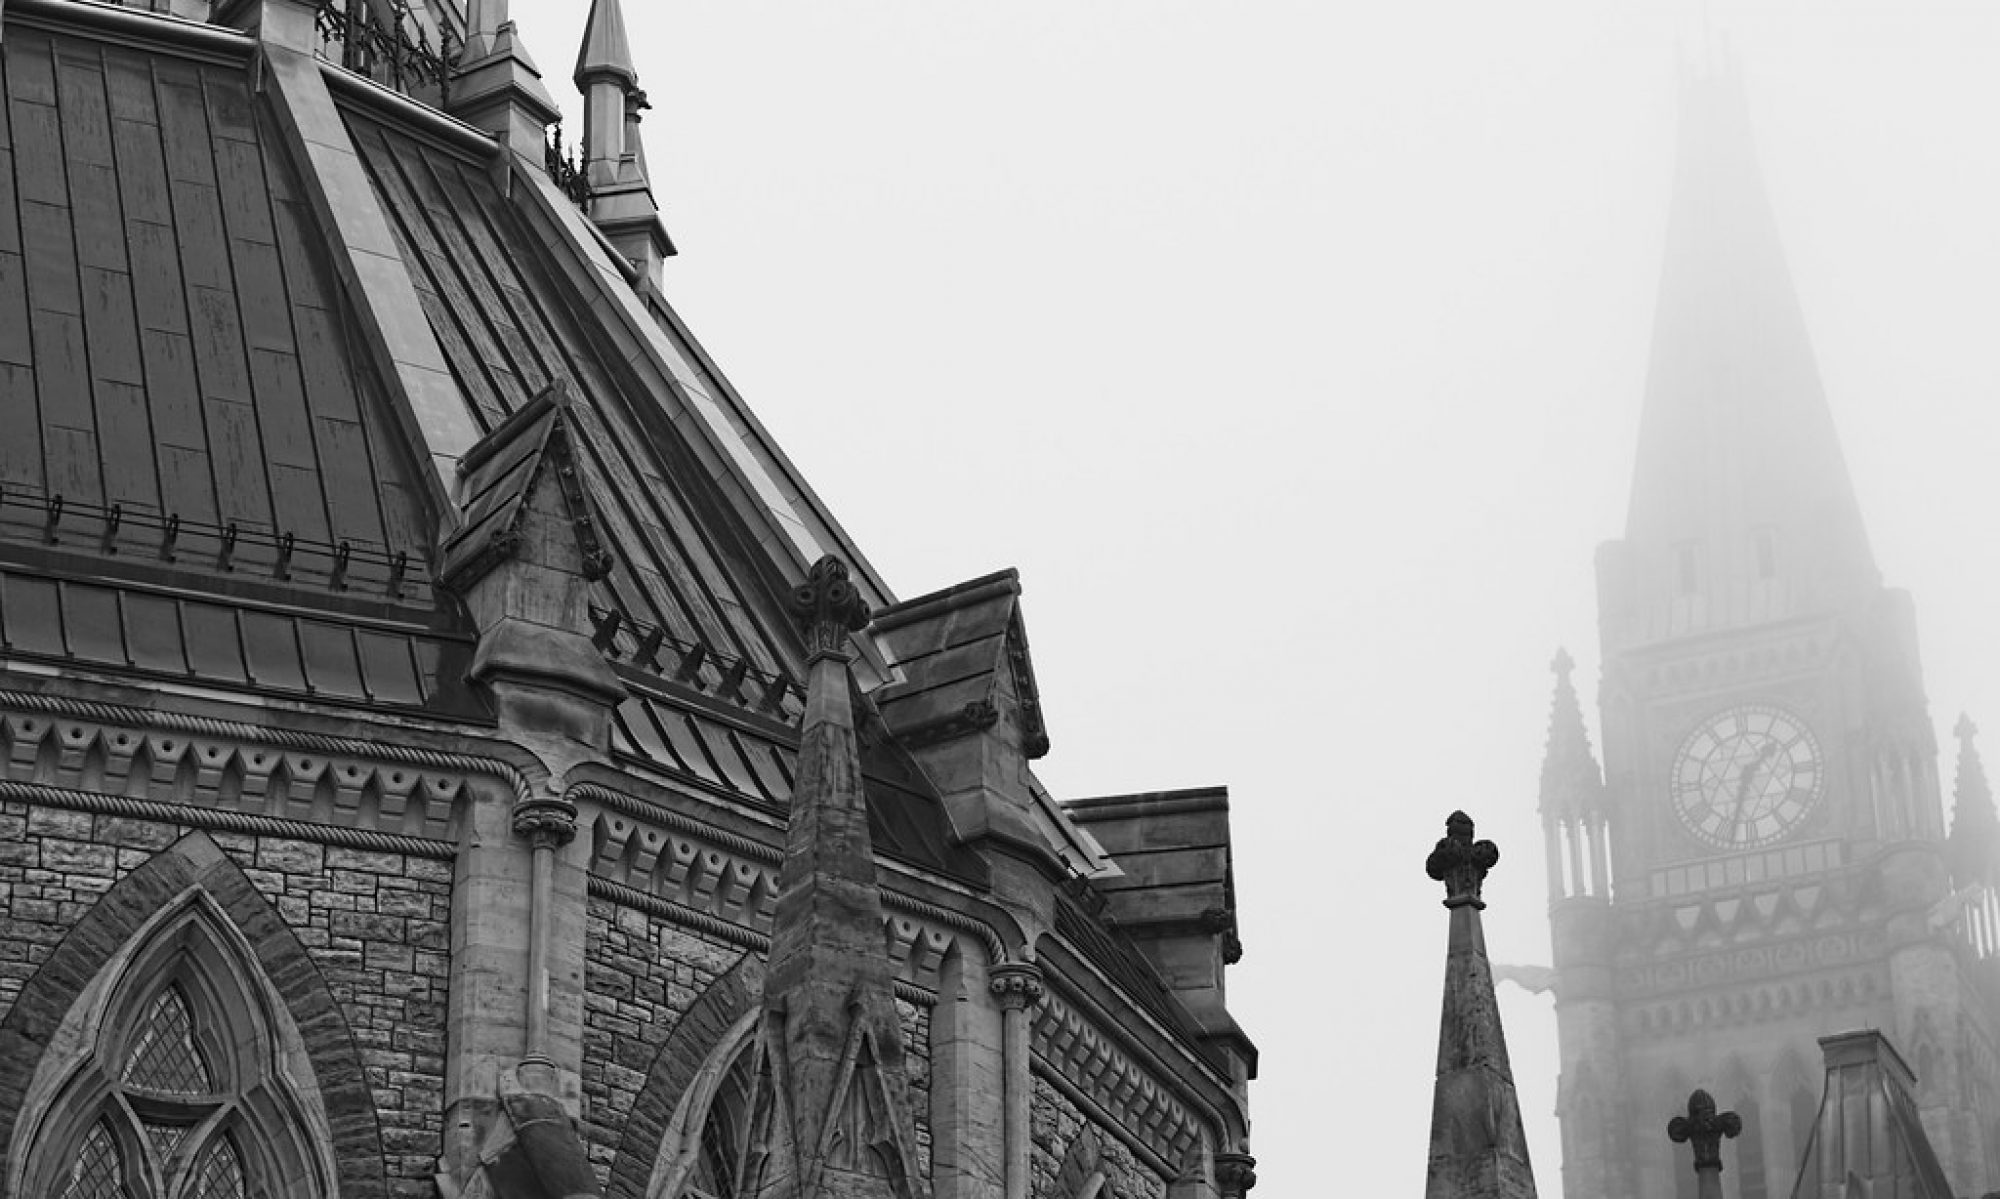
Well, the snow has finally hit Ottawa. We change our focus from colourful foliage to the white stuff. Ho ho ho.
Lost and found

I really should spend more time looking at my old, unprocessed files. I was thinking of going on a photowalk today, but I have too many unprocessed pictures to get through. There are some gems in there that I never had time to process, like this one. I’m glad I stayed home today.
This is an HDR of the Union Street steel bridge, near the old Ottawa City Hall.
HDRs

You might look at a scene and say that the buildings look terrific, the people look terrific, the sky is gorgeous, you point your camera and shoot. Then you look at the LCD and ask yourself what went wrong.
All cameras have a limited dynamic range. The human eye on the other hand has a terrific dynamic range. What this means is if you expose for the sky then the ground, buildings, trees and people might be underexposed. And if you expose for the people, the sky might be overexposed (i.e. white).
To overcome this a fairly new technique emerged called HDR, short for High Dynamic Range. How this works is via software, multiple exposures are combined so that the dark foreground and the bright background are combined into a final picture.
The easiest way to achieve an HDR image is to use the auto bracketing functionality of your DSLR camera, if it supports it. Set your camera to take 3 exposures, one at -2 exposure, one at +2 exposure, and one at normal exposure. Since the +2 exposure will typically be a longer exposure, and it would be unwise to try to do this handheld, it is best to use a tripod for HDR shooting.
Now that you have the exposures, you need to merge the 3 (or more) photos into a final photo.
Looking at the following three examples you can see what I was talking about earlier. When the sky and clouds are clearly seen, the statue is black. When the features of the statue are visible, the sky is overexposed and the clouds are much less visible. When the picture is underexposed, the details around the sun are more visible
 |
 |
 |
You can use Photoshop to do this. Personally I use Photomatix, which you can get from HDRsoft. Photomatix has plugins for Lightroom and Photoshop. You can try the demo; the only limitation is it watermarks your outputs.
The software isn’t automatic, you need to play with the settings to get the result you desire. Some HDR images look hyper-real, but you can get a realistic image from an HDR as well.
Here’s how I rendered the above images into an HDR.

Note how the features in the sky and on the statue are clearly defined, which was not the case in any of the previous three images.