Aside from photography, my other passion is hockey. The NHL playoffs are starting soon, and Ottawa is percolating with energy. I will be cheering my Ottawa Senators as they take on the Pittsburgh Penguins in the first round of the playoffs.
You’ve often seen pictures of waterfalls, big or small, and how the water seems to be silky and soft.
In order to get this soft effect, you need to take a long exposure. That allows the water to flow during the exposure, causing a blurring effect. The longer the exposure, the softer and smoother the effect. (A few seconds will suffice).
The theory is straightforward, but have you tried to take a picture in daylight for a few seconds? If you don’t take any additional measures, your picture will be blown out (read: solid white image).
To be able to expose for a few seconds without letting too much light in, you need to add a Neutral Density filter. This is essentially sunglasses for your camera.
In this example, I used a Cokin ND8 Neutral Density filter. An ND8 neutral density adds 3 f-stops of “darkness” to the image. This means the filter blocks almost 90% of the light coming into the lens.
An ND4 and ND2 add 2 f-stops and 1 f-stop, respectively.
You want to place the camera on a tripod, and fire it either on a timer or with a remote control. You don’t want to use the shutter button to take the exposure, because pressing the shutter button could cause camera shake, making a less than sharp image.
I use the Cokin system since this allows me to stack the filters. I could put an ND8 and an ND4 at the same time, easily. I could also put a graduated neutral density filter, which is a filter that starts from the dark at one end, and blends into a clear part of the filter.
The Cokin system is also good because it allows you to use the filters on various lenses of different thread sizes. Normal filters screw on to lenses, and need to be the same thread size as the filter. I have various thread sizes for my lenses, so I would have to buy 4 or 5 of each of these filters, as opposed to one Cokin filter. It also means that I carry less filters when I travel or hike.
This is more of a fun post than an informative one.
This is a video recorded with my Nikon D90 SLR camera. With the convergence of video and photography on cameras, this will become more and more prevalent.
They’re not the best video cameras, but the ability to use a high quality lenses (and choose different lenses) is certainly a plus. The ability to record High Definition (or nearly high definition) certainly makes it better than the analog video cameras we used years ago.
If you want to properly use an SLR as a video camera, I suggest you use a tripod, and don’t hand hold it like I did in this video. Do as I say, not as I do 🙂
As you probably guessed from the links on this website, I use Flickr a lot.
Flickr is a great community website for sharing images, but it could be improved.
1) For example, within Flickr there are communities, or “Groups”, that encourage you to post comments on other people’s pictures, and also put a link or image to tell people which group you saw the picture in.
This can be tedious to cut and paste HTML code into the comment section every time you comment on a picture. Sometimes people post comments on your photos, but they don’t say where they saw the photo (was it a group, or did they browse your photo stream directly?). It’s difficult to know which groups give you more attention.
2) Another issue I have is that when submitting a photo to multiple groups (e.g. the Nikon group, the Canadian photographers group, a Fashion group), it can be tedious because you have to add to them one at a time.
3) Another common complaint about Flickr is the white background. Some photos are best viewed on black or gray backgrounds.
To resolve these issues, I use the following tools.
1) For adding comments quickly, while displaying how I came to see the photo, I use Trailr. To use Trailr, you should use Firefox, and you will need to add Greasemonkey. Trailr will not only indicate which group you saw the photo in (automatically) when you post comments, it will also allow you to display the group’s logo and any links to the group. It also lets you invite photos you’ve seen to a group that the photo would be a good fit for.
2) To add a photo to multiple groups quickly, I’ve recently started using Multi Group Sender, a script that also best runs on Firefox with Greasemonkey installed. This lets you choose multiple groups at once to submit a photo to.
3) If I am posting a photo that I think will be best viewed on a black background, I will add a link to Big Huge Labs’View on Black. Big Huge Labs also has a tonne of other Flickr utilities that you may find interesting. Check them out!
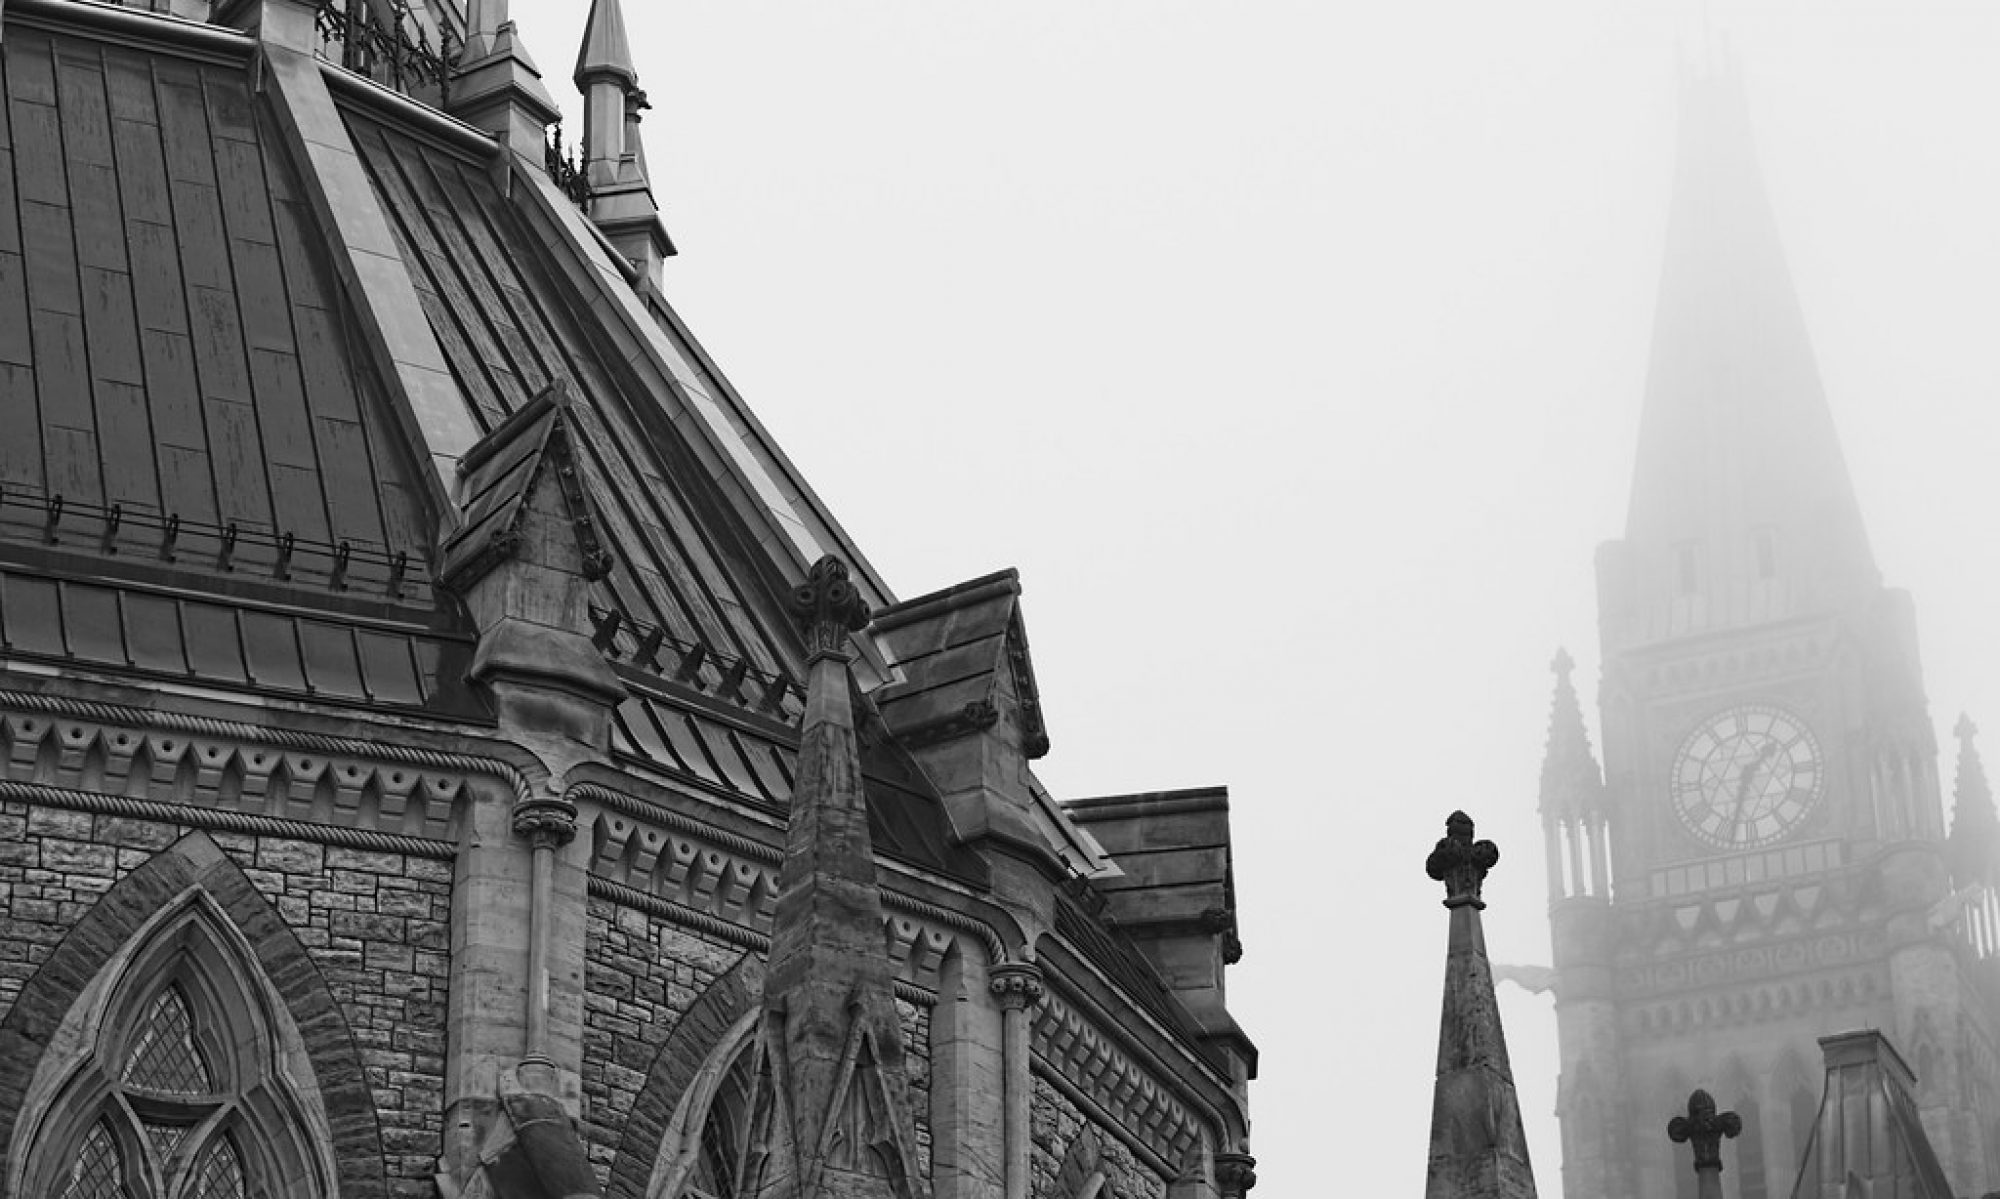
Towering Deities
To view other people’s photos on a black background, I have just installed Background Color, another Greasemonkey script. It quickly allows you to “dim” the background to various shades of gray between white and black.
I am also starting to play with Flickroom, which is an application in Beta.
There’s also Fluidr and Flickriver, which allow you to browse interesting pictures in a never ending webpage.
Other Greasemonkey/Flickr scripts can be found here, although I haven’t tried them all.
Let me know if you have any other cool utilities for Flickr.
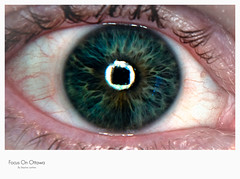
Here is the same setup, but by bouncing the light from the flash off the ceiling, and using the Honl snoot as a bounce card instead. (The bounce card catches some of the light from the flash and sends it into my eyes, where the rest of the light is soft and diffused as it is spread out from the ceiling).
You’ll observe that this picture is a lot softer, less harsh, and arguably less dramatic.
Extra details: The SB900 flash, is off camera, left of the camera. It is angled 45 degrees towards the ceiling, and a bounce card is used to bounce some of the light straight at me instead of towards the ceiling.
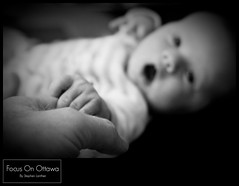
So I’m doing this 365 project, which means a picture a day, every day, for a year. Every day, without exception, I need to take a picture. Even if I’m busy, I’ll snap a picture with my iPhone. Today I decided to be creative and plan the shot, so I came up with this shot, along with a plethora of other macabre shots.
My original concept was to shoot into the butcher knife and see the bloodied reflection of me, but that was harder than I thought when I’m shooting alone. Even when things don’t go according to plan, you adjust and improvise. I’m happy with the results even if they weren’t my original vision.
(The blood is edible and quite yummy, and the black dirt I found under my car. Not so yummy.)
Click on the picture to go to Flickr, and see the other pictures in the series.
I hope you like, and hope you don’t get any nightmares tonight….
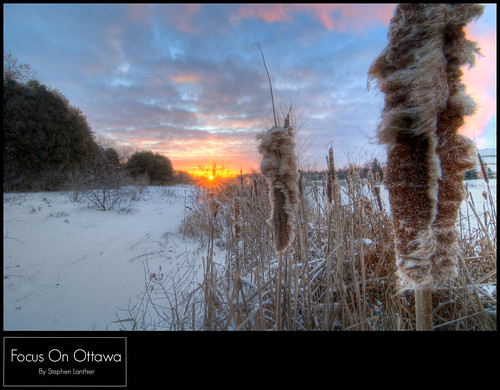
Yes it’s cold out, but that’s no excuse to stay indoors. Get out there and shoot; winter in Canada is gorgeous.
If you are shooting with an SLR, there are some precautions you should take.
1) Keep your batteries warm. You should have at least a couple of batteries for your SLR. Keep one battery close to your body (inside your jacket, in your underwear, etc). Switch batteries every once in a while to keep them both warm. Even if you have a battery grip on your camera that holds two batteries like I do, only keep one battery in the camera. Of course this is true for batteries in your flash, if you are shooting with off-camera flash.
2) Dress warm. Duh!
3) Protect your camera. If it’s snowing, or there’s a risk of dropping your camera, get one of those camera raincoats. eBay is a good place to get these – retail stores charge way too much for them.
5) Wear rubber gloves. I buy disposable latex gloves in bulk. I wear the gloves under my winter gloves mitts. Sometimes you need a level of dexterity that requires you to remove your winter gloves. Having rubber gloves on protects you a little bit from the cold, but more importantly, from the wind. As an oddball bonus, you won’t accidentally leave any finger prints on your lens.
6) When you bring your camera indoors, the quick temperature change might create condensation in the lens, and that’s a bad thing. Put the lens(es) in large ziplock bags – the bag will attract the condensation, thus reducing the risk of condensation within the lens assembly.
Here are some tips for good winter photography:
1) Use a tripod. This is true in any season, but it’s a good tip.
2) Overexpose. Unless you are shooting (M)anual, your camera will want to make the snow 18% gray. That’s how cameras meter. You must convince your camera that snow is supposed to be white. Set your exposure compensation (the button with the +/-) to +1. Take a test shot, and adjust if necessary. It’s okay if your snow is blown out (too bright), if your subject is something other than the snow.